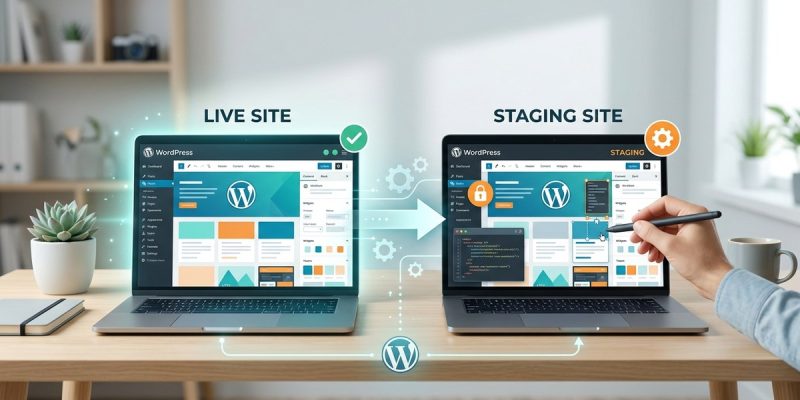
Every WordPress site owner knows the feeling: you click “Update” on a plugin, and suddenly your homepage goes blank. Or you install a new theme, and the layout falls apart. That’s where a staging site becomes your best friend. It’s a private copy of your live site where you can experiment, test updates, and break things without any consequences. In this guide, we’ll show you exactly how to create a staging site for WordPress using three different methods, so you can stop worrying and start building with confidence.
A staging site is a safe copy of your live WordPress site used for testing changes before going public. You can create one using hosting tools, a plugin like WP Staging, or by manually copying files and database. Always back up your live site before starting. Staging saves time, prevents downtime, and gives you peace of mind. Pick the method that matches your comfort level and hosting setup.
Why you need a staging environment for your WordPress site
Think of staging as a sandbox. You can try out a new plugin, upgrade your theme, or redesign a page without your visitors seeing anything. If something goes wrong, you simply delete the staging site and start over. No harm done. This practice separates experienced site owners from those who live in fear of the white screen of death.
Common scenarios where staging helps:
- You want to test a major WordPress version upgrade (like moving from 5.x to 6.x).
- A plugin author releases an update, and you are not sure if it conflicts with your current setup.
- You plan to redesign your homepage but need to keep the current one live.
- You want to install a new caching or security plugin but worry about performance.
- You are learning how to code custom functions and want a safe playground.
Without a staging environment, every change you make is a roll of the dice. With one, you can experiment freely and deploy only what works.
Three ways to create a staging site for WordPress
Below is a comparison of the most common methods. Choose the one that fits your hosting plan and technical skills.
| Method | Best For | Complexity | Risk Level |
|---|---|---|---|
| Hosting control panel (cPanel, managed host) | Beginners with shared or managed hosting | Low | Very low |
| WordPress staging plugin (e.g., WP Staging, Duplicator) | Do it yourself users with decent host resources | Medium | Low (if host allows) |
| Manual copy (FTP + phpMyAdmin) | Developers who want full control | High | Medium (mistakes possible) |
Let’s walk through each method step by step.
Method 1: Use your hosting provider’s staging tool
Many web hosts now offer one click staging as part of their managed WordPress plans. Companies like SiteGround, WP Engine, Flywheel, and Cloudways include this feature. It is the safest and easiest route.
- Log in to your hosting dashboard and find the WordPress management section.
- Look for a button labeled “Staging” or “Create Staging Environment”.
- Enter a name for your staging site (for example, “staging” or “test”).
- The host will automatically clone your live site into a subdirectory or subdomain.
- Once cloning finishes, you will see a separate URL for the staging site (like staging.yoursite.com).
- Log in to the staging site using the same admin credentials (or create new ones if prompted).
- Make your changes, test everything, and then push the staging site back to live when ready.
Pros: No technical work needed. The host handles all file copying and database duplication. Most hosts also let you push changes with one click.
Cons: Not all hosts offer this. If your host does not support staging, you will need another method.
Method 2: Install a staging plugin
If your hosting plan does not include staging, a plugin can do the job. The most popular choice is the free plugin “WP Staging”. Another good option is “Duplicator”, which creates a portable package you can import into a subfolder.
Here is how to use WP Staging (free version):
- Go to your WordPress admin dashboard and click Plugins > Add New.
- Search for “WP Staging” and install it. Then activate it.
- A new menu item called “WP Staging” will appear. Click it.
- Click “Create New Staging Site”.
- Give your staging site a name, like “staging2026”.
- The plugin will clone your database and files into a subdirectory. This can take a few minutes depending on site size.
- Once done, you will see a link to the staging site. The plugin also adds a staging site bar in the admin area so you know where you are.
Important: Some shared hosting plans limit server resources. Cloning a large site may time out. If that happens, ask your host to increase the PHP memory limit or try the manual method.
Method 3: Create a staging site manually
For developers who want full control, manual cloning is the way. This method uses an FTP client and a database tool like phpMyAdmin.
- Create a subdomain or subfolder on your server (for example, staging.yourdomain.com).
- Use FTP to download all files from your live WordPress installation. Then upload them to the staging folder.
- Export your live database: In phpMyAdmin, select your WordPress database, click “Export”, and choose “SQL” format.
- Create a new database for staging. Then import the SQL file you exported.
- Edit the wp config.php file in your staging folder. Change the database name, username, password, and host to match the new database.
- Update the site URLs in the database. Use a tool like “Better Search Replace” or run SQL queries to change “https://yoursite.com” to “https://staging.yoursite.com”.
- Test the staging site by visiting its URL. Log in using the same admin credentials.
Expert advice: Always take a fresh backup of your live site before trying any manual staging process. A single SQL mistake can corrupt your live database. If you are not comfortable with phpMyAdmin, stick with a plugin or host tool.
Common mistakes to avoid when making a staging site
Even with the best intentions, things can go wrong. Here are pitfalls to watch for:
- Forgetting to block search engines on the staging site. Your staging site may get indexed by Google, causing duplicate content issues. Use a plugin like “Yoast SEO” to set the staging site to “noindex” or add a password protection.
- Editing the live site files while staging is in progress. Do not make changes to your live site after cloning, or you will have trouble syncing.
- Using staging on a shared host with very limited disk space. Cloning a large media library can fill up your server quota fast.
- Pushing changes to live without testing thoroughly. Always test forms, checkout processes, and critical plugins on the staging site first.
- Ignoring database table prefixes. If your staging site has a different prefix, some plugins may break. Modern staging plugins handle this automatically.
How to deploy changes from staging to live
Once you have tested everything and are happy with the results, you need to move the changes to your live site.
- Hosting tool: Most managed hosts offer a “Push to Live” button. Clicking it will overwrite your live site with the staging version. Double check that you have a backup of the live site before pushing.
- Plugin method: Some plugins (like WP Staging Pro) allow you to push changes. The free version does not, so you would need to manually copy files and database or use a migration plugin.
- Manual method: Repeat the manual process in reverse. Export the staging database, import it into the live database, and overwrite the live files with the staging files. Use caution.
If you are using a staging plugin and upgrading to a pro version, you can push changes easier. Otherwise, consider using a separate migration plugin like “All in One WP Migration” to move the staging site to a new installation or back to live.
Integrating staging into your regular workflow
Creating a staging site once is helpful, but making it part of your routine is even better. Every time you plan a major update, spin up a staging site. Test all your plugins, check for compatibility with your theme, run a performance test using tools like Google PageSpeed Insights, and ask a colleague to review the design. Once everything passes, push to live.
If you manage multiple WordPress sites, consider using a management platform like MainWP or InfiniteWP that includes staging features. These tools can save hours of manual work.
For more on safe plugin updates, read our guide on how to safely update WordPress plugins without breaking your site. And if you are still deciding whether a staging environment is worth the effort, check out our article on should you use a staging environment for your website.
Your staging workflow starts now
The fear of breaking your live site is real. But it does not have to control your workflow. By setting up a staging site, you give yourself permission to experiment. You can install that new plugin, try that risky code snippet, or give your site a fresh look without losing sleep.
Start with the method that feels most comfortable: a one click host tool, a free plugin, or a manual clone. Test it this week with a small change, like updating a widget or swapping a hero image. See how easy it is. Once you experience the freedom of staging, you will wonder how you ever managed without it. Go ahead and create that safety net today. Your future self will thank you.