
You just updated your domain’s DNS settings. Maybe you switched hosting providers, changed nameservers, or pointed your domain to a new server. You refresh your browser, expecting to see your site at its new home. Instead, you see the old site. Or worse, nothing at all.
Welcome to DNS propagation, the waiting game nobody warned you about.
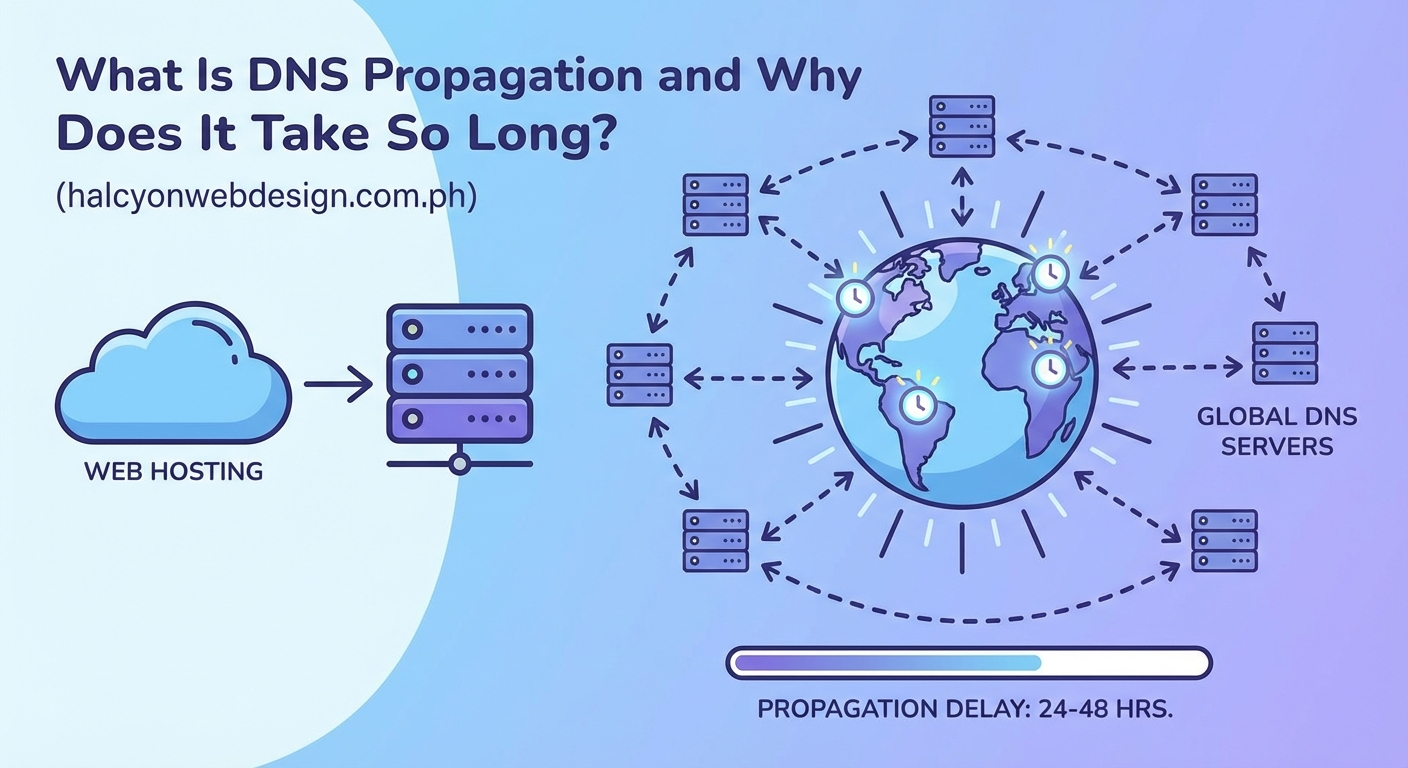
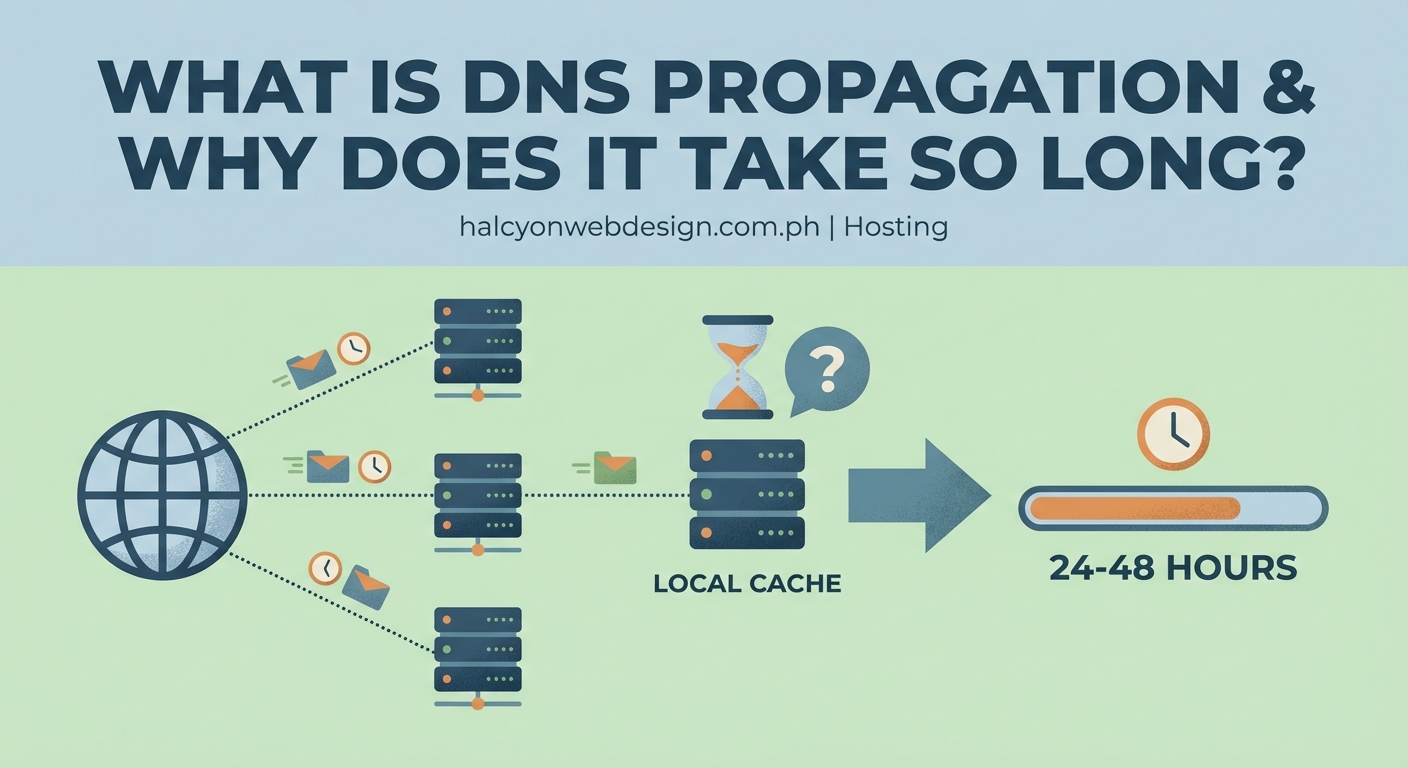
DNS propagation is the time it takes for DNS changes to spread across the internet’s network of servers worldwide. This process typically takes 24 to 48 hours but can extend to 72 hours in some cases. The delay happens because DNS servers cache old records according to their TTL settings, and thousands of servers need to update their information independently before everyone sees your changes.
Understanding DNS and how it works
Think of DNS as the internet’s phone book. When someone types your domain name into their browser, DNS servers translate that human-friendly name into an IP address that computers understand.
Your domain name points to a specific server somewhere. That server hosts your website files. Without DNS doing this translation work, visitors would need to type in something like 192.168.1.1 instead of yourwebsite.com.
DNS records live on nameservers. These nameservers are specialized computers that store information about which domain points where. When you make a DNS change, you’re updating these records.
But here’s the catch. Your nameservers aren’t the only ones storing this information.
Why DNS changes don’t happen instantly
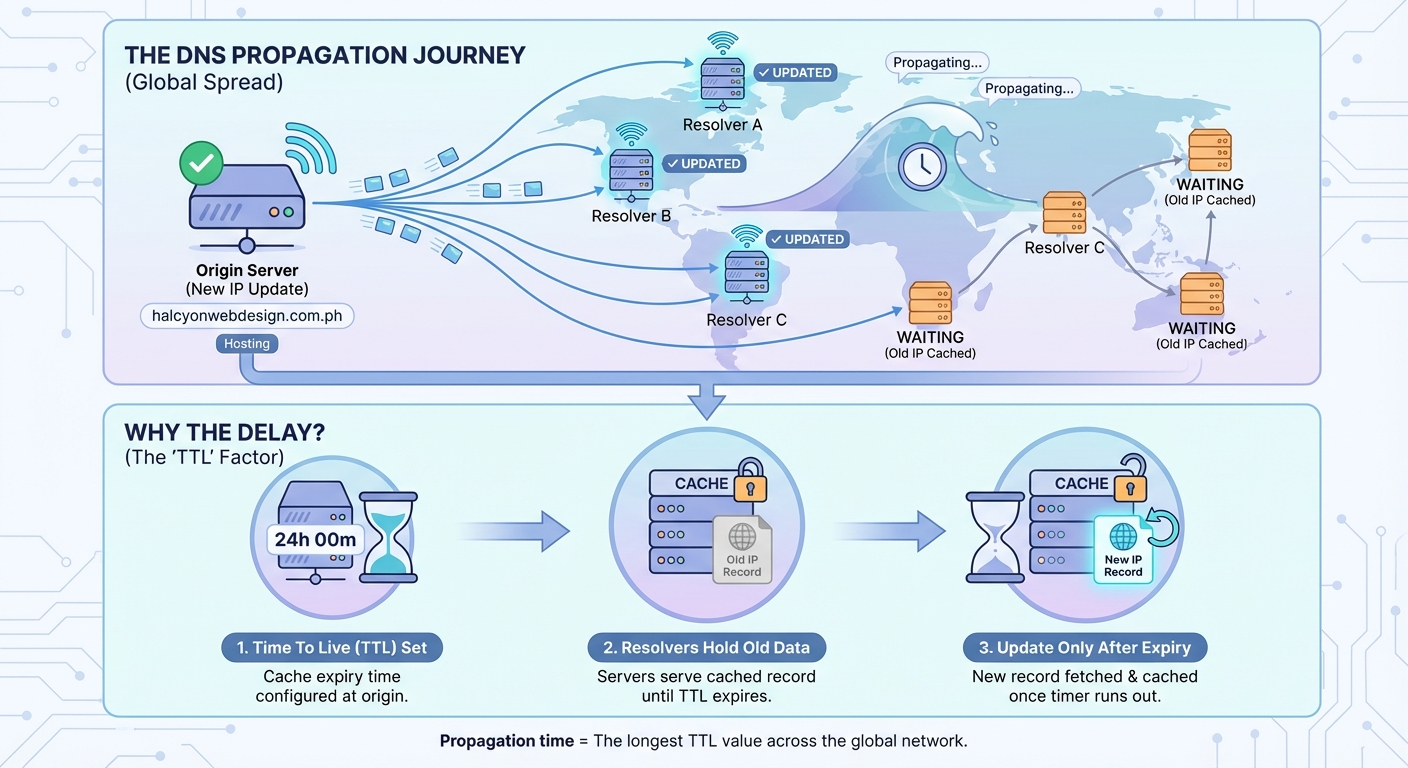
Internet service providers, hosting companies, and various networks all run their own DNS servers. These servers cache DNS information to speed up browsing for their users.
Caching means storing a temporary copy. Instead of asking your authoritative nameserver every single time someone visits your site, these DNS servers save the answer for a while. This reduces traffic and makes the internet faster.
When you update your DNS records, your authoritative nameserver gets the new information right away. But all those other DNS servers around the world still have the old information cached.
They won’t check for updates until their cached copy expires.
What TTL means for your DNS changes
TTL stands for Time To Live. It’s a setting on every DNS record that tells other servers how long they should cache that information.
TTL is measured in seconds. A TTL of 3600 means other servers will cache your DNS record for one hour. A TTL of 86400 means they’ll cache it for 24 hours.
Here’s how it affects your propagation time:
- High TTL (86400 or 24 hours): Faster browsing for visitors, but DNS changes take longer to spread
- Low TTL (300 or 5 minutes): DNS changes spread faster, but slightly more server queries
- Default TTL (usually 3600 to 14400): Balanced approach most hosting providers use
If your TTL is set to 24 hours and you make a DNS change, some servers won’t see that change for a full day. They’re still using the cached version they grabbed yesterday.
The actual propagation timeline
Most DNS changes fully propagate within 24 to 48 hours. Some finish faster. Others take the full 72 hours.
The timeline depends on several factors:
- Your current TTL setting before you made the change
- When different DNS servers last cached your records
- How quickly your DNS provider updates their servers
- Geographic location of various DNS servers worldwide
You might see your changes immediately on your computer while someone across the country still sees the old version. This is completely normal.
Different internet service providers refresh their DNS caches on different schedules. Some are aggressive about checking for updates. Others hold onto cached records until the TTL absolutely expires.
Why different people see different versions
During propagation, your website exists in a state of flux. Some DNS servers have updated information. Others don’t.
This creates an inconsistent experience:
- You see the new site because your local DNS server updated
- Your colleague sees the old site because their ISP’s DNS server hasn’t updated yet
- Someone in another country might see an error because their DNS server is mid-update
This isn’t a problem with your DNS settings. It’s the normal propagation process playing out.
Mobile users on cellular networks might see different results than desktop users on WiFi. They’re using different DNS servers with different cache refresh schedules.
Common scenarios that trigger DNS propagation
Understanding when you’ll face propagation delays helps you plan better.
| Scenario | Typical Propagation Time | Planning Tip |
|---|---|---|
| Changing nameservers | 24 to 48 hours | Do this during low traffic periods |
| Updating A records | 1 to 24 hours | Lower TTL 24 hours before changing |
| Modifying MX records | 4 to 24 hours | Keep old mail server active during transition |
| Adding new subdomains | 1 to 12 hours | Usually faster than root domain changes |
| Switching hosting providers | 24 to 72 hours | Maintain both servers during migration |
Email changes deserve special attention. If you’re updating MX records (mail server settings), keep your old mail server running during propagation. Otherwise, emails sent during this window might bounce or get lost.
How to speed up DNS propagation
You can’t force every DNS server on the internet to update immediately. But you can prepare for faster propagation.
Lower your TTL before making changes. If you know you’ll be switching hosts next week, reduce your TTL to 300 (5 minutes) a few days beforehand. This tells DNS servers to check for updates more frequently.
After the old TTL period expires with the lower setting in place, make your actual DNS changes. Propagation will happen much faster because servers are already checking every 5 minutes instead of every 24 hours.
Once propagation completes, raise your TTL back to normal levels. Keeping it permanently low creates unnecessary DNS queries.
The best time to lower your TTL is before you need to make changes, not during the change itself. Think of it like packing your bags the night before a trip instead of as the taxi arrives.
Checking propagation status
Several free tools let you check DNS propagation from different locations worldwide.
These tools query DNS servers in various countries and show you what each one reports for your domain. You’ll see a mix of old and new IP addresses during propagation.
Some servers update within minutes. Others take the full TTL duration. The tools give you a visual representation of this gradual rollout.
Your local computer also caches DNS records. Even if propagation is complete globally, your machine might still have old information cached. Flushing your DNS cache forces your computer to fetch fresh records.
The command varies by operating system:
- Windows: Open Command Prompt and type
ipconfig /flushdns - Mac: Open Terminal and type
sudo dscacheutil -flushcache; sudo killall -HUP mDNSResponder - Linux: The command depends on your distribution, often
sudo systemd-resolve --flush-caches
What to do during the waiting period
Propagation time is unavoidable, but you can work around it.
Keep your old hosting active until propagation completes. Upload your new site to the new host, but don’t cancel the old one yet. This ensures visitors see something functional regardless of which DNS server they hit.
Test your new site using the direct IP address or a temporary URL your host provides. Most hosting companies offer a way to preview your site before DNS points to it.
Communicate with your team. Let them know DNS changes are in progress and that different people will see different versions temporarily. This prevents panic and duplicate support tickets.
For critical updates, schedule them during low traffic periods. A Tuesday at 2am sees fewer visitors than Friday afternoon. If something goes wrong during propagation, fewer people are affected.
Troubleshooting when propagation seems stuck
Sometimes propagation appears to stall. Your changes should have spread by now, but some locations still show old records.
First, verify you actually made the changes correctly. Log into your DNS provider and confirm the new records are saved. A surprising number of “propagation issues” are actually configuration mistakes.
Check your domain’s authoritative nameservers. Use a tool to query them directly. If they’re returning the correct new information, the problem is propagation. If they’re still showing old data, the changes didn’t save properly.
Contact your DNS provider if propagation exceeds 72 hours. While rare, technical issues occasionally prevent proper propagation. They can investigate whether something on their end is blocking updates.
Some DNS providers have multiple nameservers that need to sync with each other first. If these internal servers aren’t syncing, external propagation can’t begin. Your provider can check this synchronization.
The role of DNS providers in propagation speed
Not all DNS providers are equal. Some update their nameservers almost instantly when you save changes. Others batch updates and process them every few hours.
Managed DNS services from companies specializing in DNS often propagate faster than basic DNS included with domain registration. They have more nameservers in more locations, and they prioritize fast updates.
Free DNS services usually work fine but might be slower to propagate changes. Premium DNS services often guarantee faster internal updates, though they can’t control how quickly external servers refresh their caches.
Your domain registrar and your DNS provider don’t have to be the same company. Many website owners use their registrar for domain registration but point to a specialized DNS provider for better performance and faster updates.
Planning major DNS changes
Big migrations need careful planning. Moving to a new host, redesigning your site, or changing email providers all involve DNS updates.
Create a checklist:
- Document all current DNS records before changing anything
- Lower TTL settings 48 hours before the planned change
- Set up the new hosting environment completely before updating DNS
- Make DNS changes during your lowest traffic window
- Monitor both old and new servers during propagation
- Raise TTL back to normal once propagation completes
Keep the old server running for at least 72 hours after making DNS changes. This safety net ensures visitors reach something functional even if propagation takes longer than expected.
Back up everything before starting. Your website files, databases, email accounts, and DNS records. If something goes wrong, you need a way to roll back.
DNS propagation and email delivery
Email is particularly sensitive to DNS changes. When you update MX records, some mail servers might deliver to the old server while others use the new one.
Run both mail servers in parallel during propagation. Configure the old server to forward incoming mail to the new one, or check both inboxes until propagation completes.
Missing emails during a migration creates real business problems. A 48-hour window where some messages go to the old server and others to the new one requires monitoring both locations.
SPF, DKIM, and DMARC records also need updating when changing mail servers. These email authentication records have their own TTL settings and propagation timelines.
Your changes are spreading right now
DNS propagation feels slow because we’re used to instant updates everywhere else online. But this gradual rollout is actually a feature, not a bug.
The internet’s distributed nature makes it resilient. No single point of failure can take everything down. But this distribution means changes need time to ripple through the system.
Your DNS updates are working their way across thousands of servers as you read this. Each one will update according to its own schedule. Within a day or two, everyone worldwide will see your changes.
Plan ahead, lower your TTL before major changes, and keep backup systems running during the transition. DNS propagation is predictable once you understand it. The waiting period becomes manageable instead of mysterious.