Your WordPress site is a target right now. Hackers are running automated scripts that test thousands of sites every hour, looking for weak passwords, outdated plugins, and default settings that scream “easy victim.” Most site owners don’t realize their site has been compromised until it’s too late. The good news? You can lock down your WordPress installation in an afternoon with a focused wordpress security hardening checklist that addresses the most common vulnerabilities.
WordPress security hardening means changing default settings, restricting file access, enforcing strong authentication, and monitoring your site for suspicious activity. This checklist covers 15 actionable steps that protect against brute force attacks, malware injection, and unauthorized access. Most changes take five minutes or less and require only basic technical knowledge to implement successfully.
Why WordPress sites get hacked in the first place
WordPress powers 43% of all websites. That popularity makes it a prime target.
Attackers don’t need to be geniuses. They use automated tools that scan for known vulnerabilities in outdated plugins, weak passwords, and misconfigured servers. A single compromised site can send spam, steal customer data, or redirect visitors to malicious pages.
The damage goes beyond technical issues. A hacked site loses search rankings, customer trust, and revenue. Google blacklists infected sites. Hosting providers shut down accounts that spread malware. Recovery takes weeks and costs thousands.
Most breaches happen because of preventable mistakes. Default usernames. Missing updates. Choosing the right WordPress hosting plan matters, but even the best host can’t protect you from poor security habits.
Understanding the layers of WordPress security
WordPress security works in layers. Think of it like protecting your house.
You need a strong front door (login security), locked windows (file permissions), an alarm system (monitoring), and regular maintenance (updates). Each layer adds protection. If one fails, others still guard your site.
The core WordPress software is secure. Most vulnerabilities come from three sources: outdated plugins or themes, weak authentication, and server misconfigurations. Your wordpress security hardening checklist should address all three.
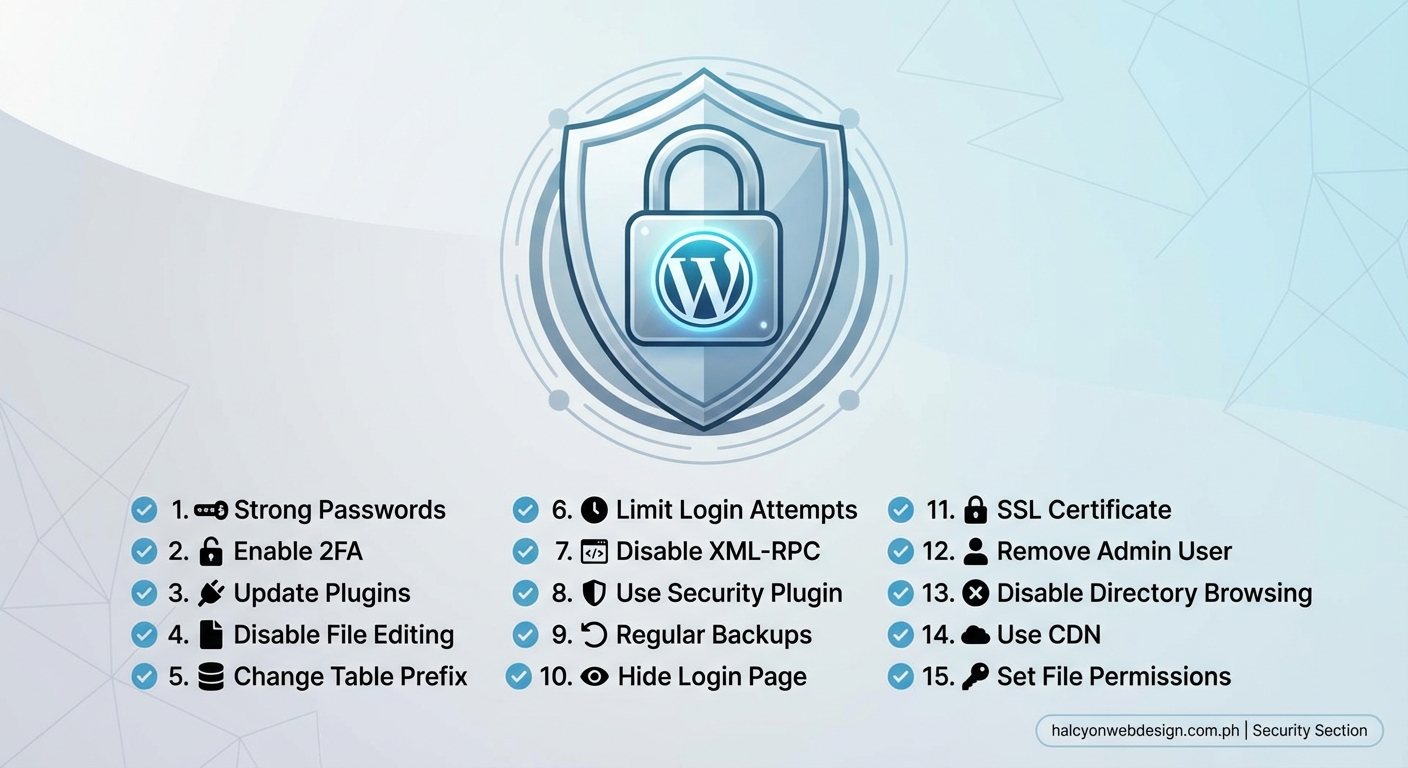
The 15 settings you should change today
1. Change your database prefix from wp_ to something unique
WordPress uses “wp_” as the default database table prefix. Hackers know this. They write SQL injection attacks that target tables like wp_users and wp_posts.
Open your wp-config.php file and find this line:
$table_prefix = ‘wp_’;
Change it to something random like “xyz47_” before you install WordPress. If your site is already live, use a plugin to rename tables safely. This simple change blocks automated attacks that assume default names.
2. Disable file editing from the WordPress dashboard
WordPress lets administrators edit theme and plugin files directly from the dashboard. That’s convenient until a hacker gains admin access.
Add these two lines to your wp-config.php file:
define(‘DISALLOW_FILE_EDIT’, true);
define(‘DISALLOW_FILE_MODS’, true);
The first line removes the file editor. The second prevents plugin and theme installations from the dashboard. You’ll need FTP access to make changes, but attackers can’t inject malicious code through your admin panel.
3. Move your wp-config.php file one directory up
The wp-config.php file contains your database credentials and security keys. By default, it sits in your WordPress root directory where it’s accessible to anyone who finds a vulnerability.
WordPress allows you to move wp-config.php one level above your web root. If your site lives in /public_html/wordpress/, move the file to /public_html/. WordPress will find it automatically, but attackers can’t access it through your web server.
4. Set proper file and directory permissions
Wrong permissions let attackers modify files or read sensitive data.
Use these settings:
- Directories: 755
- Files: 644
- wp-config.php: 440 or 400
Connect via FTP or SSH and run these commands:
find /path/to/wordpress/ -type d -exec chmod 755 {} \;
find /path/to/wordpress/ -type f -exec chmod 644 {} \;
chmod 440 /path/to/wp-config.php
Never use 777 permissions. That gives everyone full access to your files.
5. Block access to sensitive files with .htaccess rules
Your .htaccess file controls server behavior. Add these rules to block access to files that should never be public:
Order deny,allow
Deny from all
This prevents direct access to configuration files, error logs, and .htaccess itself.
6. Disable XML-RPC if you don’t need it
XML-RPC allows remote connections to WordPress. Mobile apps and some plugins use it. Attackers use it for brute force attacks and DDoS amplification.
If you don’t use the WordPress mobile app or remote publishing tools, disable XML-RPC by adding this to your .htaccess file:
Order Deny,Allow
Deny from all
Test your site after making this change. Some plugins break without XML-RPC access.
7. Change your login URL from /wp-admin/
Bots hammer the default login page at yoursite.com/wp-admin/ with thousands of password attempts. Moving the login URL stops most automated attacks cold.
Use a security plugin that changes your login URL to something like yoursite.com/portal/ or yoursite.com/enter/. Bots can’t attack a page they can’t find.
Securing your WordPress login page takes this concept further with additional protections.
8. Limit login attempts to three per hour
WordPress allows unlimited login attempts by default. Attackers exploit this by trying thousands of passwords until one works.
Install a plugin that locks out users after three failed attempts. Set the lockout duration to one hour. Legitimate users who forget their password can reset it. Bots move on to easier targets.
9. Enforce strong passwords for all users
Weak passwords are the number one cause of WordPress breaches. “admin123” and “password” take seconds to crack.
Go to Settings > General and check “Require strong passwords for all users.” WordPress will enforce minimum requirements: uppercase letters, lowercase letters, numbers, and symbols.
For extra protection, require passwords longer than 12 characters. Use a password manager to generate and store complex passwords.
10. Enable two-factor authentication for admin accounts
Two-factor authentication (2FA) requires a second verification step after entering your password. Even if attackers steal your password, they can’t log in without the code from your phone.
Install a 2FA plugin that supports authenticator apps like Google Authenticator or Authy. Enable it for all administrator and editor accounts. Contributors and subscribers can use regular passwords if needed.
11. Remove the admin username and create a unique administrator account
Never use “admin” as your username. It’s the first thing attackers try.
Create a new administrator account with a unique username like “j_martinez_2024” or “site_owner_47.” Delete the original admin account and assign all its content to the new account.
This simple change eliminates half the information attackers need to access your site.
12. Install SSL and force HTTPS across your entire site
SSL certificates encrypt data between your server and visitors’ browsers. Without SSL, passwords and personal information travel as plain text.
Get a free SSL certificate from Let’s Encrypt or your hosting provider. Install it, then add these lines to your wp-config.php file:
define(‘FORCE_SSL_ADMIN’, true);
Add this to your .htaccess file to redirect all traffic to HTTPS:
RewriteEngine On
RewriteCond %{HTTPS} off
RewriteRule ^(.*)$ https://%{HTTP_HOST}%{REQUEST_URI} [L,R=301]
Test your site to make sure all pages load correctly over HTTPS.
13. Keep WordPress core, themes, and plugins updated
Every WordPress update patches security vulnerabilities. Outdated software is like leaving your front door unlocked.
Enable automatic updates for WordPress core. Go to Dashboard > Updates and turn on automatic updates for minor releases.
Update plugins and themes manually once per week. Before updating, back up your site. Test updates on a staging site if possible. Choosing the right WordPress plugin helps you avoid problematic software from the start.
Delete unused themes and plugins. They’re still vulnerable even when deactivated.
14. Set up automated daily backups
Backups don’t prevent attacks, but they let you recover without losing data.
Use a backup plugin that stores copies off-site. Amazon S3, Google Drive, and Dropbox work well. Schedule automatic daily backups that include your database and all files.
Test your backups monthly. A backup you can’t restore is worthless.
15. Install a security plugin with malware scanning and firewall protection
Security plugins add multiple protections in one package. They scan for malware, block suspicious traffic, and alert you to vulnerabilities.
Good options include Wordfence, Sucuri Security, and iThemes Security. Install one (never multiple security plugins together) and run the initial scan. Fix any issues it finds.
Enable the web application firewall (WAF) to block attacks before they reach WordPress. Configure email alerts for critical events like failed login attempts and file changes.
“Security isn’t a one-time setup. It’s an ongoing process. The best defense combines multiple layers: strong authentication, restricted file access, regular updates, and active monitoring. No single measure stops every attack, but together they make your site too difficult for most attackers to bother with.” – Security researcher at WPScan
Common mistakes that weaken WordPress security
| Mistake | Why it’s dangerous | Better approach |
|---|---|---|
| Using nulled plugins | Contain backdoors and malware | Buy legitimate licenses or use free alternatives |
| Ignoring update notifications | Leaves known vulnerabilities open | Update within 48 hours of release |
| Using the same password everywhere | One breach compromises all accounts | Use unique passwords for each site |
| Skipping backups | No way to recover from attacks | Automate daily off-site backups |
| Installing too many plugins | More code means more vulnerabilities | Keep only essential, well-maintained plugins |
| Trusting free themes from unknown sources | Often contain hidden malicious code | Use themes from WordPress.org or reputable developers |
How to maintain your security after initial hardening
Security hardening isn’t a one-time task. Threats evolve. New vulnerabilities appear.
Follow this maintenance schedule:
- Check for updates every Monday morning
- Review user accounts monthly and remove inactive users
- Scan for malware weekly with your security plugin
- Test your backups on the first day of each month
- Review security logs every Friday afternoon
Set calendar reminders for each task. Consistency matters more than perfection.
Watch for warning signs of compromise:
- Unexpected traffic spikes
- New user accounts you didn’t create
- Files modified on dates you didn’t work on the site
- Emails bouncing from addresses you didn’t send
- Google warnings about malware or phishing
If you notice any of these, assume your site is compromised. Take it offline immediately and restore from a clean backup.
Choosing security tools that work together
Not all security plugins play nicely together. Running multiple firewalls or malware scanners creates conflicts that slow your site or break features.
Pick one comprehensive security plugin for core protection. Add specialized tools only for specific needs:
- Firewall and scanning: One security plugin handles both
- Backups: Use a dedicated backup plugin
- Login protection: Often included in security plugins, but standalone options work if needed
- SSL management: Your hosting provider usually handles this
Test new plugins on a staging site first. Monitor site performance after installing security tools. Some add significant overhead.
When to hire a security professional
Most WordPress security hardening works for DIY implementation. Sometimes you need expert help.
Hire a professional if:
- Your site handles payment information or sensitive customer data
- You’ve been hacked before and want to prevent repeat attacks
- You run a membership site or online store with thousands of users
- You lack technical confidence to edit server files
- Your hosting provider doesn’t offer SSH or file access
Security audits cost between $500 and $2,000 depending on site complexity. That’s cheaper than recovering from a major breach.
The relationship between hosting and security

Your hosting environment affects security more than most site owners realize.
Shared hosting puts your site on a server with hundreds of others. If one site gets hacked, attackers sometimes access neighboring sites. Shared hosting also limits your ability to configure server security settings.
Better hosting options include:
- Managed WordPress hosting: Provider handles security updates, firewalls, and monitoring
- VPS hosting: You get dedicated resources and full server control
- Cloud hosting: Scalable resources with built-in DDoS protection
Choosing the right web hosting plan affects both security and performance. Invest in hosting that matches your security needs.
Building security into your workflow from day one
The best time to harden WordPress security is before you launch. The second best time is right now.
New site checklist:
- Install WordPress with a custom database prefix
- Create a unique admin username (never “admin”)
- Set strong passwords for all accounts
- Configure file permissions correctly
- Install SSL certificate
- Add security plugin and run initial scan
- Set up automated backups
- Disable XML-RPC if not needed
- Remove default themes and plugins
- Configure two-factor authentication
This takes about 30 minutes. Do it before adding content or going live.
For existing sites, work through the 15 settings in this wordpress security hardening checklist over a weekend. Back up before making changes. Test each modification to ensure nothing breaks.
Making security a habit instead of a chore
Security feels overwhelming when you tackle everything at once. Break it into small habits.
Week 1: Focus on authentication. Change passwords, enable 2FA, review user accounts.
Week 2: Handle file security. Set permissions, move wp-config.php, add .htaccess rules.
Week 3: Configure monitoring. Install security plugin, set up alerts, schedule scans.
Week 4: Establish maintenance routine. Update software, test backups, review logs.
After the first month, security becomes routine. You’ll spend 15 minutes per week maintaining protections that would take days to rebuild after an attack.
Your site deserves better than default settings
WordPress ships with sensible defaults for ease of use, not maximum security. That’s fine for local development. It’s dangerous for production sites.
Every setting in this checklist addresses a real vulnerability that attackers exploit daily. Changing your database prefix stops SQL injection attempts. Moving your login URL blocks brute force bots. Enforcing strong passwords prevents account takeovers.
You don’t need to be a security expert to protect your site. You just need to stop using defaults that make attackers’ jobs easier. Start with the three highest-impact changes: strong passwords, regular updates, and a security plugin. Add the rest over the next few weeks.
Your site, your content, and your visitors deserve that effort.