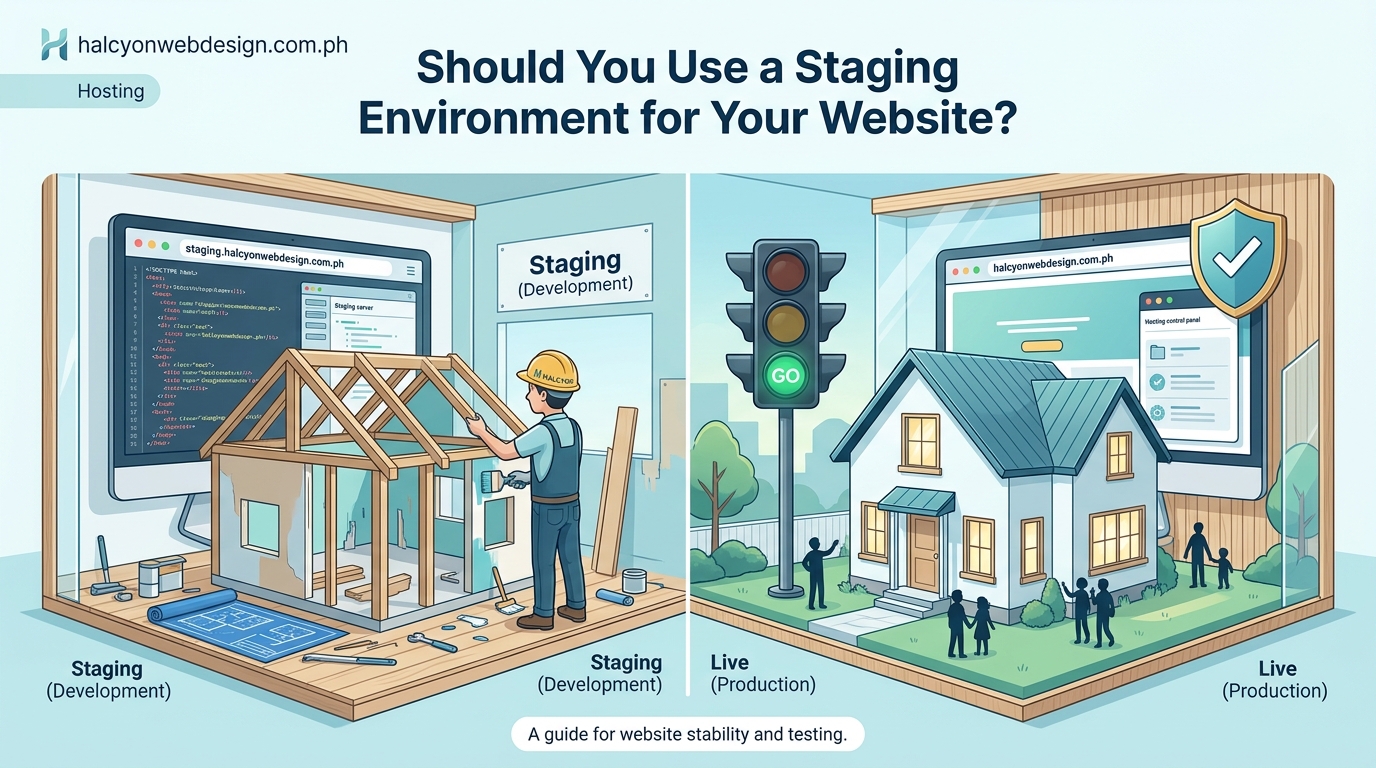
You’ve probably heard developers talk about staging environments like they’re essential. But do you actually need one for your WordPress site?
The answer depends on how often you update your site, what kind of changes you make, and how much risk you can tolerate. A staging environment is basically a private copy of your website where you can test updates, new plugins, and design changes before pushing them live. Think of it as a rehearsal space for your website.
A staging environment is essential if you regularly update plugins, test new themes, or run an e-commerce site. Small business owners with static sites that rarely change can often skip it. The decision comes down to update frequency, technical complexity, and how much downtime you can afford. Most WordPress hosts now include staging tools, making it easier than ever to protect your live site from breaking changes.
What a staging environment actually does
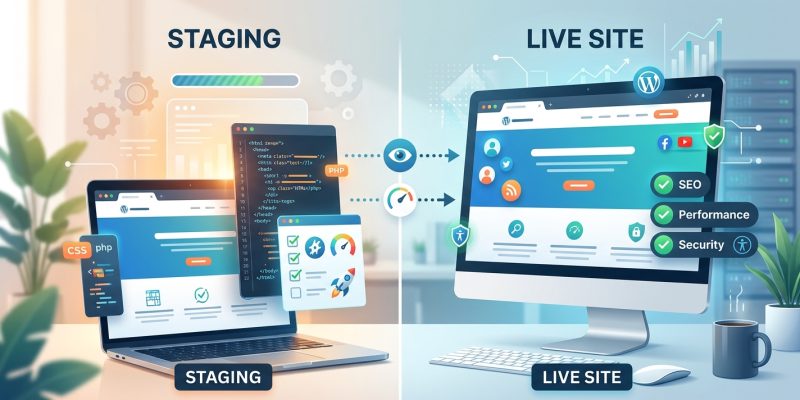
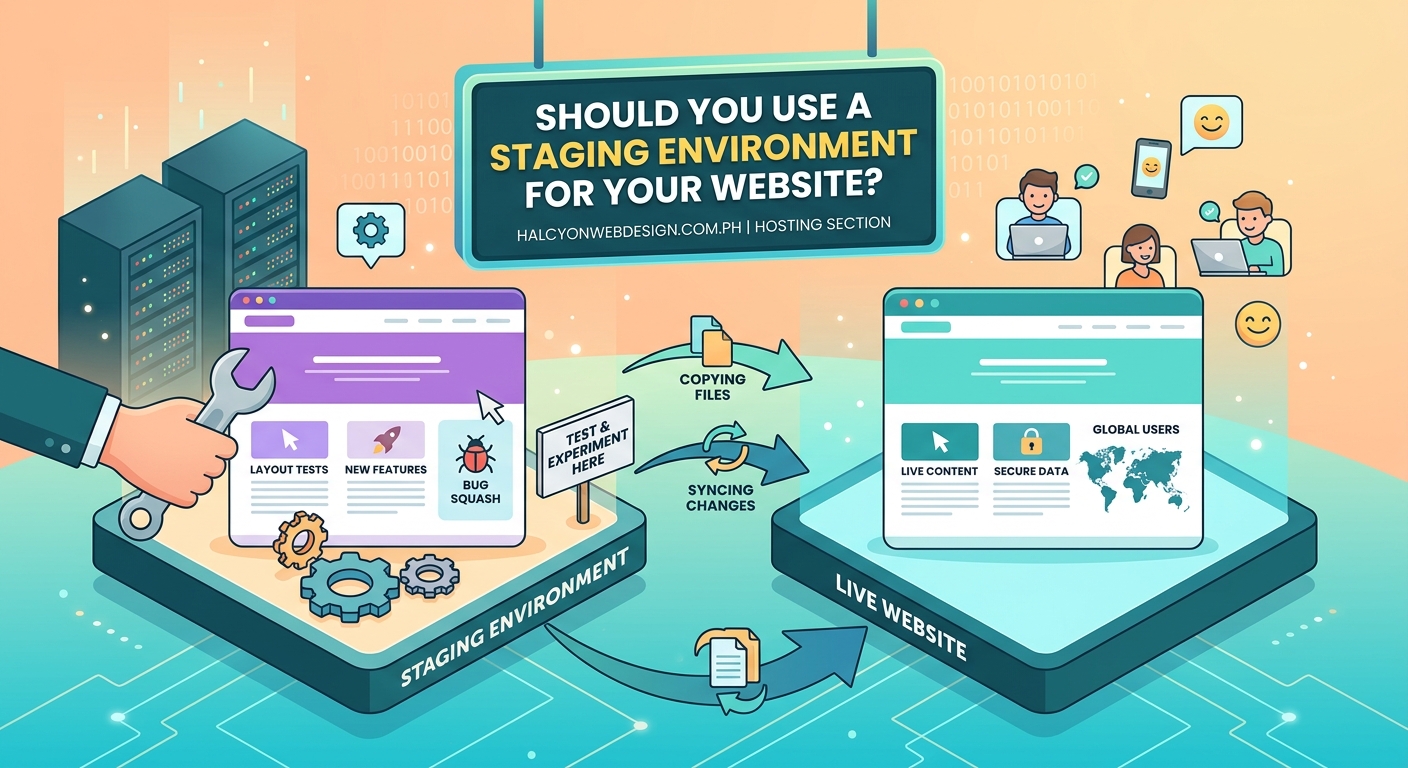
A staging environment creates an exact replica of your live website on a separate server or subdomain.
You make changes there first.
Test everything.
Then push approved changes to your live site.
This workflow prevents visitors from seeing broken layouts, plugin conflicts, or error messages while you experiment. Professional developers use staging environments for every project. Small business owners often wonder if they really need the same setup.
The answer isn’t always yes.
Signs you definitely need a staging environment
Some websites absolutely require staging environments. Here are the clearest indicators:
- You run an e-commerce site that processes payments
- You update plugins or themes weekly
- Multiple people edit your website
- You customize code or use child themes
- Downtime costs you money or damages your reputation
- You’re planning a major redesign
E-commerce sites face the highest risk. A broken checkout page means lost sales. Testing updates on a staging site catches these problems before customers see them.
If you’re constantly tweaking your site, staging becomes your safety net. One bad plugin update can break your entire site. Testing first means you catch conflicts before they go live.
When you can probably skip staging
Not every website needs a staging environment.
You can likely skip it if:
- Your site is a simple blog with minimal updates
- You only publish content and rarely change settings
- You use a page builder and stick to visual edits
- Your hosting plan doesn’t include staging tools
- You have reliable backups and can restore quickly
A personal blog that publishes twice a month doesn’t face the same risks as a membership site. If you’re just writing posts and uploading images, the complexity doesn’t justify the setup time.
Small business websites with static content fall into this category too. If you update your hours and menu once a quarter, staging might be overkill.
That said, you still need a backup strategy. Even simple sites can break. The difference is that manual backups might be enough without a full staging workflow.
How to set up staging without technical skills
Most modern WordPress hosts include staging environments in their control panels.
Here’s how the process typically works:
- Log into your hosting dashboard
- Find the staging or site management section
- Click “Create staging site” or similar button
- Wait for the host to clone your live site
- Access your staging site through a temporary URL
The entire process takes 5 to 10 minutes.
Popular hosts like SiteGround, Kinsta, and WP Engine automate everything. You don’t need to configure servers or databases manually. The staging site lives on the same server as your live site, making it easy to push changes when you’re ready.
If your hosting plan doesn’t include staging, plugins can help. WP Staging and BlogVault create staging sites without requiring server access. These tools work on shared hosting plans that don’t offer native staging features.
Common staging mistakes that create more problems
Staging environments only help if you use them correctly.
Here are mistakes that defeat the purpose:
| Mistake | Why it matters | How to avoid it |
|---|---|---|
| Testing on outdated staging sites | Your test results don’t reflect current live site conditions | Refresh staging from live before each test session |
| Skipping plugin updates on staging | You miss conflicts between new and old versions | Update staging plugins before updating live |
| Not testing mobile layouts | Responsive issues slip through to live | Check staging site on actual phones and tablets |
| Pushing changes without backups | Failed deployments can break both sites | Back up live site before pushing staging changes |
| Ignoring staging site security | Hackers can access staging and find vulnerabilities | Password protect staging URLs and use strong credentials |
The biggest mistake is creating a staging site and then forgetting to refresh it. Your staging environment should mirror your live site as closely as possible. If your live site has 50 posts and your staging site has 20, your tests won’t catch real-world issues.
Refresh your staging site from your live site regularly. Most hosts let you do this with one click.
Testing workflow that actually prevents disasters
Having a staging environment means nothing if you don’t follow a consistent testing process.
Here’s a reliable workflow:
- Refresh staging from your live site
- Make one change at a time (update one plugin, not five)
- Test the specific feature you updated
- Browse your entire site checking for visual breaks
- Test forms, checkout, and critical user paths
- Check mobile and tablet views
- Review browser console for JavaScript errors
- Document what you changed and what you tested
This systematic approach catches problems before they reach visitors.
Testing one change at a time is critical. If you update three plugins simultaneously and something breaks, you won’t know which plugin caused the problem. You’ll waste time troubleshooting instead of simply rolling back the problematic update.
“The best staging workflow treats each update like a deployment. Document everything. Test thoroughly. Push confidently. This mindset prevents the panic that comes from breaking a live site at 9 PM on a Friday.”
Cost versus benefit for different site types
Whether you need a staging environment depends on what your website does and how much risk you can accept.
Here’s how different site types should evaluate staging:
E-commerce sites: Always use staging. A broken checkout costs real money. Test every update before it goes live.
Membership sites: Staging is essential. Login issues, broken paywalls, and content access problems frustrate paying members. Test authentication flows thoroughly.
Business websites: Staging makes sense if you update regularly. If you rarely touch your site, focus on reliable backups instead.
Personal blogs: Staging is optional. If you’re comfortable with occasional downtime and have good backups, you can test updates on your live site during low-traffic hours.
Portfolio sites: Usually don’t need staging. These sites change infrequently and don’t process transactions. Backups provide adequate protection.
The pattern is clear. Higher stakes and more frequent updates justify staging environments. Lower stakes and infrequent changes make staging less critical.
Alternatives to full staging environments
You don’t need a complete staging environment to test changes safely.
Here are simpler alternatives:
Local development environments: Tools like Local by Flywheel let you run WordPress on your computer. You can test plugins and themes without touching your live site. This works well for design changes but won’t catch server-specific issues.
Backup and restore strategy: If you have automatic daily backups, you can test updates on your live site during off-peak hours. If something breaks, restore from backup. This approach works for low-traffic sites.
Plugin staging features: Some plugins like Elementor and WPBakery include preview modes. You can edit pages without publishing changes. This helps with design work but doesn’t protect against plugin conflicts.
Maintenance mode: Put your site in maintenance mode before testing major updates. Visitors see a “coming soon” page instead of broken layouts. This reduces risk but still exposes your live site to potential problems.
These alternatives work for specific scenarios. They’re not replacements for true staging environments on high-stakes websites.
Making the decision for your specific situation
Let’s make this practical.
Ask yourself these questions:
- How often do I update my website? (Daily, weekly, monthly, rarely)
- What happens if my site goes down for an hour?
- Do I customize code or just use visual editors?
- Does my hosting plan include staging tools?
- Am I comfortable troubleshooting technical problems?
If you update frequently and downtime hurts your business, staging is worth the small time investment. Most hosts make it so easy that there’s little reason not to use it.
If you rarely update your site and have strong backups, you can probably skip staging. Focus your energy on choosing reliable plugins and maintaining good backups instead.
The middle ground is where most small business owners live. You update occasionally but not constantly. You want protection but don’t need enterprise-level workflows. Start with staging if your host offers it. The learning curve is minimal and the protection is valuable.
Your website deserves a safety net
A staging environment isn’t about being paranoid. It’s about being professional.
You wouldn’t repaint your storefront without testing the color first. You wouldn’t rearrange your retail space without planning the layout. Your website deserves the same thoughtful approach.
The good news is that staging environments are easier than ever to set up. Most WordPress hosts include them. The tools are simple. The workflow is straightforward.
Start by checking whether your current hosting plan includes staging. If it does, create a staging site today and test your next plugin update there. See how it feels. Notice how much more confident you are clicking that update button.
If staging feels like overkill for your site, that’s fine too. Just make sure you have a solid backup system. Test updates during low-traffic periods. Keep plugin counts low to minimize conflict risks.
The worst decision is doing nothing. Either implement staging or commit to a backup-and-restore workflow. Your website needs protection one way or another.