
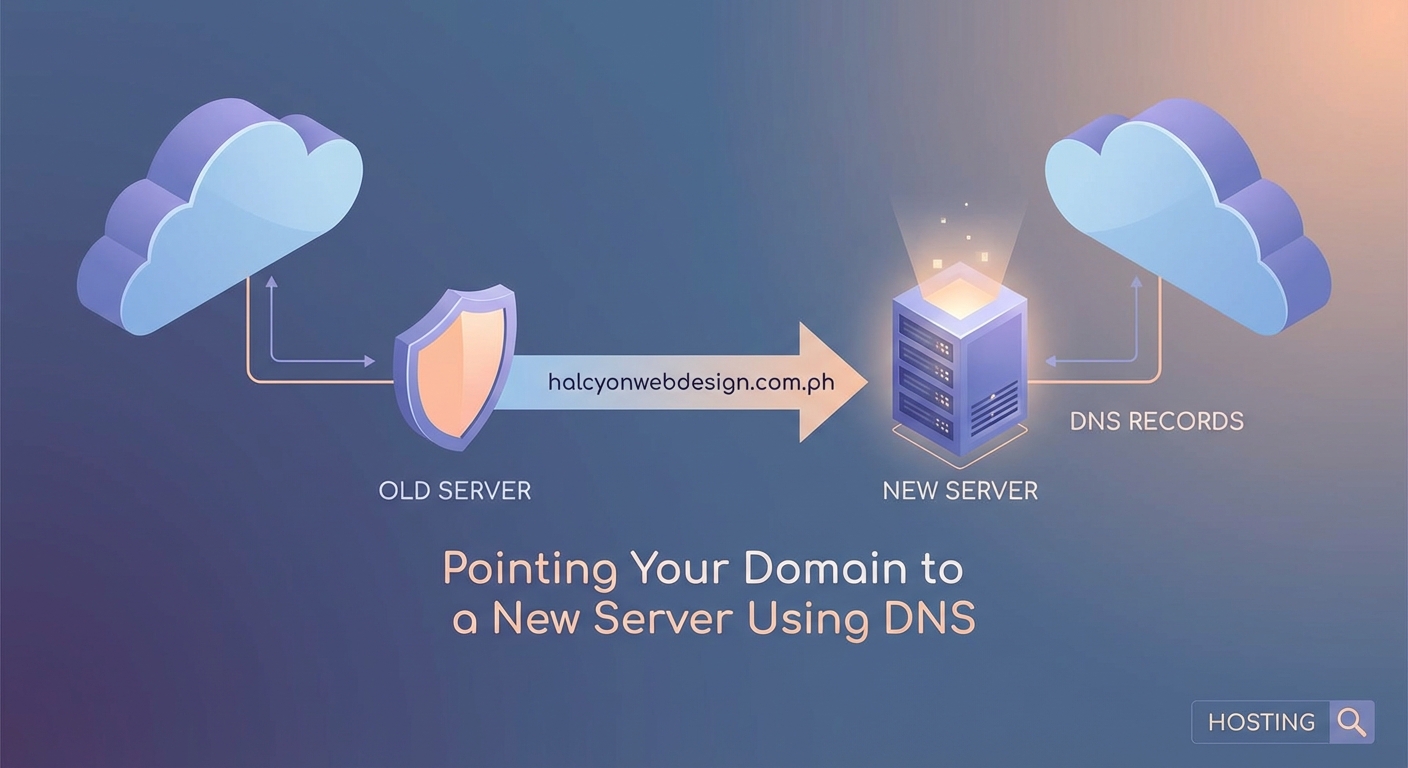
Switching hosting providers can feel like moving to a new house. You’ve packed everything up, the new place is ready, but visitors still show up at your old address. That’s exactly what happens when you move your website to a new server without updating your domain’s DNS records. Your domain name stays the same, but it needs new directions to find your site’s new home.
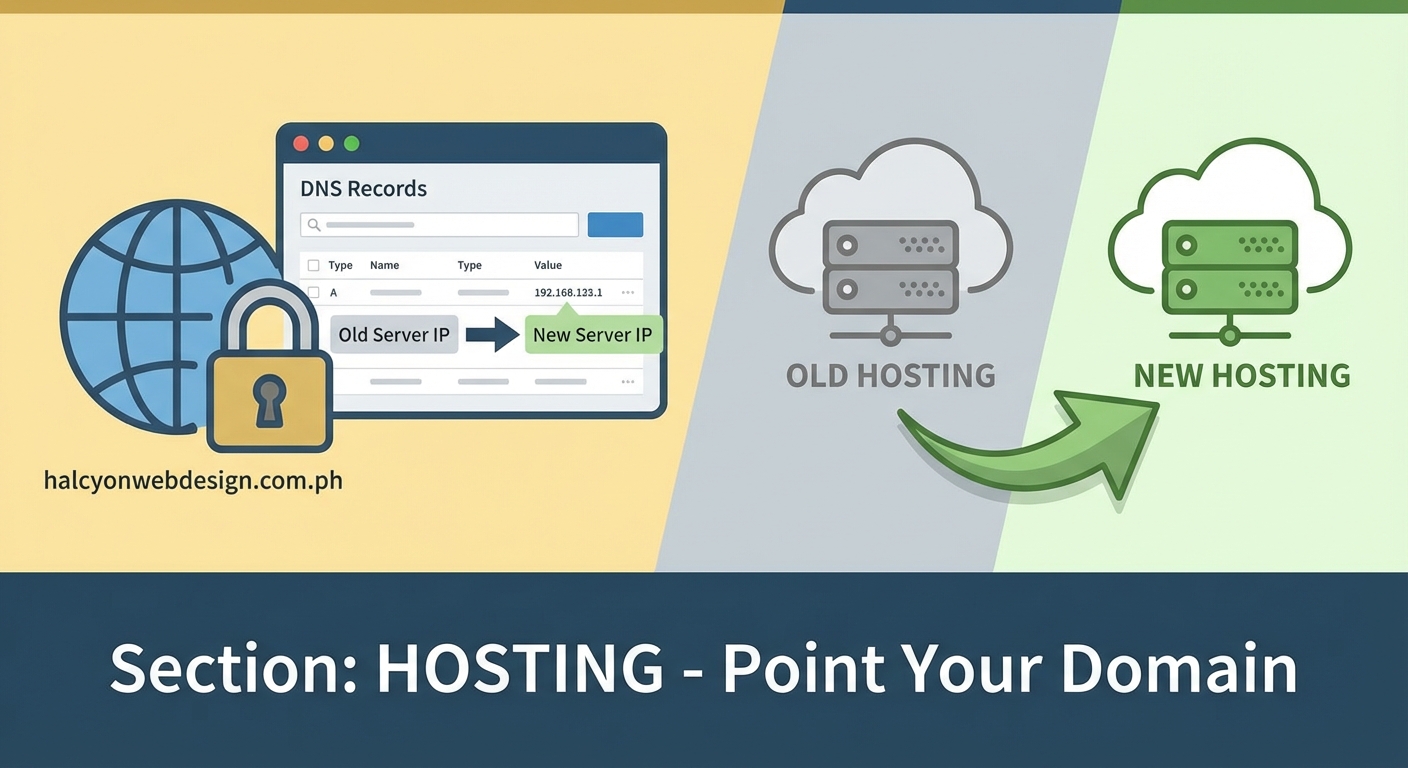
Pointing your domain to a new server requires updating DNS records at your domain registrar or DNS provider. You’ll need your new server’s IP address, access to your DNS management panel, and patience for propagation (which takes 1 to 48 hours). The main records to update are A records for your root domain and www subdomain, though you may also need to update MX records for email.
Understanding DNS Records and What They Do
DNS records work like a phone book for the internet. When someone types your domain name into their browser, DNS records tell that browser where to find your website files.
Think of it this way. Your domain name is your business address. DNS records are the GPS coordinates that actually lead people to your building.
Different record types serve different purposes:
- A records point your domain to an IPv4 address (like 192.0.2.1)
- AAAA records point to IPv6 addresses (the newer format)
- CNAME records create aliases that point to other domains
- MX records direct email to the right mail servers
- TXT records store text information for verification and security
For most migrations, you’ll focus on A records. These are the primary records that connect your domain name to your server’s IP address.
What You Need Before Starting
Gather these details before you touch any DNS settings:
- Your new server’s IP address (your new hosting provider should give you this)
- Login credentials for your domain registrar or DNS management panel
- A list of all subdomains you currently use (www, mail, shop, etc.)
- Current DNS records (take screenshots or write them down)
- Your new hosting provider’s nameservers (if you’re changing those instead)
Your new hosting provider typically sends a welcome email with your server IP address. If you can’t find it, check your hosting control panel or contact their support team.
Before changing anything, document your current DNS configuration. Take screenshots of every record. If something goes wrong, you’ll need these to roll back. I’ve seen too many site owners panic because they didn’t keep a backup of their original settings.
Two Methods for Pointing Your Domain
You have two main approaches when redirecting your domain to a new server. Each has different use cases.
| Method | When to Use It | Propagation Time | Difficulty |
|---|---|---|---|
| Update A records | You want to keep using your current DNS provider | 1 to 24 hours | Easier |
| Change nameservers | Your new host provides DNS management you prefer | 24 to 48 hours | Moderate |
Updating A records is usually faster and gives you more control. You change individual records while keeping everything else the same.
Changing nameservers transfers all DNS management to your new hosting provider. This works well if your new host offers better DNS tools or if you want everything in one place.
Most site owners choose the A record method for migrations. It’s more precise and causes less disruption.
Step by Step Process to Update A Records
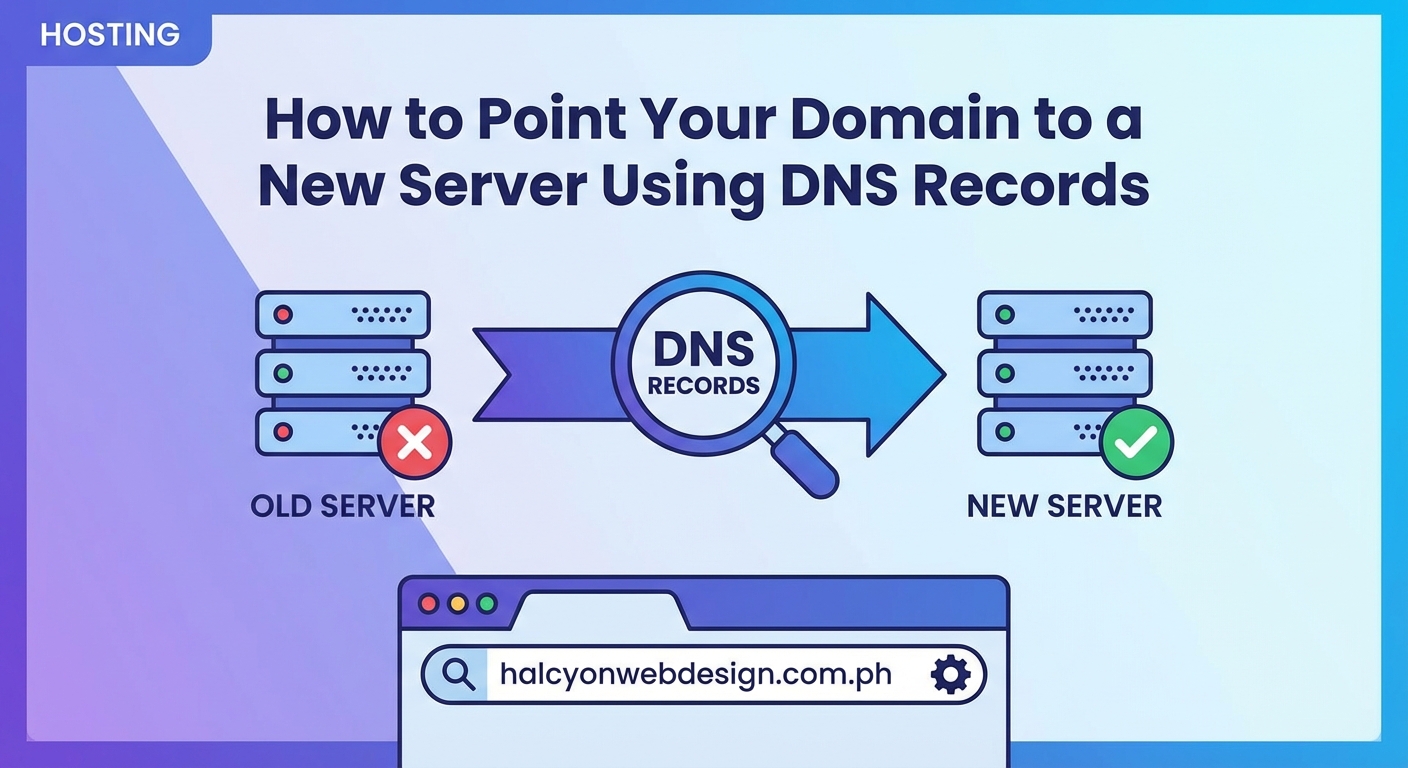
This method updates specific DNS records while leaving others untouched. It’s the safest approach for most migrations.
1. Log into your DNS management panel
Visit your domain registrar’s website. This might be GoDaddy, Namecheap, Google Domains, or whoever you bought your domain from.
Find the DNS management section. Different registrars call it different things:
- DNS Management
- DNS Settings
- Name Server Management
- Advanced DNS
- DNS Records
2. Locate your current A records
Look for records with these characteristics:
- Type: A
- Host: @ (represents your root domain)
- Host: www (for the www version)
- Points to: An IP address (four numbers separated by dots)
Write down the current IP addresses. You’ll need them if you need to roll back.
3. Update the root domain A record
Find the A record where the host is @ or blank (this represents yourdomain.com).
Change the IP address to your new server’s IP address. Keep everything else the same.
Most panels have an “Edit” button next to each record. Click it, replace the old IP with the new one, and save.
4. Update the www subdomain A record
Find the A record where the host is “www”.
Change its IP address to match your new server’s IP address.
Some sites use a CNAME record for www instead of an A record. If yours does, you can leave it alone (it will automatically follow the root domain).
5. Update any other subdomain A records
Check for A records pointing to other subdomains:
- mail.yourdomain.com
- shop.yourdomain.com
- blog.yourdomain.com
If these subdomains are moving to the new server too, update their IP addresses. If they’re staying on different servers, leave them alone.
6. Verify and save your changes
Double check every IP address you entered. One wrong number breaks everything.
Save your changes. Most DNS panels have a “Save” or “Apply Changes” button.
Some registrars ask you to confirm the changes via email. Check your inbox.
Changing Nameservers Instead
If you prefer to let your new hosting provider manage all DNS, you’ll change nameservers instead of individual records.
1. Get nameserver addresses from your new host
Your hosting provider will give you two to four nameserver addresses. They look like this:
- ns1.newhostingprovider.com
- ns2.newhostingprovider.com
Check your welcome email or hosting control panel for these addresses.
2. Set up DNS records at your new host first
Before changing nameservers, log into your new hosting provider’s DNS panel. Add all the DNS records your site needs:
- A records for your domain and www
- MX records for email
- Any other records your site uses
This prevents downtime. When the nameservers switch, everything will already be configured.
3. Update nameservers at your registrar
Log into your domain registrar (where you bought the domain).
Find the nameserver settings. This is usually separate from DNS record management.
Replace the old nameservers with the new ones from your hosting provider.
Save the changes.
4. Wait for propagation
Nameserver changes take longer to propagate than A record changes. Expect 24 to 48 hours.
During this time, some visitors might see your old site while others see your new one. That’s normal.
Handling Email Records During Migration
Email is often the trickiest part of a server migration. If you’re not careful, you’ll lose incoming messages.
MX records control where email gets delivered. If your email stays with the same provider (like Google Workspace or Microsoft 365), don’t touch these records.
If email is moving to your new server, you need to update MX records too:
- Get the correct MX records from your new hosting provider
- Update or replace the existing MX records in your DNS panel
- Keep the old email server running for a few days after DNS changes
Many site owners choose to keep email separate from web hosting. Services like Google Workspace stay on their own servers regardless of where your website lives. This makes migrations simpler because you never touch email records.
If you use email addresses at your domain (like [email protected]), verify where those emails are hosted before changing anything. When you choose the right web hosting plan for your WordPress site, email hosting is often a separate consideration.
Testing Your DNS Changes
After updating DNS records, you need to verify they’re working correctly.
Use the command line to check DNS resolution:
On Windows, open Command Prompt and type:
nslookup yourdomain.com
On Mac or Linux, open Terminal and type:
dig yourdomain.com
These commands show which IP address your domain currently points to. If it shows your new server’s IP, the change worked.
Online DNS checking tools also help:
- whatsmydns.net shows how your domain resolves from different locations worldwide
- dnschecker.org provides similar global DNS propagation checking
- mxtoolbox.com helps verify MX records for email
Visit your website in a browser using incognito mode. This prevents your browser from showing a cached version of your old site.
If you see your new site, great. If you see the old site, wait a few hours and check again.
Understanding DNS Propagation Time
DNS changes don’t happen instantly. Propagation is the time it takes for DNS changes to spread across the internet.
Here’s why it takes time. DNS information gets cached at multiple levels:
- Your local computer caches DNS for a few minutes to hours
- Your internet service provider caches DNS for hours
- Other DNS servers worldwide cache based on TTL settings
TTL (Time To Live) tells DNS servers how long to cache a record before checking for updates. Most default TTLs are set between 1 hour and 24 hours.
You can speed up future migrations by lowering your TTL before making changes:
- A few days before migrating, change your DNS records’ TTL to 300 seconds (5 minutes)
- Wait for the old TTL period to expire
- Make your DNS changes
- After propagation completes, increase TTL back to normal
Lower TTLs mean faster propagation but more DNS queries. After your migration finishes, set TTL back to 3600 (1 hour) or higher.
Common Problems and How to Fix Them
Even straightforward migrations hit snags sometimes. Here are the most common issues:
Problem: Website shows old content after DNS changes
Your browser or ISP might be caching the old DNS information. Try these fixes:
- Clear your browser cache and cookies
- Flush your computer’s DNS cache
- Try a different browser or device
- Use your phone with WiFi turned off (uses different DNS)
Problem: Some visitors see the new site, others see the old site
This is normal during propagation. Different DNS servers update at different speeds.
Wait 24 to 48 hours. Eventually everyone will see the new site.
Problem: Email stops working after DNS changes
You probably changed MX records accidentally or your new server isn’t configured for email.
Check your MX records and make sure they point to the correct mail server. If you use external email (like Google Workspace), MX records should point to those servers, not your web server.
Problem: SSL certificate shows errors
Your new server needs an SSL certificate installed for your domain. Contact your hosting provider to set this up.
Most modern hosts offer free SSL certificates through Let’s Encrypt. The process usually takes a few minutes after DNS points to the new server.
Problem: Subdomains don’t work
Check if you updated A records for all subdomains. Each subdomain needs its own DNS record pointing to the correct server.
Keeping Your Site Running During the Transition
The goal is zero downtime. Here’s how to keep your site accessible throughout the migration:
Keep your old hosting account active until DNS fully propagates. Don’t cancel it the moment you update DNS records.
Upload your complete website to the new server before changing DNS. Test it using the server’s temporary URL (your host provides this).
Set up redirects on your new server to handle both www and non-www versions of your domain. This prevents confusion when some visitors reach one version and others reach another.
Monitor your site every few hours during the first 48 hours after DNS changes. Check for broken images, missing pages, or database connection errors.
After a week of successful operation on the new server, you can safely cancel your old hosting account.
Security Considerations During DNS Changes
DNS hijacking is real. Protect your domain during migrations:
Enable two-factor authentication on your domain registrar account. This prevents unauthorized access even if someone gets your password.
Use a strong, unique password for your DNS management account. Don’t reuse passwords from other services.
Lock your domain if your registrar offers this feature. Domain locking prevents transfers or changes without additional verification.
Watch for unexpected emails about DNS changes. If you receive notifications about changes you didn’t make, someone might be trying to hijack your domain.
After completing your migration, review all DNS records. Make sure no unexpected records appeared. Attackers sometimes add subtle records that redirect specific pages or subdomains.
Just as you’d secure your WordPress login page, protecting DNS access is critical for your site’s security.
When to Consider Professional Help
Some migrations are straightforward. Others get complicated fast.
Consider hiring help if:
- You manage dozens of subdomains with complex configurations
- Your site handles sensitive customer data or transactions
- You’re moving a high-traffic site where downtime costs money
- You’re not comfortable with technical settings
- Your old host and new host use very different configurations
Professional migration services typically cost between $50 and $500 depending on complexity. Many hosting providers offer free migration assistance when you sign up.
The cost of professional help is usually less than the cost of extended downtime or lost data.
After Your Domain Points to the New Server
Once DNS propagates and your site runs smoothly on the new server, you’re not quite done.
Monitor your site’s performance for the first week. New servers sometimes need configuration adjustments. You might notice that your WordPress site loads slowly after migration if the new server isn’t optimized correctly.
Check your email functionality daily. Send test messages to and from your domain email addresses.
Review your SSL certificate status. Make sure HTTPS works correctly and doesn’t show warnings.
Update any hardcoded URLs in your website files or database. Some sites store the old server’s IP address or temporary URLs in their configuration.
Set up backups on your new server. Your old backups won’t help if something goes wrong on the new server.
Test all website forms, shopping cart functionality, and user login systems. Server changes sometimes break these features even when pages load correctly.
Making Your Next Migration Even Smoother
Now that you’ve successfully pointed your domain to a new server, you know the process. Here’s how to make future migrations easier:
Document everything you did. Write down which DNS records you changed, what the old values were, and what the new values are. Future you will thank present you.
Keep your registrar login information in a secure password manager. You’ll need it again someday.
Consider using a separate DNS provider like Cloudflare. This lets you switch hosting providers without touching DNS records. You just update the origin server in Cloudflare’s settings.
Take regular backups of your DNS records. Some registrars let you export DNS configurations. Do this quarterly.
Maintain a checklist of all services connected to your domain: email, subdomains, third-party integrations, CDNs. This prevents surprises during migrations.
Your Domain Is Now Pointing Where It Should
You’ve successfully redirected your domain to its new home. The process might have seemed intimidating at first, but breaking it into steps makes it manageable.
Remember that DNS changes take time to spread worldwide. Don’t panic if everything doesn’t update instantly. Give it the full 48 hours before troubleshooting.
Your website now runs on a better server, with improved performance, reliability, or whatever drove you to migrate in the first place. The hard part is over. Now you can focus on what really matters: creating great content and serving your visitors well.