
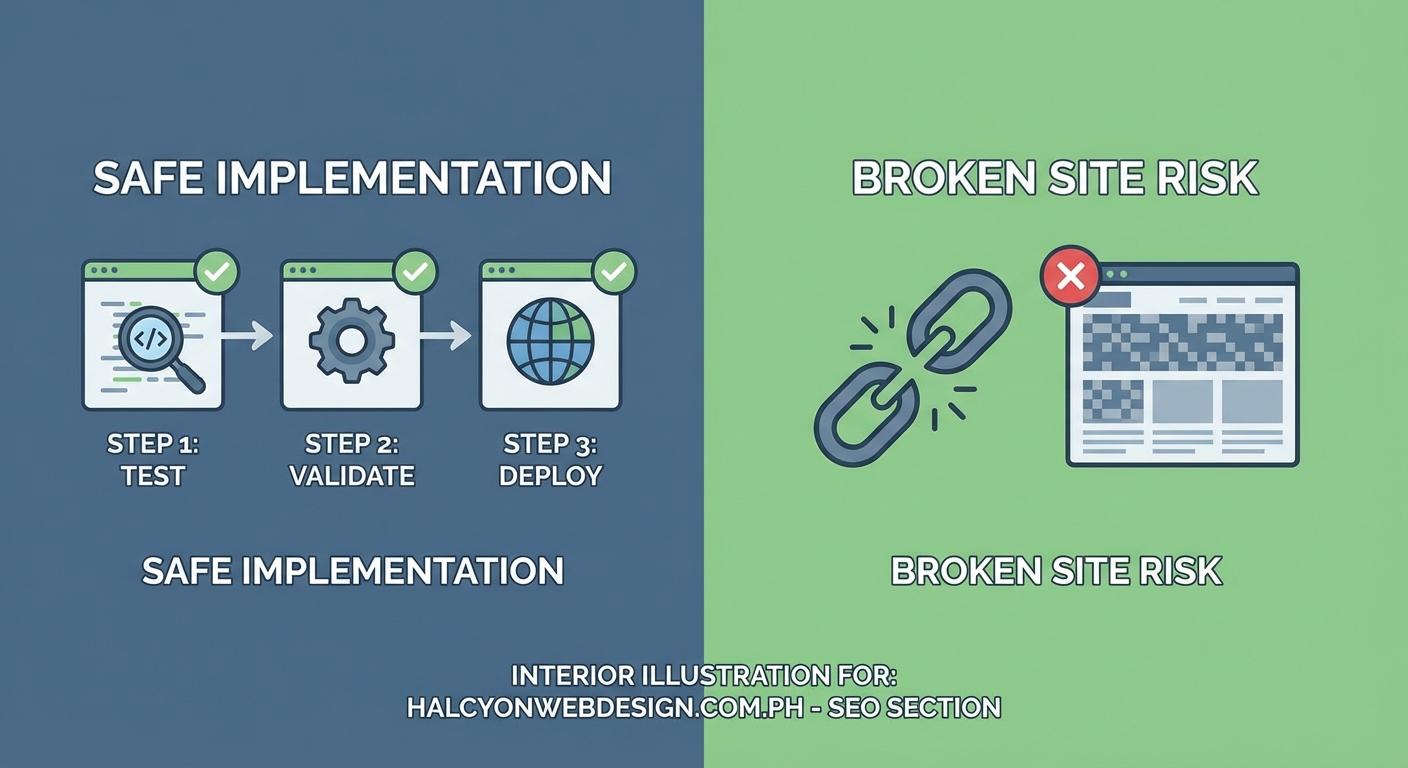
Schema markup sounds technical, and it is. But you don’t need to be a developer to add it to your site. You just need a clear process, the right tools, and a way to test before you go live. This guide walks you through every step, from choosing the right schema type to validating your code, so you can improve your search visibility without breaking anything.
Schema markup helps search engines understand your content by adding structured data to your HTML. You can implement it using generators, plugins, or manual code. Always validate your markup with Google’s Rich Results Test before publishing. Start with one schema type, test thoroughly, then expand. This approach minimizes errors and maximizes SEO benefits without risking site stability.
What Schema Markup Actually Does
Schema markup is code that tells search engines what your content means, not just what it says. When you mark up a product page, you’re telling Google this is a product, here’s the price, here’s the rating. That clarity helps search engines display rich results like star ratings, prices, and availability right in search results.
Think of it as labeling ingredients in your pantry. Without labels, you have to open every jar to see what’s inside. With labels, you know instantly. Search engines work the same way. They can read your content, but schema makes it explicit.
The benefits show up in search results. Rich snippets stand out. Click-through rates improve. Users see more information before they click, which means better qualified traffic lands on your site.
Choosing the Right Schema Type for Your Content

Not every page needs schema markup. Start with pages that matter most for conversions or traffic. Product pages, articles, local business information, events, recipes, and FAQs all benefit from structured data.
Here are the most common schema types and when to use them:
- Article schema for blog posts and news content
- Product schema for e-commerce listings with prices and reviews
- Local Business schema for physical locations with hours and contact info
- FAQ schema for pages with common questions and answers
- Event schema for concerts, webinars, or workshops with dates and locations
- Recipe schema for cooking instructions with prep time and ingredients
- Review schema for ratings and testimonials
- Breadcrumb schema for navigation paths
Pick one type to start. Master it. Then add more. Trying to implement everything at once leads to mistakes.
Step-by-Step Implementation Process
Here’s how to add schema markup without breaking your site. Follow these steps in order.
1. Identify Your Priority Pages
Make a list of pages that would benefit most from rich results. Sort by traffic or conversion value. Start with your top five pages.
2. Choose Your Implementation Method
You have three main options:
Schema generators create the code for you. You fill in fields, and the tool outputs JSON-LD code. This works well for beginners.
WordPress plugins like Rank Math, Yoast SEO, or Schema Pro add markup automatically based on your content. They’re convenient but less customizable.
Manual coding gives you full control. You write or edit JSON-LD directly in your HTML. This requires more technical knowledge but offers maximum flexibility.
If you’re using WordPress and want to avoid plugin bloat, consider how to choose the right WordPress plugin without breaking your site before installing anything new.
3. Generate Your Schema Code
Let’s say you’re adding Article schema to a blog post. Use Google’s Structured Data Markup Helper or Schema.org’s guidance.
Here’s what basic Article schema looks like in JSON-LD format:
{
“@context”: “https://schema.org”,
“@type”: “Article”,
“headline”: “Your Article Title”,
“author”: {
“@type”: “Person”,
“name”: “Author Name”
},
“datePublished”: “2024-01-15”,
“image”: “https://yoursite.com/image.jpg”
}
Fill in your actual values. Keep it accurate. Don’t mark up content that doesn’t exist on the page.
4. Add the Code to Your Site
Where you place schema depends on your method.
For manual implementation, add JSON-LD code inside <script type="application/ld+json"> tags in your page’s <head> or just before the closing </body> tag.
For plugins, you’ll usually paste your code into a custom field or let the plugin generate it automatically based on your settings.
For theme integration, some themes have built-in schema fields. Check your theme documentation.
5. Validate Before Publishing
This step is non-negotiable. Use Google’s Rich Results Test at search.google.com/test/rich-results.
Paste your URL or code. The tool shows errors and warnings. Fix every error before going live. Warnings are optional but worth addressing.
Common errors include:
- Missing required fields
- Incorrect date formats
- Invalid URLs
- Mismatched property types
6. Monitor After Launch
After publishing, check Google Search Console for structured data reports. This shows which pages have valid markup and which have issues.
Give it a few days. Google needs time to crawl and process your changes.
Common Schema Markup Mistakes and How to Avoid Them
Even experienced developers make schema errors. Here’s what to watch for.
| Mistake | Why It Happens | How to Fix It |
|---|---|---|
| Marking up invisible content | Adding schema for text not on the page | Only mark up visible, user-facing content |
| Using wrong schema type | Guessing instead of checking Schema.org | Verify the correct type for your content |
| Duplicate schemas | Multiple plugins or manual code conflicting | Audit all schema sources, remove duplicates |
| Outdated properties | Using deprecated schema fields | Check Schema.org for current specifications |
| Missing required fields | Incomplete implementation | Use validation tools to identify gaps |
| Incorrect nesting | Improper parent-child relationships | Follow Schema.org examples exactly |
Always validate your schema before and after making changes. A single typo can invalidate your entire markup. Treat validation as part of your workflow, not an optional step.
Testing Your Schema Implementation
Validation is just the first test. You also need to verify that your markup actually works in search results.
Use these tools:
Google Rich Results Test checks if your page is eligible for rich results. It shows a preview of how your result might appear.
Schema Markup Validator at validator.schema.org validates against Schema.org standards. It catches structural errors Google might miss.
Google Search Console reports structured data errors after Google crawls your pages. Check the Enhancements section regularly.
Test on staging first. If you don’t have a staging environment, test on low-traffic pages before rolling out to your entire site.
Scaling Schema Across Multiple Pages

Once you’ve successfully added schema to a few pages, you’ll want to scale up. Here’s how to do it efficiently.
For WordPress sites, plugins handle scaling automatically. They apply schema templates to all posts, products, or pages based on type.
For custom sites, create templates. Build JSON-LD templates with placeholders for dynamic content. Your CMS or build process fills in the values.
For e-commerce sites with hundreds or thousands of products, automate schema generation. Pull data from your product database and generate markup programmatically.
Just because you can automate doesn’t mean you should skip validation. Spot-check random pages regularly to catch template errors.
Advanced Schema Techniques Worth Knowing
After mastering basic implementation, these advanced techniques can improve your results.
Nested schema combines multiple types. A Product can include Review, AggregateRating, and Offer schemas. This creates richer results.
Multiple schemas on one page works when you have different content types. A blog post about an event can include both Article and Event schema.
Dynamic schema updates automatically when content changes. Useful for prices, availability, or event dates.
Conditional schema only appears when certain criteria are met. Show Product schema only when an item is in stock, for example.
These techniques require more technical skill. Start simple. Add complexity only when you need it.
Site performance matters too. If you’ve noticed slowdowns, check out why your WordPress site loads slowly and how to fix it in 30 minutes before adding more code.
Troubleshooting Schema Errors

When validation fails, here’s how to debug.
Read the error message carefully. Google’s tools tell you exactly what’s wrong. “Missing field: image” means you need to add an image property.
Check your syntax. JSON is picky about commas, brackets, and quotes. One missing comma breaks everything. Use a JSON validator to catch syntax errors.
Verify your URLs. All URLs in schema must be absolute (starting with https://), not relative (/page). They must also be valid and accessible.
Match your content. If your schema says the article was published on January 15 but your page shows January 20, fix the discrepancy.
Test in isolation. Remove other scripts temporarily to see if something else is interfering with your schema.
Start fresh. If you can’t find the error, regenerate your schema from scratch. Sometimes it’s faster than debugging.
Maintaining Your Schema Over Time
Schema isn’t set-it-and-forget-it. Content changes. Schema.org updates. Google’s requirements evolve.
Schedule regular schema audits. Every quarter, check:
- Are all required fields still present?
- Has Schema.org deprecated any properties you’re using?
- Are your URLs still valid?
- Do your dates, prices, and other dynamic content reflect current information?
Set up alerts in Google Search Console for structured data errors. Fix issues as soon as they appear.
When you update content, update schema too. If you change a product price, update the Offer schema. If you add new FAQs, add them to your FAQ schema.
Keep documentation. Note which pages use which schema types. Document any custom implementations. This helps when team members change or you need to troubleshoot months later.
If you’re managing multiple sites or clients, create a checklist. Standardize your process. Consistency reduces errors.
Schema Markup and Search Console Integration
Google Search Console provides valuable feedback about your structured data. Here’s what to monitor.
The Enhancements section shows which pages have valid markup and which have errors. Click into each report for details.
The Coverage report shows if schema-enabled pages are being indexed. If pages with schema aren’t getting indexed, you might have a separate issue. Learn more about how to fix crawled currently not indexed in Google Search Console.
The Performance report doesn’t directly show schema impact, but you can filter by appearance in search (like rich results) to see if your markup is generating enhanced listings.
Track impressions and clicks over time. Rich results typically improve click-through rates. If you’re not seeing improvements after a few weeks, revisit your implementation.
When Schema Doesn’t Show in Search Results
You’ve added schema. Validation passes. But rich results don’t appear. This is frustrating but common.
Here’s why it happens:
Google doesn’t guarantee rich results. Even perfect schema doesn’t guarantee enhanced listings. Google decides when to show them based on relevance, quality, and competition.
Your content might not qualify. Some schema types have strict guidelines. Review Google’s specific guidelines for your schema type.
You need more time. It can take weeks for Google to process schema and start showing rich results. Be patient.
Competition is high. In competitive niches, Google might not show rich results for all eligible pages.
Your page quality matters. Low-quality content won’t get rich results, even with perfect schema.
Focus on what you can control. Make sure your schema is accurate, complete, and validated. Improve your content quality. Then wait.
Choosing Between JSON-LD, Microdata, and RDFa
You’ll see three formats for schema markup. Here’s what you need to know.
JSON-LD is Google’s recommended format. It’s separate from your HTML, which makes it easier to add and maintain. It sits in a script tag and doesn’t interfere with your visible content.
Microdata embeds schema directly into HTML tags using attributes like itemscope and itemprop. It’s harder to maintain but works well for dynamically generated content.
RDFa is similar to Microdata but uses different attributes. It’s less common for SEO purposes.
Stick with JSON-LD unless you have a specific reason to use something else. It’s cleaner, easier to validate, and preferred by Google.
Schema Markup for Different CMS Platforms
Implementation varies by platform. Here’s a brief overview.
WordPress has multiple plugin options. Rank Math and Yoast SEO include schema features. Schema Pro and WP Schema Pro offer more control.
Shopify has apps like JSON-LD for SEO or Schema Plus. Many themes include basic schema by default.
Wix and Squarespace have built-in schema for basic content types. You can add custom schema through code injection.
Custom HTML sites require manual implementation. Add JSON-LD directly to your templates or individual pages.
Webflow allows custom code in page settings or site-wide settings. Add JSON-LD there.
Check your platform’s documentation. Most modern platforms make schema implementation straightforward.
Getting Schema Right the First Time
The best way to implement schema is methodically. Don’t rush. Don’t skip validation. Don’t assume it’s working without testing.
Start small. Pick one schema type. Implement it on a few pages. Validate thoroughly. Monitor results. Then expand.
Document your process. Note what worked and what didn’t. Build templates for future implementations.
Stay current. Follow Google’s Search Central blog for updates. Check Schema.org periodically for new types or property changes.
Remember that schema supports your content. It doesn’t replace good content, solid technical SEO, or user experience. If your site has other issues, fix those first. A slow, broken site won’t benefit from perfect schema markup.
If hosting is holding you back, consider how to choose the right web hosting plan for your WordPress site before adding more technical elements.
Making Schema Markup Part of Your Workflow
The real power of schema comes from making it routine. Every new page, every content update, every product launch should include schema as a standard step.
Build it into your content checklist. After writing meta descriptions (learn how to write meta descriptions that actually get clicks), add schema markup. Before publishing, validate it.
Train your team. If multiple people publish content, make sure everyone knows how to add and validate schema.
Create templates for common content types. A blog post template. A product page template. An event page template. Fill in the blanks instead of starting from scratch each time.
Set up monitoring. Use Google Search Console’s email alerts for structured data errors. Fix issues immediately.
Review quarterly. Check if new schema types apply to your content. Update existing markup if requirements change.
Schema markup isn’t glamorous. It’s technical. But it’s one of the few SEO techniques that’s purely additive. You’re not competing for rankings. You’re giving search engines better information about content you already have.
Do it right, and you’ll see better visibility, higher click-through rates, and more qualified traffic. Do it wrong, and you risk validation errors or wasted effort. Follow the process, test thoroughly, and you’ll get it right.