You spent hours tweaking your WordPress theme to look perfect. Custom fonts, adjusted spacing, a redesigned header. Then you update the theme, and everything vanishes. All your work, gone.
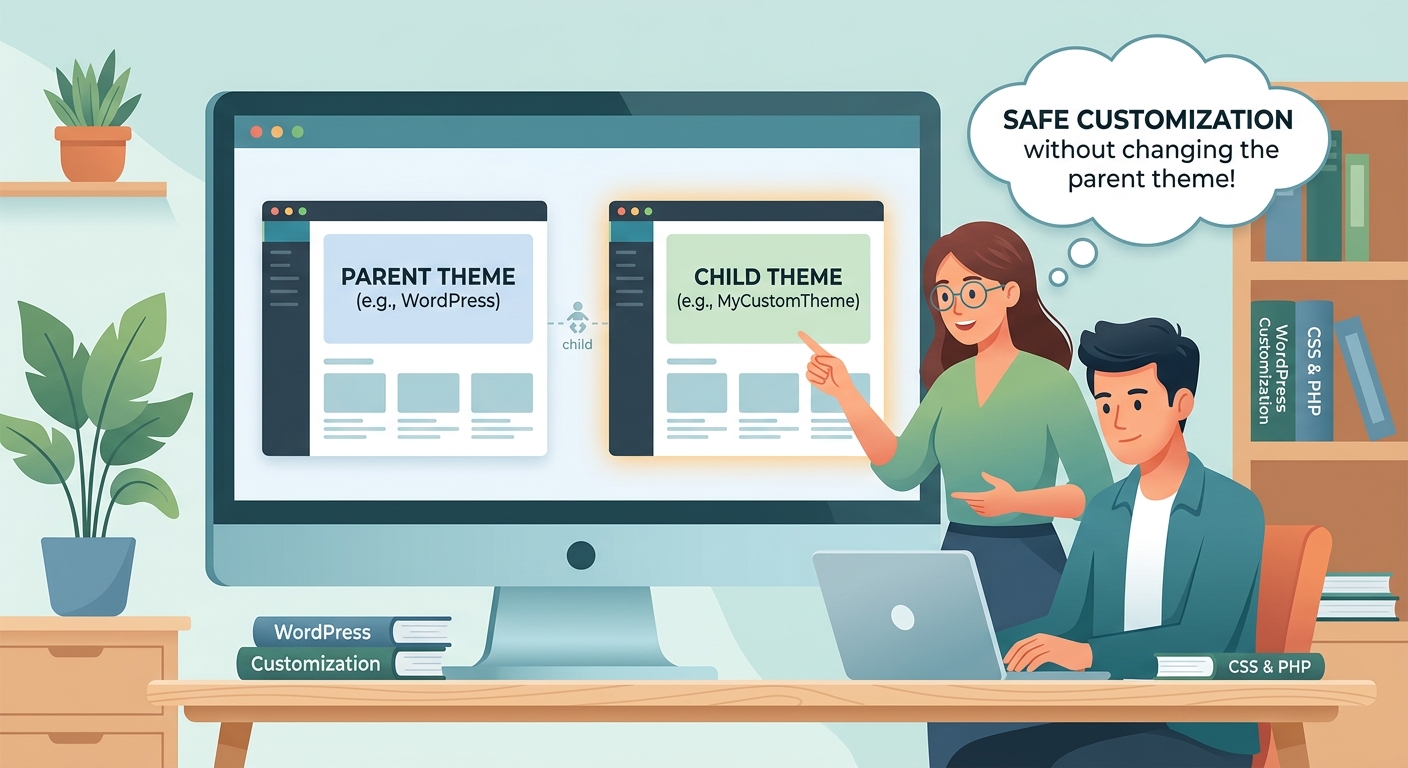
This happens because direct theme edits get overwritten during updates. The fix? A WordPress child theme. It lets you customize freely while keeping your changes safe, no matter how many times you update the parent theme.
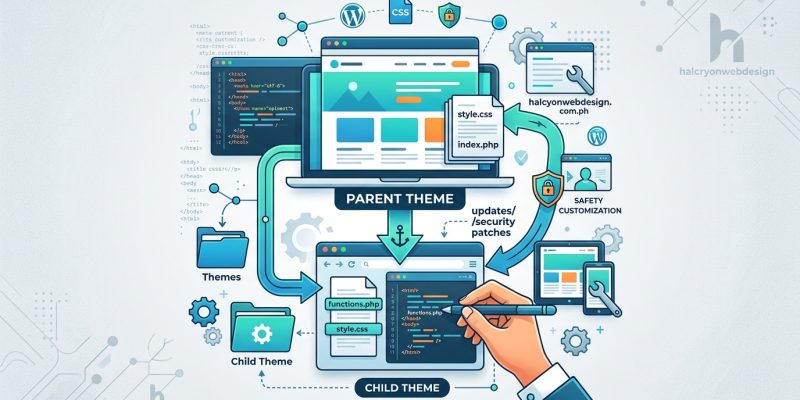
A WordPress child theme inherits all functionality from a parent theme while letting you make customizations that survive updates. You only need two files to start: style.css and functions.php. Child themes are essential if you plan to modify template files, add custom CSS, or change PHP functions. They keep your site safe and maintainable long-term.
What a WordPress Child Theme Actually Does
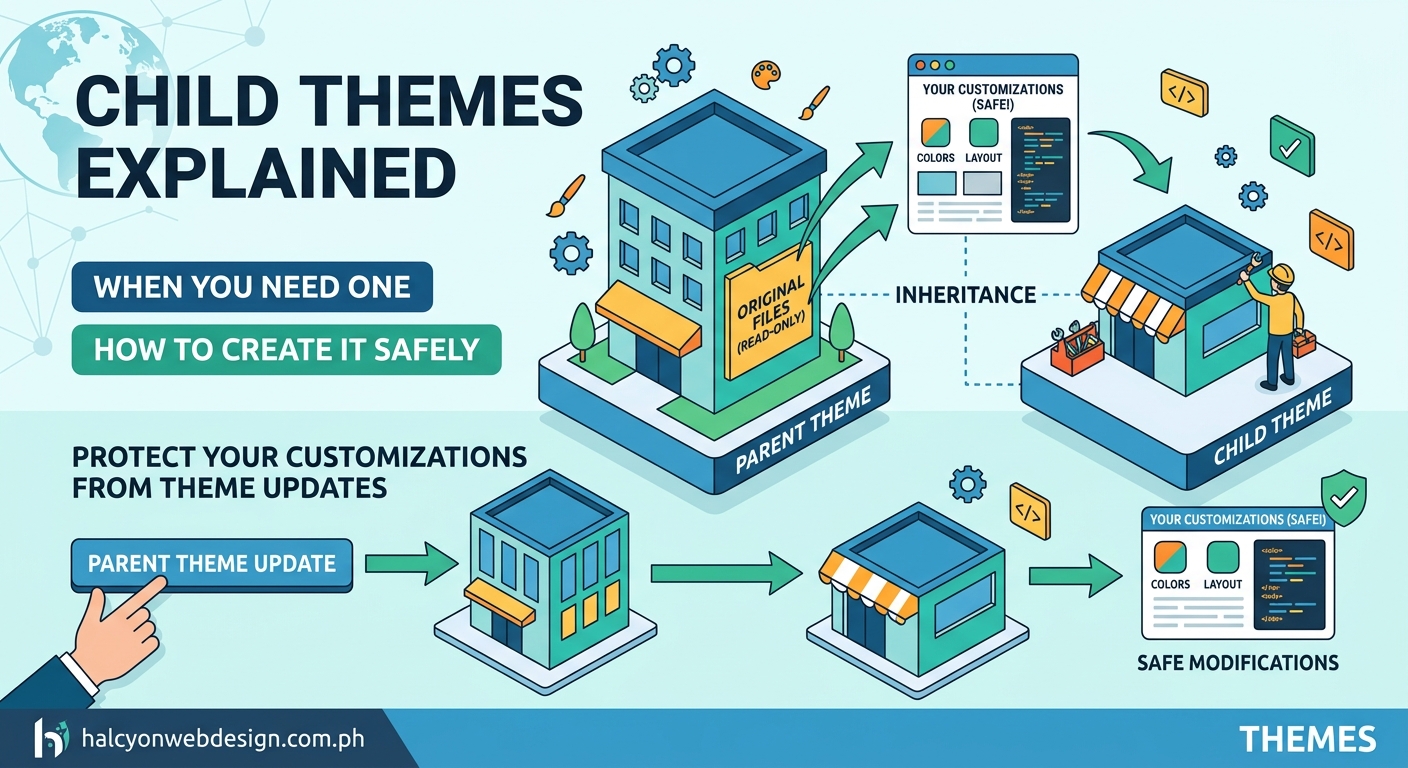
A child theme sits on top of your main theme (called the parent theme) and inherits everything from it.
Think of it like building an addition onto a house. The original structure stays intact, but you add your own rooms and features. When the original house gets repairs or upgrades, your addition remains untouched.
Without a child theme, any custom code you add directly to your theme files disappears the moment you update. Theme developers release updates for security patches, bug fixes, and new features. You need those updates. But you also need your customizations.
A child theme solves this problem by creating a protected layer where your changes live separately from the parent theme files.
When You Actually Need a Child Theme
Not every WordPress site needs a child theme. If you only use the theme customizer or page builders to make changes, those settings typically survive updates without issue.
You need a child theme if you plan to:
- Add custom CSS beyond what the customizer offers
- Modify template files like header.php, footer.php, or single.php
- Change PHP functions or add new functionality
- Override specific theme behaviors
- Create custom page templates
- Adjust WooCommerce templates
You do not need a child theme if you:
- Only change settings through the WordPress Customizer
- Use a page builder for all design work
- Add functionality exclusively through plugins
- Never touch code files
If you’re unsure whether you’ll need custom code later, create a child theme now. It takes five minutes and prevents headaches down the road. When you choose the perfect WordPress theme, plan ahead for customization needs.
How to Create a WordPress Child Theme Step by Step
Creating a child theme requires two files and one folder. No coding experience necessary.
1. Create the Child Theme Folder
Connect to your site via FTP or use your hosting file manager.
Navigate to /wp-content/themes/.
Create a new folder. Name it after your parent theme with -child added. For example, if your parent theme is called “twentytwentyfour”, name your folder twentytwentyfour-child.
2. Create the Stylesheet File
Inside your new child theme folder, create a file called style.css.
Add this code, replacing the example values with your own:
/*
Theme Name: Twenty Twenty-Four Child
Template: twentytwentyfour
Description: Child theme for Twenty Twenty-Four
Version: 1.0
*/
The most critical line is Template:. This must exactly match the folder name of your parent theme. Capitalization and spelling matter.
3. Create the Functions File
In the same child theme folder, create functions.php.
Add this code:
<?php
function my_theme_enqueue_styles() {
    wp_enqueue_style('parent-style', get_template_directory_uri() . '/style.css');
    wp_enqueue_style('child-style', get_stylesheet_directory_uri() . '/style.css', array('parent-style'));
}
add_action('wp_enqueue_scripts', 'my_theme_enqueue_styles');
?>
This tells WordPress to load both the parent theme’s stylesheet and your child theme’s stylesheet in the correct order.
4. Activate Your Child Theme
Go to Appearance > Themes in your WordPress dashboard.
You’ll see your new child theme listed. Click Activate.
Your site should look identical to before. If something breaks, you likely have a typo in your Template line or folder name.
After configuring essential WordPress settings, activating your child theme should be one of your first steps.
Adding Custom CSS to Your Child Theme
Once your child theme is active, you can add custom styles directly to the style.css file.
Open your child theme’s style.css file. Below the header comment block, add your custom CSS.
For example:
.site-header {
    background-color: #2c3e50;
    padding: 20px 0;
}

h1 {
    font-size: 2.5rem;
    color: #34495e;
}
Save the file and refresh your site. Your changes appear immediately.
This method works better than adding CSS through the customizer because you can organize styles, add comments, and version control your code. If you’re making extensive style changes, understanding CSS layout patterns helps you write cleaner code.
Overriding Parent Theme Template Files
Template files control how different parts of your site display. Common templates include header.php, footer.php, single.php, and page.php.
To modify a template:
- Find the template file in your parent theme folder
- Copy the entire file
- Paste it into your child theme folder
- Edit the child theme version
WordPress automatically uses the child theme version instead of the parent theme version.
For example, to customize your header:
- Locate
/wp-content/themes/your-parent-theme/header.php - Copy it to
/wp-content/themes/your-parent-theme-child/header.php - Edit the child theme version
Only copy files you actually need to change. Don’t copy the entire parent theme. This keeps your child theme lightweight and easier to maintain.
Adding Custom Functions Safely
The functions.php file in your child theme lets you add new functionality or modify existing features.
Unlike template files, functions.php in the child theme runs in addition to the parent theme’s functions file. Both files load. This means you can add new functions without copying the entire parent functions file.
Example: Adding a custom excerpt length:
function custom_excerpt_length($length) {
    return 25;
}
add_filter('excerpt_length', 'custom_excerpt_length');
Add this code to your child theme’s functions.php file below the stylesheet enqueue code.
Always test new functions on a staging site first. One syntax error in functions.php can break your entire site. If that happens, you’ll need to access your files via FTP to fix the error. Learn more about recovering from plugin conflicts to understand troubleshooting techniques.
Common Mistakes and How to Avoid Them
| Mistake | What Happens | How to Fix |
|---|---|---|
| Wrong Template name in style.css | Child theme won’t activate or site breaks | Match parent theme folder name exactly |
| Missing functions.php enqueue code | Styles don’t load properly | Copy the correct enqueue function |
| Copying all parent files | Child theme becomes bloated and hard to update | Only copy files you modify |
| Editing parent theme directly | Changes disappear on update | Always work in child theme |
| Syntax errors in functions.php | White screen of death | Use FTP to remove bad code, test on staging first |
| Not backing up before activation | Can’t revert if something breaks | Create backup before making changes |
The most common error involves the Template line in style.css. If you see “The parent theme is missing” error, double-check that the Template value matches your parent theme’s folder name character for character.
Before making major changes, back up your WordPress site so you can restore it if needed.
When to Use a Plugin Instead
Child themes handle design and template changes. Plugins handle functionality.
Use a child theme for:
– Visual customizations
– Template modifications
– Theme-specific adjustments
Use a plugin for:
– Features you want to keep if you switch themes
– Complex functionality like forms, SEO, or security
– Site-wide features not tied to appearance
For example, don’t add contact form code to your child theme’s functions file. Use a contact form plugin instead. If you switch themes later, you’ll want that form to continue working.
The rule: if it’s about how your site looks, use the child theme. If it’s about what your site does, use a plugin.
Maintaining Your Child Theme Over Time
Once your child theme is active, maintenance becomes simpler.
When parent theme updates arrive, install them without worry. Your customizations stay intact.
However, major parent theme updates sometimes change template file structure. If you’ve overridden templates in your child theme, test updates on a staging site first.
Signs you need to update child theme templates:
– Layout breaks after parent theme update
– New parent theme features don’t appear
– PHP warnings or errors in debug logs
Compare your child theme template files with the updated parent theme versions. Look for structural changes. Merge any important updates into your child theme copies.
Keep your child theme organized:
– Comment your custom code
– Document why you made specific changes
– Use descriptive function names
– Group related customizations together
This helps when you return to the code months later or when someone else needs to work on your site.
Testing Your Child Theme Before Going Live
Never activate a child theme on a live site without testing first.
Create a staging environment or test locally. Many hosts offer staging sites built into their control panels.
Test checklist:
- Activate the child theme
- Check every page type (home, posts, pages, archives)
- Test on mobile devices
- Verify all menus work
- Check widgets and sidebars
- Test forms and interactive elements
- Review in multiple browsers
- Check page load speed
If anything breaks, you have three options:
– Fix the issue in your child theme
– Remove the problematic customization
– Keep the parent theme active instead
Test thoroughly before deploying. A broken homepage costs you visitors and credibility. Spending 30 minutes testing prevents hours of emergency fixes later.
Performance testing matters too. Sometimes custom code slows down your site. Use tools to test and improve your Core Web Vitals score after adding customizations.
Switching Between Parent and Child Themes
You can switch back to the parent theme anytime without losing your child theme work.
Go to Appearance > Themes and activate the parent theme. Your customizations disappear from the live site, but the child theme files remain intact.
This helps when troubleshooting. If something breaks, activate the parent theme to see if the issue exists there too. If the parent theme works fine, the problem is in your child theme code.
To permanently remove a child theme:
1. Activate the parent theme or a different theme
2. Delete the child theme folder via FTP or file manager
3. Confirm your site still works correctly
Never delete an active theme. Always activate a different theme first. Understanding what happens when you switch themes helps you plan the transition.
Advanced Child Theme Techniques
Once you’re comfortable with basic child themes, you can add more sophisticated customizations.
Custom page templates: Create new template files with specific headers, and they appear in the page template dropdown.
Adding theme support: Use add_theme_support() in functions.php to enable features like custom logos, post thumbnails, or custom headers.
Enqueueing custom scripts: Load JavaScript files the WordPress way using wp_enqueue_script().
Creating custom widgets: Register widget areas specific to your child theme.
Modifying theme hooks: Many themes include action hooks you can use to inject content without editing template files.
These techniques require more PHP knowledge but offer powerful customization options without touching core template files.
Protecting Your Work Long Term
A child theme protects your customizations from theme updates. But you still need to protect against other risks.
Regular backups matter. Even with a child theme, server issues, hacks, or accidental deletions can destroy your work. Set up automatic daily backups so you always have a recovery point.
Version control helps track changes. If you’re comfortable with Git, commit your child theme to a repository. This creates a history of every change and lets you revert mistakes.
Document your customizations. Keep a simple text file listing what you changed and why. Future you will appreciate the notes.
Security matters too. Keep WordPress, your parent theme, and all plugins updated. A secure WordPress setup protects all your hard work from attacks.
Building Your Customization Strategy
Creating a WordPress child theme takes just a few minutes but saves countless hours of frustration.
Start simple. Create the basic child theme structure now, even if you don’t have customizations yet. Having it ready means you can add custom CSS or modify templates whenever needed without scrambling to set up the child theme first.
Add customizations gradually. Don’t try to override everything at once. Make one change, test it, then move to the next. This approach makes troubleshooting easier when something goes wrong.
Keep learning. Child themes open the door to deeper WordPress customization. As you get comfortable with CSS and template files, you’ll find more ways to make your site exactly what you envision.
Your WordPress site should grow with your needs. A child theme gives you that flexibility without the fear of losing your work to the next update.