Your WordPress site just broke after a plugin update. Or maybe you’re seeing a “failed to write file to disk” error when uploading images. Nine times out of ten, the culprit is incorrect file permissions.
File permissions control who can read, write, or execute files on your server. Get them wrong and you either lock yourself out or leave the door wide open for attackers. Get them right and your site runs smoothly while staying secure.
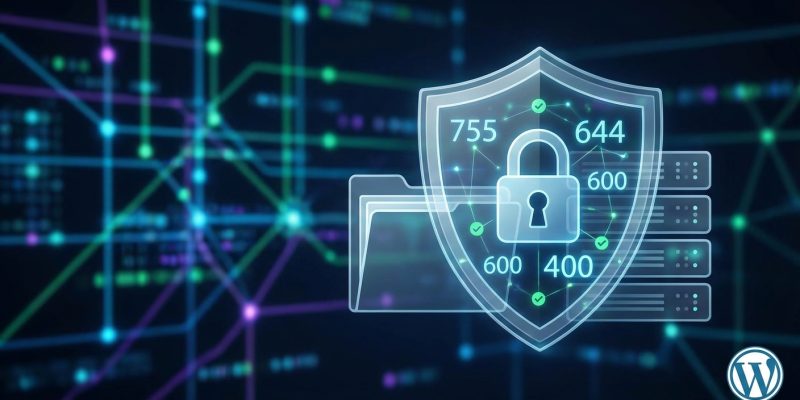
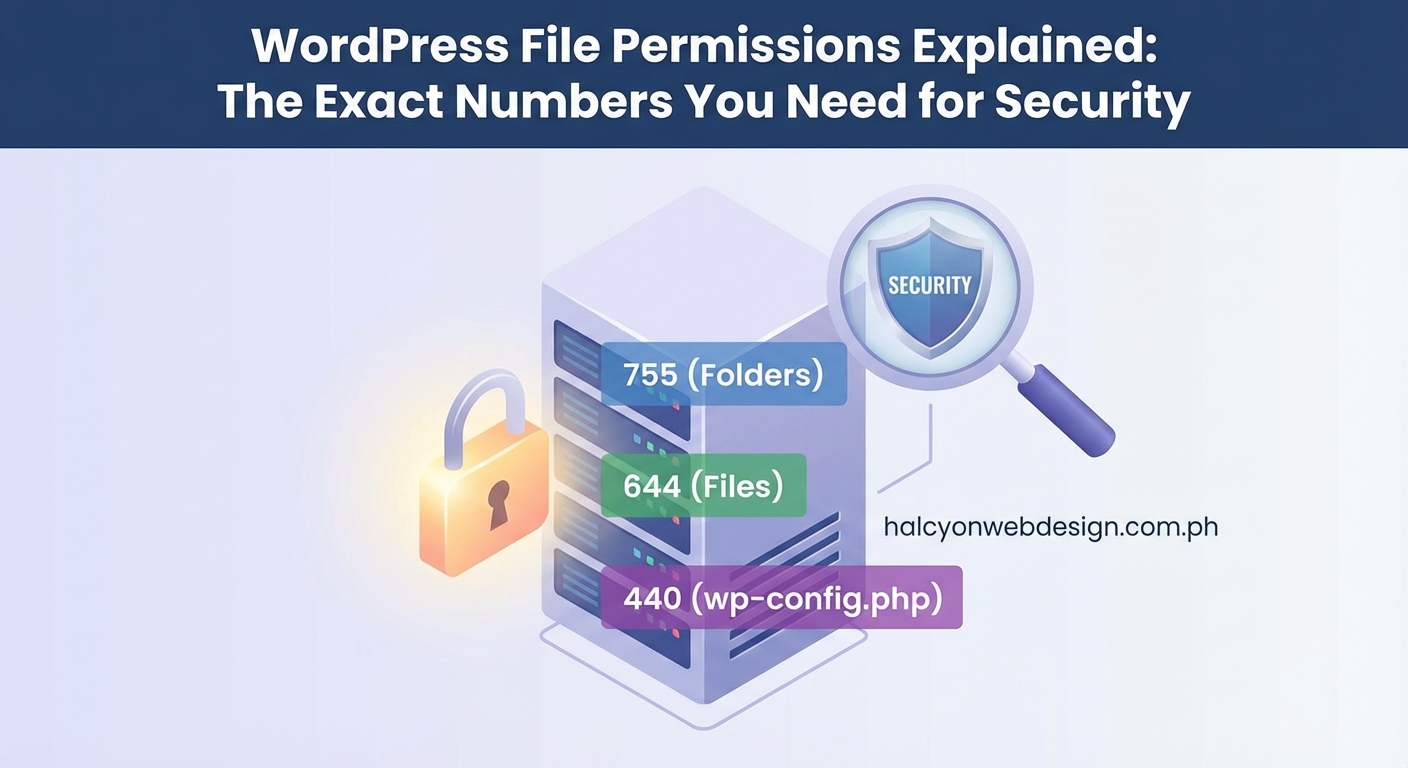
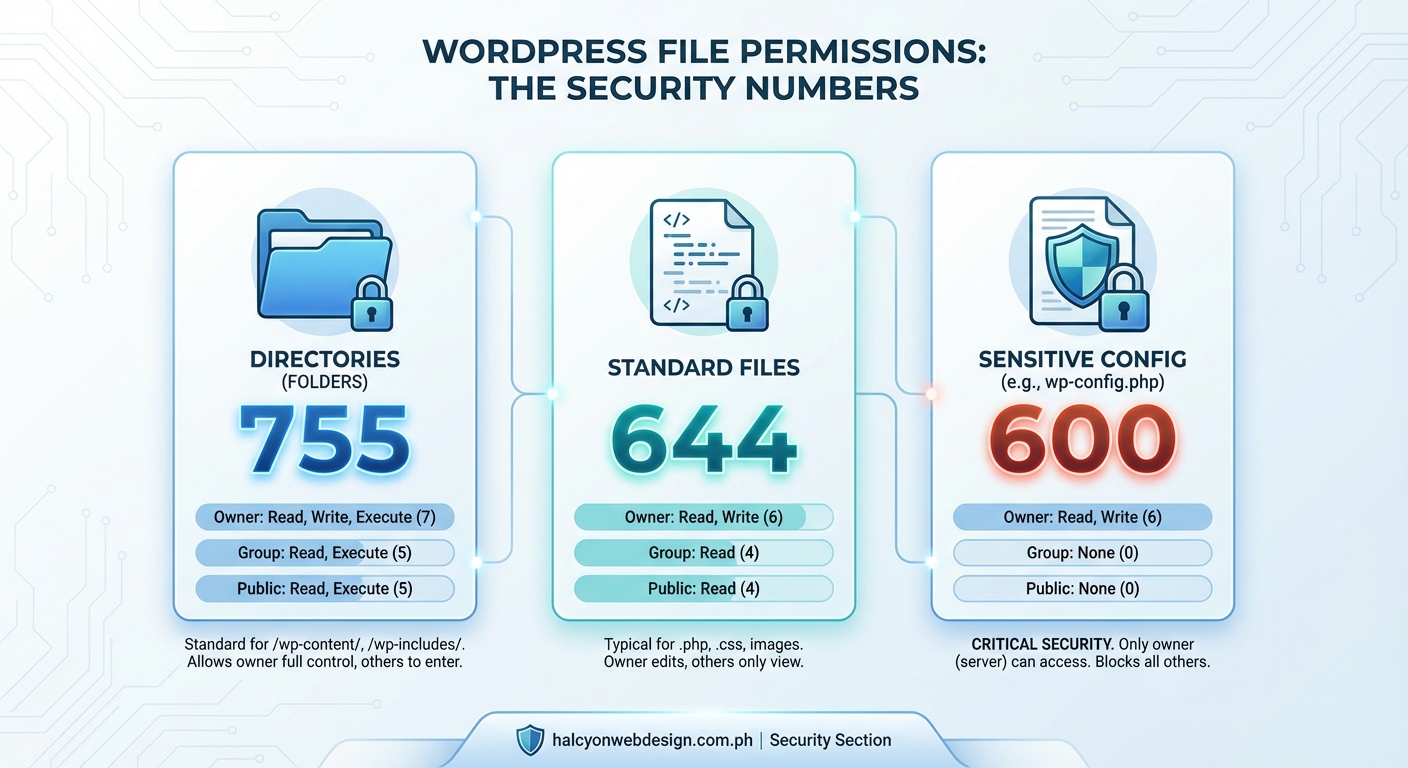
WordPress file permissions use three-digit numbers to control access. Directories should be 755, most files should be 644, and wp-config.php needs 440 or 400. Setting permissions too loose (like 777) creates security holes, while overly strict settings break functionality. You can check and fix permissions through FTP, SSH, or your hosting control panel in minutes.
What File Permissions Actually Mean
Every file and folder on your server has permission settings that determine three things: who can read it, who can modify it, and who can execute it.
The “who” breaks down into three categories:
- Owner: Usually the user account that runs your web server
- Group: Other users in the same group as the owner
- Public: Everyone else, including potential attackers
Each category gets its own set of permissions. That’s why you see three digits in permission settings like 755 or 644.
The numbers work like this. Each digit represents permissions for one category (owner, group, public). The values add up:
- Read = 4
- Write = 2
- Execute = 1
So 755 means the owner gets 7 (4+2+1, full access), while group and public each get 5 (4+1, read and execute only).
Here’s a practical example. When you see 644 on a file, the owner can read and write (4+2=6), but group and public can only read (4).
The Right Numbers for WordPress Files and Folders
WordPress needs different permission levels for different parts of your site. Use the wrong numbers and you’ll either compromise security or break functionality.
| Item | Permission | What It Means |
|---|---|---|
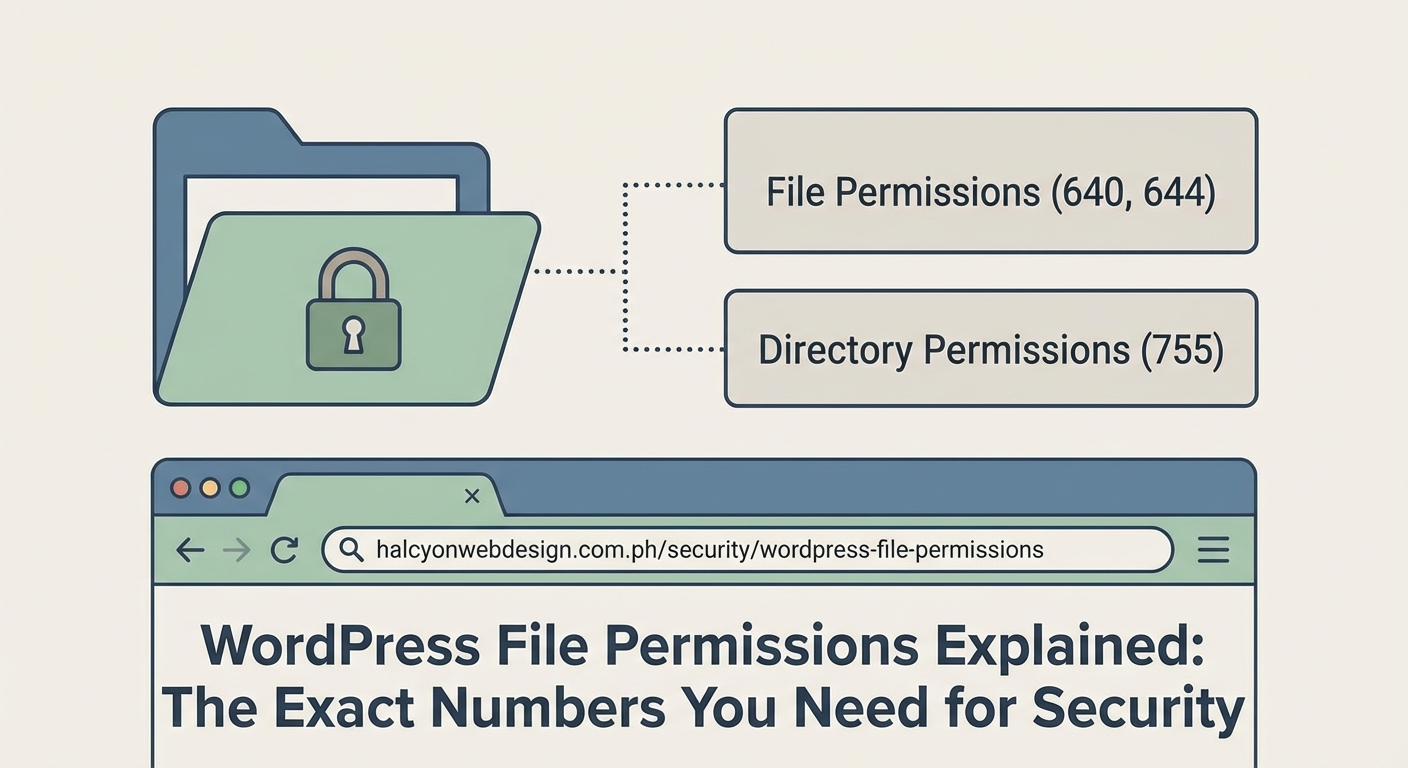
| Directories/Folders | 755 | Owner can modify, others can view and access |
| Files | 644 | Owner can edit, others can only read |
| wp-config.php | 440 or 400 | Only owner can read, no one can execute |
| .htaccess | 644 | Standard file permissions |
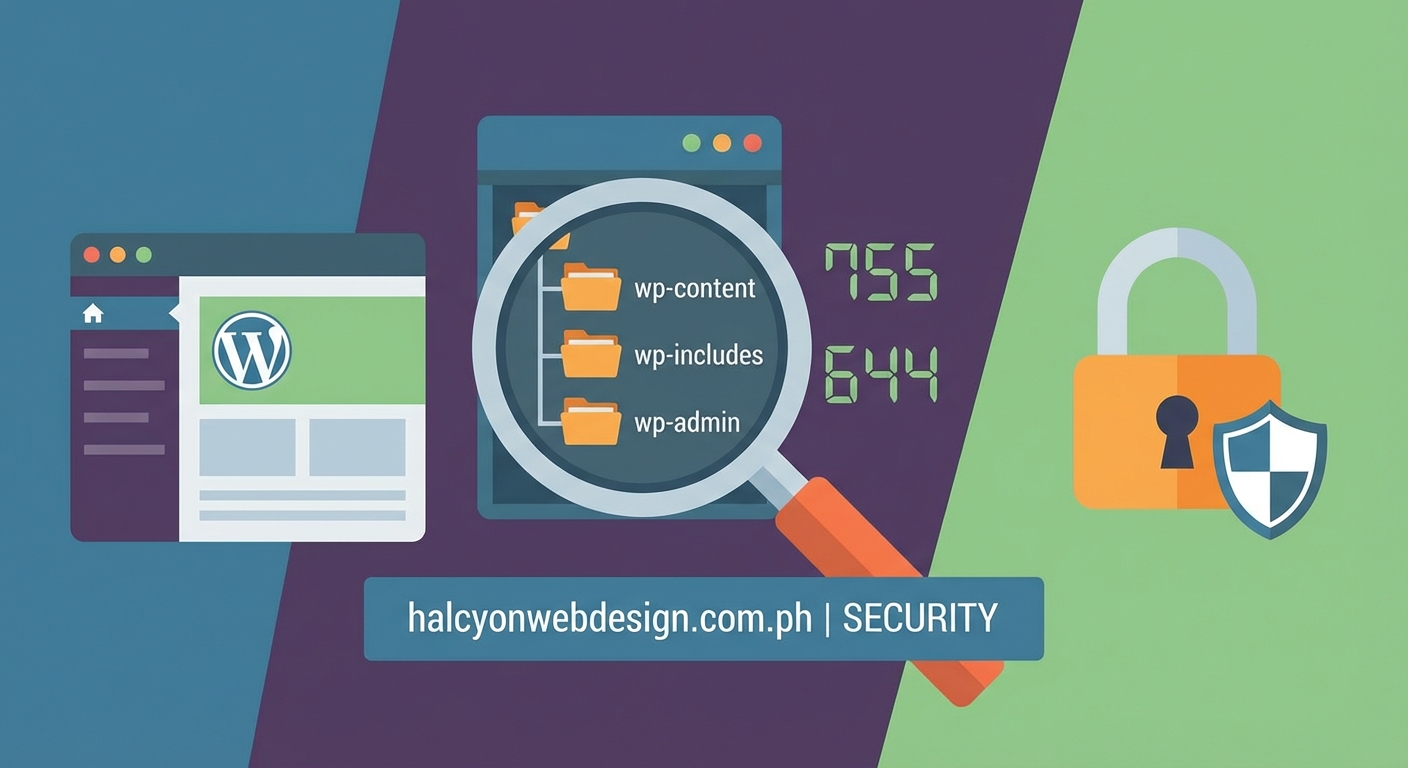
Most WordPress installations should use 755 for all directories. This lets WordPress create new folders when needed, like when you upload media or install plugins.
Regular files like your theme templates and plugin code should be 644. This prevents unauthorized changes while letting WordPress read them normally.
The wp-config.php file deserves special attention. It contains your database credentials and security keys. Setting it to 440 or 400 makes it readable only by the owner and prevents execution. Some hosting plans automatically set this for you.
Never use 777 on anything. This gives everyone full access, including write permissions. Attackers love finding 777 permissions because they can inject malicious code directly into your files.
How to Check Your Current Permissions
You need to see what permissions are currently set before you change anything. Most people use FTP clients or their hosting control panel.
Using an FTP Client
Connect to your site with FileZilla, Cyberduck, or any FTP client. Right-click on a file or folder and choose “File Permissions” or “Get Info.”
You’ll see either the three-digit number or checkboxes for read, write, and execute. Both show the same information in different formats.
Look at your wp-content folder first. It should show 755. Then check a few PHP files in your themes folder. They should be 644.
Through Your Hosting Control Panel
Most hosts offer a File Manager in cPanel or their custom dashboard. Navigate to your WordPress installation (usually in public_html).
Select a file or folder, then click the permissions or properties button. The interface varies by host, but you’ll always see the numeric value somewhere.
File Manager tools often show permissions in the file list itself, making it easy to scan multiple items at once.
Using SSH Commands
If you have SSH access, you can check permissions for everything at once. Connect to your server and navigate to your WordPress directory.
Run this command to see permissions for all files and folders:
ls -la
The output shows permissions in letter format (like drwxr-xr-x). The first character indicates if it’s a directory (d) or file (-). The next nine characters show owner, group, and public permissions.
Step-by-Step Permission Fixes
Fixing permissions takes just a few minutes once you know the right approach. The method you use depends on your access level.
Method 1: FTP Client Changes
- Connect to your site through your FTP client
- Navigate to your WordPress root directory
- Right-click the wp-content folder and select file permissions
- Enter 755 in the numeric value field
- Check “recurse into subdirectories” and apply to directories only
- Click OK and wait for the changes to apply
- Repeat for files, using 644 instead of 755
This approach works well for shared hosting where you don’t have SSH access. It takes longer for sites with many files, but it’s reliable.
Method 2: SSH Commands
SSH gives you the fastest way to fix permissions across your entire site. Connect to your server and navigate to your WordPress directory.
Run these commands in order:
find . -type d -exec chmod 755 {} \;
find . -type f -exec chmod 644 {} \;
chmod 440 wp-config.php
The first command sets all directories to 755. The second sets all files to 644. The third secures your config file.
These commands process everything in seconds, even on large sites. Just make sure you’re in the correct directory before running them.
Method 3: Hosting Control Panel
Many hosts provide a “Fix Permissions” button in their WordPress management tools. Look for it in your control panel under WordPress or website management.
This automated approach applies the standard permissions to your entire installation. It’s the easiest method but offers the least control.
Some hosts also let you select multiple files in File Manager and change permissions in bulk. This middle ground gives you more control than automation while staying faster than FTP.
Common Permission Problems and Their Solutions
Wrong permissions cause specific errors that point you toward the fix. Recognizing these patterns saves troubleshooting time.
“Failed to write file to disk” means WordPress can’t save uploaded files. Check your wp-content/uploads directory. It needs 755 permissions, and the web server must own it.
Plugin or theme installation failures usually indicate the wp-content/plugins or wp-content/themes folders have overly restrictive permissions. Set them to 755.
Blank pages or 500 errors sometimes happen when PHP files have execute permissions they shouldn’t have. Files should be 644, not 755 or 777.
“Cannot modify header information” errors can stem from wp-config.php having the wrong permissions. Try 440 or 600 if 440 doesn’t work with your hosting setup.
403 Forbidden errors might mean permissions are too restrictive. The web server needs at least read access to serve files. Check that directories are 755 and files are 644.
Security experts recommend auditing your file permissions quarterly. Most successful WordPress hacks exploit sites with 777 permissions on critical files. Spend five minutes checking permissions now to avoid spending hours cleaning up a hack later.
File Ownership Matters Too
Permissions only tell part of the security story. File ownership determines which user account controls your files.
Your web server runs under a specific user account (often www-data, apache, or nginx). Your FTP account uses a different user. When these don’t match, you get permission errors even with correct numeric settings.
Shared hosting usually handles ownership automatically. You might encounter issues on VPS or dedicated servers where you have more control.
If you can upload files through WordPress but can’t edit them via FTP, ownership is probably the culprit. The web server owns the files, but your FTP user doesn’t.
Fixing ownership requires SSH access. Navigate to your WordPress directory and run:
chown -R username:username .
Replace “username” with your actual username. This command changes ownership of all files and directories.
Some hosting setups use suEXEC, which runs scripts as the file owner rather than the web server user. This improves security but requires different permission settings. Your host’s documentation should specify if they use suEXEC.
Special Cases That Need Different Numbers
A few WordPress files and folders need permissions outside the standard 755/644 pattern.
Temporary directories like wp-content/cache or wp-content/temp need 755 so plugins can write temporary files. Some caching plugins create these automatically.
Custom upload directories should match the standard uploads folder at 755. If you’ve configured WordPress to store media elsewhere, check those locations.
The .htaccess file controls URL rewriting and security rules. It should be 644, but some security plugins temporarily change it to 444 (read-only) to prevent tampering.
Backup directories created by backup plugins often need 755 to store files. Check your backup plugin’s documentation for specific requirements.
wp-content/upgrade is a temporary folder WordPress creates during updates. It should be 755, though WordPress usually handles this automatically.
Sites using version control (Git) need careful permission management. The .git directory should never be web-accessible. Most servers are configured to block it, but verify this if you’re securing your login page and other sensitive areas.
Permissions on Different Hosting Types
Your hosting environment affects how permissions work and what settings you need.
Shared hosting typically uses suPHP or similar technologies that run PHP as your user account. This means 644 and 755 work perfectly because the web server effectively runs as you.
VPS and dedicated servers often run PHP as the web server user (www-data or apache). You might need 664 for files and 775 for directories so both your account and the web server can write files.
Managed WordPress hosting like WP Engine or Kinsta handles permissions automatically. Their systems are optimized for WordPress and prevent you from setting insecure permissions.
Cloud hosting platforms vary widely. AWS, Google Cloud, and DigitalOcean give you full control, which means you’re responsible for setting everything correctly.
Windows servers use a completely different permission system based on Access Control Lists (ACLs) rather than Unix-style numeric permissions. If you’re on Windows hosting, you’ll configure permissions through different tools, though the principles remain the same.
Security Best Practices Beyond Basic Permissions
Correct permissions are just one layer of WordPress security. Combine them with other protections for maximum safety.
Disable file editing through the WordPress dashboard. Add this to wp-config.php:
define(‘DISALLOW_FILE_EDIT’, true);
This prevents attackers from modifying themes or plugins even if they compromise your admin account.
Use SFTP instead of regular FTP. The ‘S’ stands for secure and means your credentials travel encrypted. Most modern hosts support SFTP with the same login details as FTP.
Keep your WordPress core, themes, and plugins updated. Outdated software creates vulnerabilities that make file permissions less effective. Updates often include security patches that close known exploits.
Consider a security plugin that monitors file changes. These plugins alert you when files are modified unexpectedly, catching attacks that bypass permission settings.
Regular backups protect you when security measures fail. Even perfect permissions can’t prevent every attack. Having clean backups means you can restore your site quickly if something goes wrong.
Choosing the right plugins from the start reduces your attack surface. Fewer plugins mean fewer potential vulnerabilities, regardless of your permission settings.
When Permissions Conflict With Functionality
Sometimes correct permissions break specific features. You need to balance security with usability.
Some older plugins expect 777 permissions on their directories. This is poor coding practice, but you might encounter it with legacy plugins. Try 775 first before resorting to 777, and consider finding a modern alternative.
Automatic updates might fail with strict permissions. WordPress needs write access to update itself and its plugins. If you’ve locked down permissions too tightly, you’ll need to update manually via FTP.
Image editing features in WordPress require write access to the uploads folder. If users can’t crop or rotate images, check that wp-content/uploads is 755.
Multisite installations have additional requirements. The wp-content/blogs.dir directory (in older multisite setups) needs 755, and individual site upload folders need appropriate permissions.
Development environments often need looser permissions than production. You might use 775 and 664 locally to avoid constant permission issues, then tighten everything before deploying to your live site.
Automated Permission Monitoring
Manually checking permissions works, but automation catches problems faster. Several approaches help you stay on top of permission security.
Security plugins like Wordfence or Sucuri include file integrity monitoring. They track permission changes and alert you when something shifts unexpectedly.
Server monitoring tools can watch specific files and directories. Set up alerts for any permission changes to wp-config.php or other critical files.
Backup plugins often include permission checking in their scan features. They’ll flag files with 777 or other risky settings during their regular backup routines.
Custom scripts give you complete control. Write a simple script that checks key files and emails you if permissions don’t match your standards.
The best approach combines automated monitoring with periodic manual audits. Automation catches immediate problems, while manual reviews help you understand your site’s permission landscape.
Performance matters too. Sites with incorrect permissions sometimes load slowly because the server struggles with access issues. Fixing permissions can improve response times.
Testing After Permission Changes
Don’t assume permission changes worked correctly. Test key functionality to verify everything still operates properly.
Try uploading an image through the WordPress media library. This tests write permissions on your uploads directory.
Install a plugin from the WordPress repository. This verifies permissions on wp-content/plugins.
Update your theme if an update is available. This checks theme directory permissions.
Create a new post and publish it. This ensures WordPress can write to the database and generate necessary files.
Visit your site in an incognito window. This confirms pages load correctly for visitors without special access.
Check your error logs after making permission changes. Many hosts provide error logs in cPanel or through their custom dashboard. Look for permission-denied messages that indicate remaining problems.
If something breaks, you can revert changes through FTP or SSH. Just apply the previous permission settings to restore functionality while you troubleshoot.
Documentation Saves Time Later
Keep a record of any non-standard permissions your site needs. Future you will appreciate the notes when troubleshooting problems months later.
Document which plugins require special permissions. Note the specific directories and the required settings.
Record your hosting environment details. Knowing whether you’re on shared hosting, VPS, or managed WordPress hosting helps when researching permission issues.
Save your SSH commands or FTP procedures. Having a tested process documented means you can fix problems faster next time.
Note any custom directories your site uses. If you’ve moved uploads to a different location or added custom functionality, document the permission requirements.
Store this documentation somewhere accessible but secure. A password manager with notes features works well, as does a private Git repository.
Your Site Deserves Proper Permissions
File permissions protect your WordPress site from attackers while keeping it functional for legitimate users. The right settings prevent most common security issues without breaking features you rely on.
Start by checking your current permissions through FTP, SSH, or your hosting control panel. Apply the standard 755 for directories and 644 for files, with special attention to wp-config.php at 440. Test everything after making changes to catch problems early.
Set a reminder to audit permissions quarterly. It takes five minutes and catches permission drift before it becomes a security problem. Your site’s security is worth that small investment of time.