
Your WordPress site just went blank. Or maybe you’re seeing a fatal error message about memory being exhausted. Either way, your heart sinks because you think this means expensive hosting upgrades or calling in a developer.
Good news: most memory errors can be fixed in under 20 minutes without spending a cent.
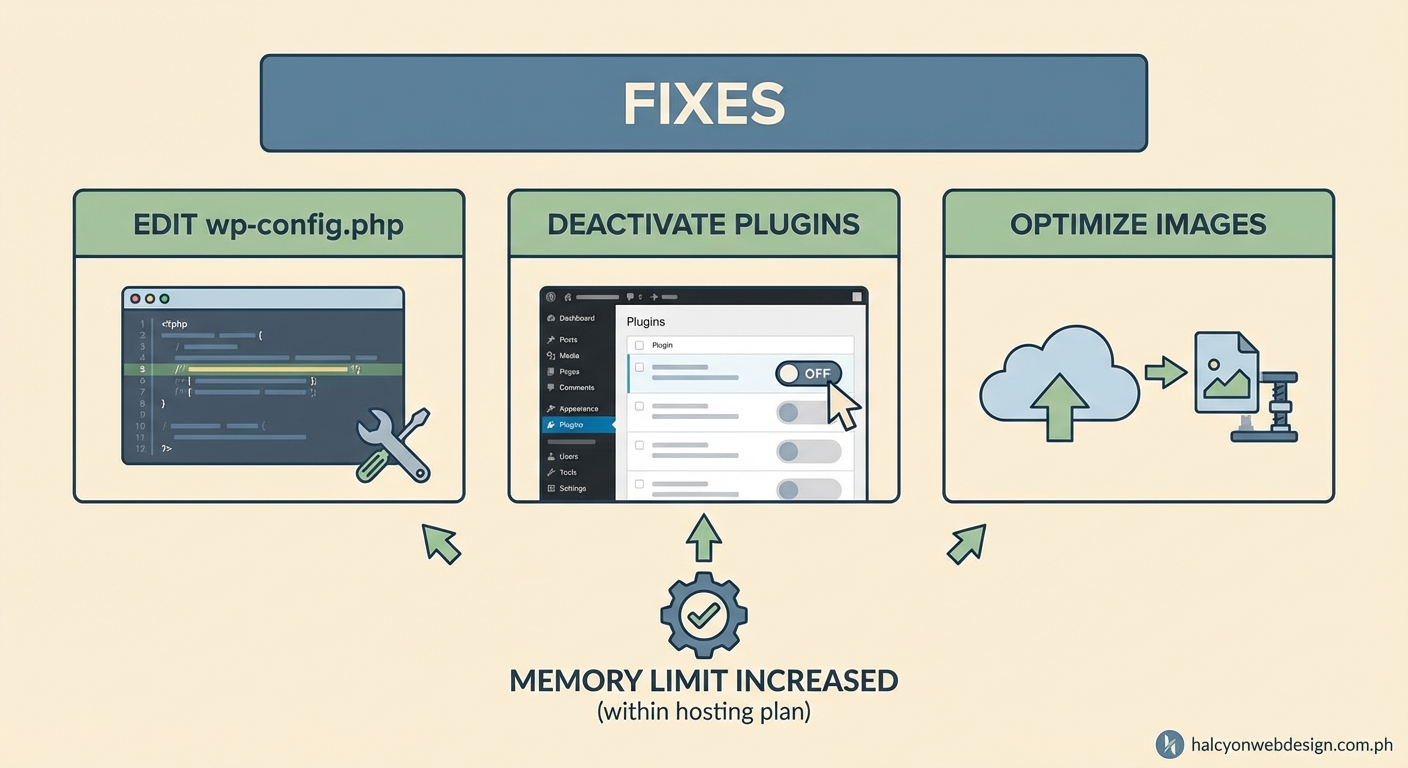
WordPress memory exhausted errors happen when your site tries to use more PHP memory than allowed. You can fix this by editing wp-config.php, modifying .htaccess, or updating php.ini settings. Most solutions take 10 to 20 minutes and don’t require hosting upgrades. If configuration changes don’t work, the real culprit is usually a poorly coded plugin or theme consuming excessive resources.
What Causes a WordPress Memory Exhausted Error
WordPress runs on PHP, and every PHP process gets a memory limit. Think of it like RAM for your computer, but for individual website tasks.
When WordPress tries to load a page, it needs memory to run plugins, load themes, process database queries, and generate content. If all these tasks together need more memory than the limit allows, PHP stops everything and throws an error.
The actual error message looks like this:
Fatal error: Allowed memory size of 33554432 bytes exhausted (tried to allocate 2348617 bytes) in /home/username/public_html/wp-includes/plugin.php on line 1000
The numbers change, but the pattern stays the same. Your site tried to use more memory than PHP allows.
Common triggers include:
- Installing a memory-hungry plugin like a page builder or backup tool
- Running multiple plugins that don’t play nicely together
- Using a poorly coded theme with bloated functions
- Processing large images without optimization
- Running database queries that pull too much data at once
- Hitting traffic spikes that strain server resources
Most shared hosting plans set PHP memory limits between 32MB and 128MB by default. WordPress itself recommends at least 64MB, but modern sites with typical plugins often need 128MB or 256MB.
How to Check Your Current Memory Limit
Before you start changing settings, you need to know what your current limit is.
The easiest way is to create a temporary PHP info file. Here’s how:
- Open a text editor and paste this single line:
<?php phpinfo(); ?> - Save the file as
info.php - Upload it to your WordPress root directory (where wp-config.php lives)
- Visit
yoursite.com/info.phpin your browser - Search the page for “memory_limit”
You’ll see your current limit listed in megabytes.
Another method is installing a plugin like Health Check & Troubleshooting. It shows your memory limit right in the WordPress dashboard under Tools > Site Health.
Delete that info.php file after checking. Leaving it public is a security risk.
Three Ways to Increase PHP Memory Limits
You have three main configuration files you can edit to raise memory limits. Each method works differently depending on your hosting setup.
Method 1: Edit wp-config.php
This is the WordPress-specific memory setting. It only affects WordPress, not other PHP scripts on your server.
- Connect to your site via FTP or use your hosting file manager
- Find wp-config.php in your WordPress root directory
- Download a backup copy before editing
- Look for the line that says
/* That's all, stop editing! Happy blogging. */ - Add this line right before it:
define('WP_MEMORY_LIMIT', '256M'); - Save and upload the file back to your server
The 256M means 256 megabytes. You can try 128M first if you want to be conservative.
If WordPress needs even more memory for admin tasks like updates and backups, add a second line:
define('WP_MAX_MEMORY_LIMIT', '512M');
This gives admin processes extra headroom without raising the limit for regular visitors.
Method 2: Modify .htaccess
This method works if your server runs Apache and allows .htaccess overrides.
- Find the .htaccess file in your WordPress root directory
- Make a backup copy
- Add this line anywhere in the file:
php_value memory_limit 256M - Save and upload
If you get a 500 Internal Server Error after this change, your host doesn’t allow PHP values in .htaccess. Remove the line and try a different method.
Method 3: Create or Edit php.ini
This is the master PHP configuration file. Changes here affect all PHP scripts, not just WordPress.
Some hosts let you create a php.ini file in your WordPress root directory. Others require you to edit an existing one in a different location.
- Check if php.ini already exists in your root directory
- If not, create a new text file named
php.ini - Add this line:
memory_limit = 256M - Save and upload to your WordPress root directory
Some hosts use user.ini or .user.ini instead of php.ini. Check your hosting documentation or ask support which filename to use.
After making changes, wait 5 minutes for them to take effect, then check your memory limit again using the phpinfo method.
When Configuration Changes Don’t Work
Sometimes you’ll raise the memory limit but still see errors. This means your host has a hard limit that overrides your settings.
Shared hosting plans often cap memory at 128MB or 256MB no matter what you put in configuration files. Managed WordPress hosts like WP Engine or Kinsta set their own limits based on your plan tier.
If you’ve tried all three methods and your memory limit hasn’t changed, contact your hosting support. They can tell you the maximum allowed limit and whether they can raise it for you.
But here’s the thing: if you’re hitting memory limits even at 256MB, the problem isn’t your memory limit. It’s what’s consuming all that memory.
Finding the Real Memory Hog
A well-optimized WordPress site with 10 to 15 typical plugins should run fine on 128MB. If you need 512MB just to load a page, something’s wrong.
Start by checking your plugins:
- Deactivate all plugins
- Check if the error goes away
- Reactivate plugins one at a time
- Test your site after each activation
- When the error returns, you’ve found your culprit
Page builders like Elementor and Divi are known memory consumers, especially on pages with lots of widgets and custom elements. Backup plugins that run in real time can also eat memory.
If deactivating plugins doesn’t help, switch to a default WordPress theme like Twenty Twenty-Four. If the error disappears, your theme is the problem.
Common Plugin and Theme Issues
| Problem Type | Memory Impact | Solution |
|---|---|---|
| Unoptimized images | High | Use image optimization plugin or CDN |
| Autoloaded data bloat | Medium to High | Clean up options table with WP-Optimize |
| Poorly coded plugins | High | Replace with better-coded alternatives |
| Too many active plugins | Medium | Audit and remove unused plugins |
| Heavy theme frameworks | Medium | Switch to lightweight theme |
| Real-time backup plugins | High | Use scheduled backups instead |
The WordPress options table can balloon with autoloaded data from plugins that don’t clean up after themselves. This data loads on every page request, consuming memory before your actual content even starts loading.
You can check autoloaded data size with a plugin like Query Monitor. If it’s over 1MB, you’ve got bloat.
Optimization Steps That Actually Help
Raising memory limits treats the symptom, not the disease. Here’s how to reduce memory consumption:
Clean up your plugins:
- Remove any plugin you haven’t used in 3 months
- Replace feature-heavy plugins with lighter alternatives
- Avoid plugins that promise to “do everything”
- Read reviews mentioning performance before installing new plugins
Optimize your images:
- Install an image optimization plugin like ShortPixel or Imagify
- Set maximum image dimensions for uploads
- Use WebP format when possible
- Consider offloading images to a CDN
Reduce autoloaded data:
- Use WP-Optimize to clean your options table
- Remove transients from deactivated plugins
- Limit post revisions by adding
define('WP_POST_REVISIONS', 5);to wp-config.php
Choose better tools:
- Use a caching plugin to reduce PHP processing
- Pick themes built for performance, not just looks
- Consider how to choose the right WordPress plugin before installing new ones
If your site still struggles after optimization, you might actually need better hosting. But try these fixes first. Most sites don’t need expensive hosting; they need better housekeeping.
Monitoring Memory Usage Over Time
Set up monitoring so you catch memory issues before they break your site.
The Site Health feature in WordPress (Tools > Site Health) shows memory usage and flags potential problems. Check it monthly.
Query Monitor plugin gives real-time memory usage for each page load. Install it temporarily when troubleshooting, but don’t leave it active on production sites since it adds its own overhead.
Your hosting control panel might include resource usage graphs. Check these weekly to spot trends. If memory usage climbs steadily, you’ve got a leak somewhere.
What to Do If Nothing Works
You’ve raised limits, optimized plugins, cleaned your database, and the errors keep coming. Now what?
Contact your hosting support with specific details:
- The exact error message
- When it started happening
- What you’ve already tried
- Which page or action triggers it
Good hosts will check server logs and help identify the issue. If they just tell you to upgrade without investigating, consider switching to a host that actually troubleshoots.
Sometimes the problem is server configuration beyond PHP memory. MySQL memory limits, execution time limits, or resource restrictions can cause similar errors.
If you’re on the cheapest shared hosting plan and running a complex site with WooCommerce or a membership plugin, you might genuinely need better hosting. But that’s a last resort after trying everything else.
The decision between optimizing your current setup and upgrading hosting is similar to choosing the right WordPress hosting plan in the first place. Match your resources to your actual needs, not your fears.
Preventing Future Memory Errors
Build good habits now to avoid memory problems later:
- Test new plugins on a staging site first
- Keep WordPress, themes, and plugins updated
- Run database optimization monthly
- Monitor your site’s performance with tools like GTmetrix
- Set up uptime monitoring to catch errors immediately
Think of your WordPress site like a car. Regular maintenance prevents breakdowns. Ignoring small issues leads to big problems.
When you do need to add functionality, research the memory footprint first. Plugin reviews often mention if something is a resource hog. A few minutes of research beats hours of troubleshooting later.
Performance and memory usage often go hand in hand. If you’re also dealing with slow load times, check out why your WordPress site loads slowly for related fixes.
Taking Control of Your Site’s Resources
Memory exhausted errors feel scary, but they’re usually simple to fix. Most of the time, you just need to adjust a configuration file or remove a problematic plugin.
Start with the wp-config.php method since it’s WordPress-specific and safest. If that doesn’t work, try .htaccess or php.ini. One of these three methods will work for most hosting setups.
But remember: raising limits is a bandaid. The real fix is finding and removing whatever’s consuming excessive memory. A lean, well-optimized WordPress site shouldn’t need 512MB just to display a blog post.
Take 20 minutes this weekend to check your memory limit, audit your plugins, and clean up your database. Your site will run faster, use fewer resources, and give you fewer headaches. That’s time well spent.