Your page isn’t showing up in Google search results. You’ve published it, shared it, and waited. Nothing.
This happens more often than you’d think. Google might not have crawled your page yet, or it found an issue that stopped it from indexing. The URL inspection tool in Google Search Console gives you the answers you need.
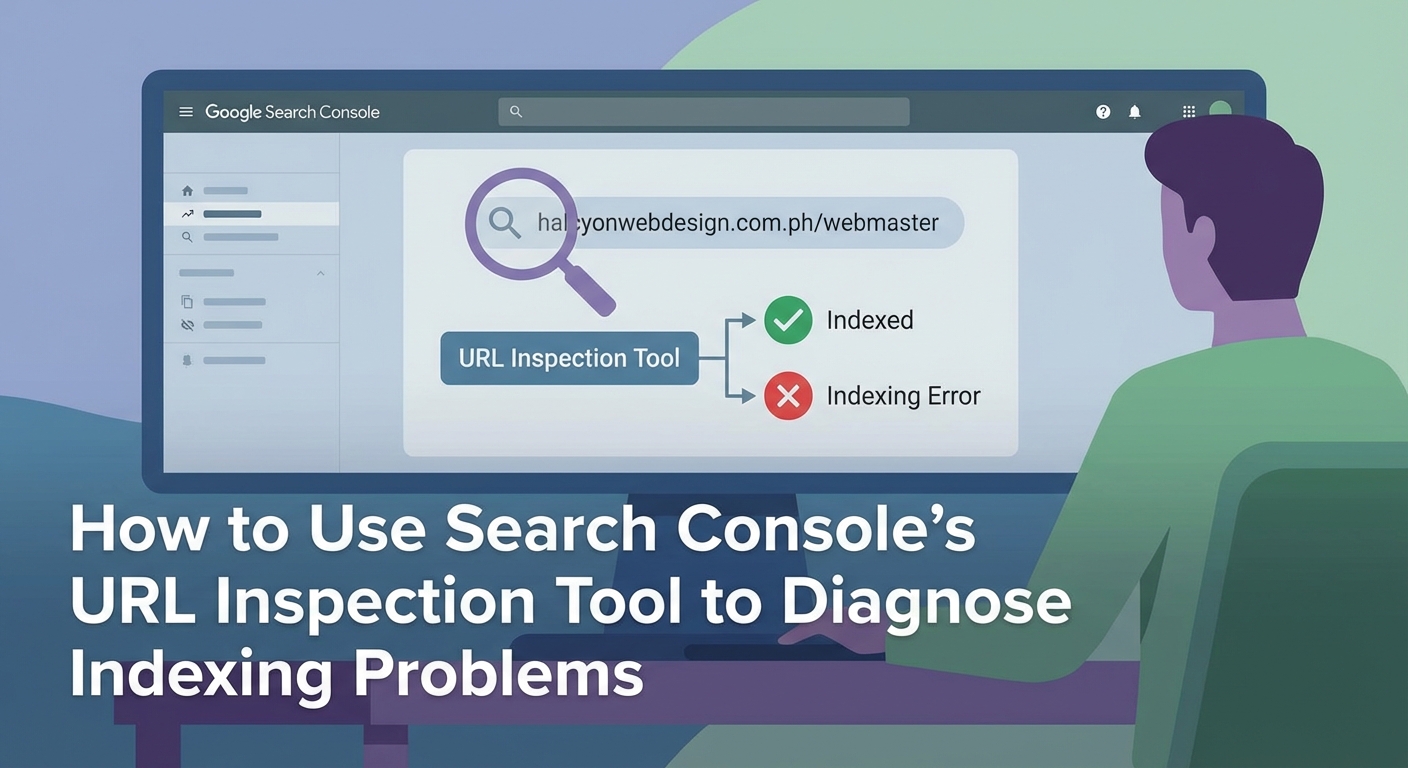
The URL inspection tool shows you exactly how Google sees any page on your site. It reveals indexing status, crawl errors, mobile usability issues, and structured data problems. You can test live URLs, view rendered HTML, and request indexing for new or updated pages. This tool is essential for diagnosing why pages aren’t appearing in search results and fixing problems before they hurt your traffic.
What the URL inspection tool actually does
The URL inspection tool gives you two views of any URL on your verified property. The first shows the indexed version, meaning what Google has stored in its search index. The second tests the live version currently on your server.
This matters because what you see on your site might differ from what Google has indexed. Maybe you fixed a problem last week but Google hasn’t recrawled the page yet. Or perhaps your server is blocking Googlebot even though the page loads fine in your browser.
The tool reports on several key areas:
- Whether the URL is in Google’s index
- When Google last crawled the page
- If the page is mobile friendly
- Whether structured data is valid
- If robots.txt or meta tags are blocking indexing
- What canonical URL Google selected
You can inspect up to 2,000 URLs per day per property. That’s enough to check every important page on most sites.
How to access and inspect a URL
Getting to the tool takes just a few seconds if you already have Search Console set up.
- Log into Google Search Console and select your property
- Look for the search bar at the very top of the page
- Type or paste the full URL you want to inspect
- Press Enter and wait for the results to load
The URL must belong to the property you’re viewing. You can’t inspect competitor URLs or pages from sites you don’t own.
Google takes a few seconds to fetch the data. You’ll see a loading screen, then the inspection results appear.
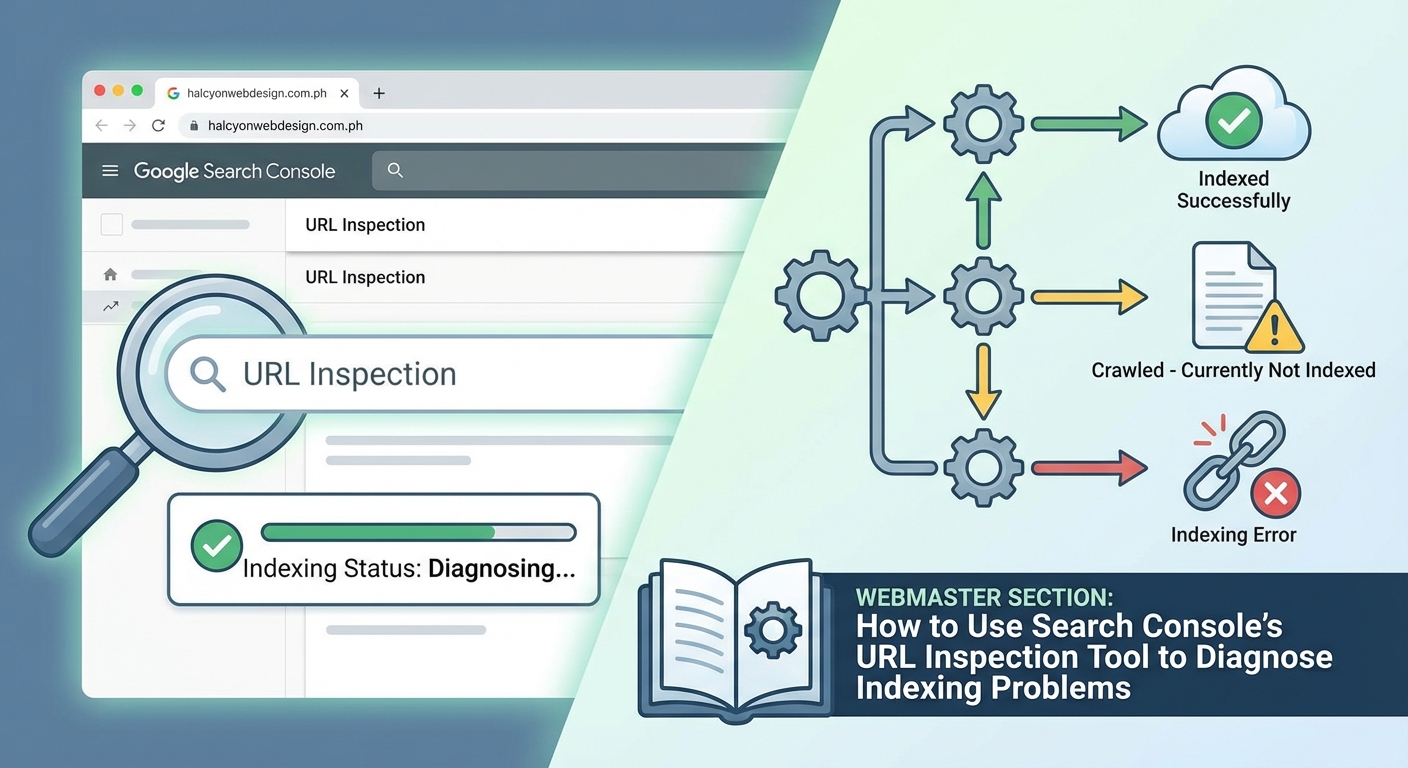
The main status appears at the top in green, yellow, or red. Green means the URL is indexed and available in search results. Yellow indicates the page is indexed but has issues. Red means Google hasn’t indexed the page.
Below the status, you’ll find detailed information organized into sections. Each section expands when you click it.
Reading the indexed URL status
The indexed URL report shows what Google currently has stored. This is the version that can appear in search results.
When you see “URL is on Google,” your page is indexed and eligible to show up in searches. This doesn’t guarantee rankings, just that Google knows about the page and considers it valid.
“URL is on Google, but has issues” means the page is indexed despite problems. Common issues include mobile usability errors or invalid structured data. The page can still rank, but fixing these problems might improve performance.
“URL is not on Google” tells you the page isn’t in the index at all. This is the status you need to fix if you want the page to appear in search results.
Several reasons cause this status:
- The page was blocked by robots.txt
- A noindex meta tag or X-Robots-Tag header prevents indexing
- The page requires authentication or login
- Google found the content duplicated elsewhere and chose a different canonical
- The page returned an error when Googlebot tried to crawl it
- Google hasn’t discovered or crawled the page yet
Scroll down to see which specific issue applies to your URL.
“URL is an alternate version” appears when Google chose a different URL as the canonical. This happens with duplicate content. Google picks one version to show in search results and treats the others as alternates.
Testing the live URL version

The live test checks the current state of your page right now. This is different from the indexed version, which might be days or weeks old.
Click the “Test live URL” button near the top of the report. Google sends Googlebot to fetch your page in real time.
The test takes 30 to 60 seconds. You’ll see a progress indicator while Google crawls and renders the page.
When it finishes, you get a report showing:
- Whether the page is indexable right now
- If there are any crawl or rendering issues
- How the page looks to Googlebot
- Whether mobile usability passes
- If structured data validates
This test doesn’t affect your actual index status. It just shows you what would happen if Google crawled the page today.
The live test is perfect for checking fixes. Maybe you removed a noindex tag an hour ago. The indexed version still shows the old status, but the live test confirms the tag is gone.
Viewing the crawled page details
Click “View crawled page” to see exactly what Googlebot retrieved. This opens a panel with three tabs.
The HTML tab shows the raw source code Google downloaded. This is useful for checking if dynamic content loaded properly or if server-side issues stripped out important elements.
The Screenshot tab displays how Google rendered the page visually. If JavaScript adds content after the initial load, you can verify whether Googlebot saw it. Sometimes pages look fine to users but render blank or broken for Googlebot.
The More Info tab lists technical details like HTTP status code, page resources that failed to load, and whether robots.txt blocked any assets.
If your page looks different in the screenshot than it does in your browser, you’ve found a rendering problem. Common causes include JavaScript errors, blocked CSS or JavaScript files, or resources that require cookies or authentication.
When troubleshooting indexing problems, always compare the indexed version with the live test results. The difference between them tells you whether your fix worked and whether you need to request reindexing.
Requesting indexing for new or updated pages
After you fix an issue, you want Google to recrawl and reindex the page. You could wait for Google to discover the changes naturally, which might take days or weeks. Or you can request indexing.
Look for the “Request indexing” button at the top of the inspection results. It only appears if you haven’t recently requested indexing for this URL.
Click the button and Google runs a live test first. If the page passes basic checks, Google adds it to the crawl queue with priority.
This doesn’t guarantee instant indexing. Google still decides when to actually crawl and index the page based on site authority, crawl budget, and other factors. But requesting indexing usually speeds things up compared to waiting passively.
You can request indexing for about 10 URLs per day per property. Use this quota for important pages like new blog posts, updated product pages, or pages where you just fixed critical errors.
Don’t spam the button. Requesting indexing multiple times for the same URL doesn’t help and might waste your daily quota.
Common indexing problems and how to spot them
The URL inspection tool reveals specific problems preventing indexing. Here’s how to identify and understand the most common ones.
| Problem | What it means | Where to look |
|---|---|---|
| Blocked by robots.txt | Your robots.txt file tells Google not to crawl this URL | Coverage section shows the blocking rule |
| Noindex tag detected | A meta tag or HTTP header prevents indexing | Coverage section lists the tag location |
| Soft 404 error | Page returns 200 status but looks like an error page to Google | Coverage section explains why Google thinks it’s an error |
| Server error (5xx) | Your server returned an error when Google tried to crawl | Last crawl section shows the HTTP status code |
| Redirect error | Page redirects in a way Google can’t follow | Coverage section describes the redirect chain |
| Duplicate without canonical | Google found the same content on multiple URLs and chose a different one | Canonical section shows which URL Google selected |
Each problem has a different fix. Robots.txt issues require editing your robots.txt file. Noindex tags need to be removed from your page code or server configuration. Server errors mean talking to your hosting provider or checking your site performance.
Using coverage data to find patterns
Inspecting one URL at a time works for specific troubleshooting. But what if dozens or hundreds of pages aren’t indexed?
The coverage report (found in the left sidebar under “Indexing”) shows all pages grouped by status. You can see how many pages are indexed, excluded, or have errors.
Click any status group to see the affected URLs. Then inspect a few examples to understand the pattern.
For instance, if 50 blog posts show “Crawled but not indexed,” inspect three or four of them. If they all have thin content or technical issues, you’ve found the pattern. Fix the underlying problem across all affected pages instead of treating each one individually.
The coverage report also tracks changes over time. If your indexed page count drops suddenly, you know something changed recently. Check the graph to see when the drop started, then think about what you modified around that date.
Checking mobile usability and enhancements
The URL inspection tool includes mobile usability results for each page. This section shows whether your page works well on mobile devices.
Common mobile usability issues include:
- Text too small to read
- Clickable elements too close together
- Content wider than the screen
- Viewport not set properly
These problems don’t prevent indexing, but they hurt mobile rankings. Google uses mobile-first indexing, meaning it primarily uses the mobile version of your content for ranking and indexing.
The enhancements section shows rich result eligibility. If your page includes structured data for recipes, reviews, events, or other rich results, this section validates the markup.
Invalid structured data won’t prevent indexing either, but it means you’re missing out on enhanced search appearances that could improve click-through rates.
Interpreting discovery and crawl information
Scroll down to find details about how Google discovered your URL and when it last crawled it.
The referring page shows where Google found the link to this URL. This might be your sitemap, another page on your site, or an external site linking to you.
If Google hasn’t discovered your page yet, the referring page will be empty. This means you need to add internal links pointing to the page or submit it through your sitemap.
The last crawl timestamp tells you when Google most recently visited the page. If this date is months old, Google isn’t prioritizing your page for recrawling. This might indicate low site authority, poor internal linking, or that the page rarely changes.
Crawl frequency depends on several factors. Popular sites with frequently updated content get crawled more often. New sites or rarely updated pages might only get crawled every few weeks.
You can’t force Google to crawl more often, but you can improve crawl efficiency by fixing broken links, updating your sitemap regularly, and keeping your site fast and accessible.
Fixing “crawled but not indexed” pages
This status frustrates many site owners. Google found your page, visited it, but decided not to add it to the index.
The URL inspection tool usually doesn’t give a specific reason for this status. Google considers these pages low quality or not valuable enough to index given the site’s crawl budget.
Common causes include:
- Thin content with little unique value
- Duplicate or near-duplicate content
- Low-quality auto-generated pages
- Pages with little text and mostly images or videos
- Orphan pages with no internal links
- Pages on sites with low overall authority
To fix this, inspect a few affected URLs and look for patterns. Do they all have under 200 words? Are they product pages with only manufacturer descriptions? Do they lack internal links from other pages?
Improve content quality, add unique value, build internal links, and request indexing again. If Google still won’t index them after improvements, consider whether these pages actually need to be indexed. Sometimes the best solution is to consolidate thin pages into more comprehensive ones.
You can learn more about this specific issue in our guide on how to fix crawled but not indexed status.
Troubleshooting rendering and JavaScript issues
Modern websites often rely on JavaScript to load content. If Googlebot can’t execute your JavaScript properly, it might see a blank page or miss important content.
The “View crawled page” screenshot reveals rendering problems. If the screenshot shows a blank page, a loading spinner, or missing content that appears in your browser, you have a rendering issue.
Common causes include:
- JavaScript files blocked by robots.txt
- JavaScript errors that prevent code execution
- Content that loads only after user interaction
- Resources that require authentication
- Timeout issues with slow-loading scripts
Check the More Info tab to see which resources failed to load. If critical JavaScript or CSS files are blocked or failed, that explains the rendering problem.
Fix rendering issues by ensuring Googlebot can access all necessary resources, fixing JavaScript errors, and avoiding patterns that require user interaction to display content.
Using the tool alongside other Search Console reports
The URL inspection tool works best when combined with other Search Console features.
Start with the coverage report to identify groups of problem pages. Then use the URL inspection tool to examine specific examples and understand the root cause.
Check the sitemaps report to confirm Google is processing your sitemap. If pages aren’t in your sitemap, Google might not discover them.
Review the page experience report for site-wide issues affecting mobile usability, HTTPS, and Core Web Vitals. These problems might not prevent indexing but they affect rankings.
The performance report shows which pages are getting impressions and clicks. If a page is indexed but gets zero impressions, it might indicate content quality issues or lack of relevant keywords.
When to use URL inspection versus other tools
The URL inspection tool excels at page-level diagnostics. Use it when you need to know why a specific page isn’t indexed or how Google sees a particular URL.
For site-wide issues, the coverage report is more efficient. Don’t inspect 100 URLs individually when the coverage report can show you patterns.
For ongoing monitoring, set up email alerts for indexing issues. Search Console will notify you when coverage errors spike or when important pages drop from the index.
For technical SEO audits, combine URL inspection with external tools like Screaming Frog or Sitebulb. These tools can crawl your entire site and identify issues that might affect indexing, then you can verify findings with URL inspection.
Keeping your inspection workflow efficient
Develop a systematic approach to using the URL inspection tool instead of randomly checking URLs.
Create a checklist of pages to inspect regularly:
- New pages within 48 hours of publishing
- Updated pages after major content changes
- High-value pages that drop from the index
- Pages showing errors in the coverage report
- Pages with sudden traffic drops in analytics
Keep a spreadsheet tracking inspection results for important pages. Note the date, status, and any issues found. This history helps you spot patterns and measure progress over time.
Set up a routine. Maybe you inspect new blog posts every Tuesday and check coverage errors every Friday. Consistency helps you catch problems early.
Making sense of conflicting signals
Sometimes the URL inspection tool shows a page is indexed, but it doesn’t appear when you search for it. This confuses people.
Being indexed doesn’t guarantee visibility for every search. Google might index your page but rank it so low that it never appears in practical search results.
Try searching for the exact URL or a unique phrase from the page. If it shows up, the page is indexed and accessible. If not, wait a few days and check again.
Another conflict happens when the indexed version differs from the live version. You removed a noindex tag yesterday, but the inspection tool still shows it. This just means Google hasn’t recrawled yet. Request indexing and wait.
The inspection tool shows what Google knows right now. It’s not a real-time view of search results or rankings.
Turning inspection data into action
Finding problems is only half the battle. You need to fix them and verify the fixes worked.
After making changes, wait at least 24 hours before testing again. This gives your server time to propagate changes and caches to clear.
Run a live test to confirm the fix appears on the live page. If the live test passes but the indexed version still shows the problem, request indexing.
Track your fixes in a simple document. Write down what was wrong, what you changed, and when you requested reindexing. Check back in a week to verify Google reindexed the page with the fix applied.
Some fixes work immediately. Others take weeks to fully resolve. Server errors usually clear up right away. Content quality issues might need multiple rounds of improvement before Google indexes the page.
Your next steps with the inspection tool
The URL inspection tool gives you direct insight into how Google processes your pages. You can see exactly what’s blocking indexing, test fixes in real time, and request priority crawling for important updates.
Start by inspecting your most important pages. Make sure your homepage, key product pages, and top blog posts are all indexed without issues. Then work through any errors showing in your coverage report.
Check pages that should be getting traffic but aren’t. Look for patterns in pages that aren’t indexed. Fix the underlying problems instead of treating symptoms.
The tool becomes more valuable the more you use it. You’ll start recognizing patterns, understanding Google’s perspective on your site, and catching problems before they hurt your traffic. Make it part of your regular site maintenance routine, and you’ll spend less time wondering why pages aren’t ranking and more time actually improving them.