You see that red notification badge on your WordPress dashboard. Twelve plugin updates are waiting. Your finger hovers over the update button, but you hesitate. Last time you updated, your contact form stopped working for three days. Your customers couldn’t reach you. Your stomach still drops thinking about it.
Updating WordPress plugins safely requires three critical steps: creating a complete backup, testing updates in a staging environment, and monitoring your site afterward. This process prevents broken features, lost data, and downtime. Most plugin-related site crashes happen because site owners skip these protective measures. Following a systematic update routine takes 15 minutes but saves hours of recovery work and potential revenue loss.
Why Plugin Updates Break Websites
Plugin updates fail for predictable reasons.
Your theme might use outdated code that conflicts with the new plugin version. Two plugins might fight over the same function. The plugin developer might have introduced a bug. Your PHP version might be too old for the new requirements.
None of these scenarios announce themselves before you click update.
A photography client once updated their gallery plugin during peak wedding season. The update required PHP 7.4, but their host ran PHP 7.2. Every gallery on their site showed blank white boxes. Brides couldn’t view their proofs. The photographer lost two bookings before we rolled back the update.
The most expensive plugin update is the one you do without a backup. Recovery costs always exceed prevention costs.
Before You Touch Any Update Button
Start with information gathering.
Check your current WordPress version. Navigate to Dashboard > Updates. Write down the version number. Some plugins require WordPress 6.0 or higher. Updating the plugin before updating WordPress core creates instant conflicts.
Check your PHP version next. Go to Tools > Site Health > Info > Server. Find the PHP version line. Compare it against the plugin’s requirements. Most plugin pages list minimum PHP requirements in their changelog or description.
Read the plugin changelog before updating. Developers list breaking changes, new requirements, and known issues. A changelog that mentions “major rewrite” or “breaking changes” means you need extra caution. Minor version bumps (like 2.1 to 2.2) carry less risk than major ones (like 2.9 to 3.0).
The Complete Pre-Update Checklist
Follow these steps in order every single time.
1. Create a full backup
Your hosting control panel probably offers automated backups. Don’t rely on them alone. Create a fresh backup right before updating. Download both your files and database.
Use a backup plugin like UpdraftPlus or BackupBuddy if your host doesn’t provide easy backup access. Store the backup somewhere other than your web server. Email it to yourself. Save it to Google Drive. Put it on a USB drive.
A backup from three days ago won’t help if your update breaks something the plugin created yesterday.
2. Enable maintenance mode
Your visitors shouldn’t see errors while you update. Install a maintenance mode plugin or add this code to your functions.php file temporarily:
function maintenance_mode() {
if (!current_user_can(‘edit_themes’) || !is_user_logged_in()) {
wp_die(‘
Under Maintenance
Check back in 10 minutes.
‘);}
}
add_action(‘get_header’, ‘maintenance_mode’);
Remove this code after you finish updating.
3. Update in the right order
WordPress core comes first. Then themes. Then plugins. This order matters because plugins depend on core functions, and some plugins depend on theme features.
4. Update one plugin at a time
Updating twelve plugins simultaneously makes troubleshooting impossible. If something breaks, you won’t know which plugin caused it. Update the first plugin. Check your site. Update the second. Check again.
This takes longer but saves hours when problems occur.
5. Test critical functions immediately
After each plugin update, test the features that plugin controls. Updated your contact form plugin? Submit a test form. Updated your e-commerce plugin? Add something to cart and test checkout. Updated your SEO plugin? Check that your meta descriptions still appear.
Don’t assume everything works. Verify it.
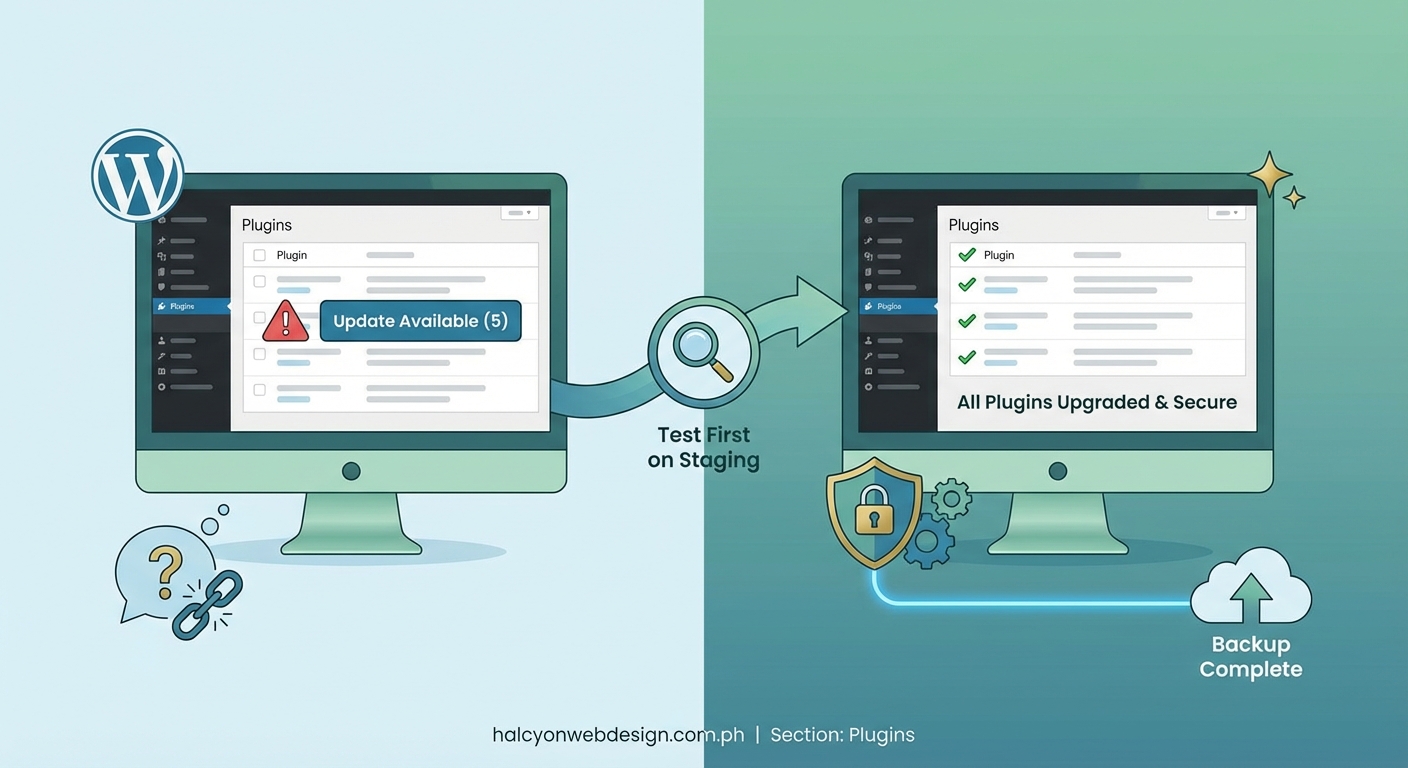
Setting Up a Staging Environment
Professional developers never update production sites directly. They use staging sites instead.
A staging site is an exact copy of your live site that visitors can’t see. You update the staging site first. Test everything. Then copy the changes to your live site only after confirming they work.
Many hosting providers offer one-click staging environments. Bluehost, SiteGround, and WP Engine all include this feature. Check your hosting control panel for “staging” or “test site” options.
If your host doesn’t provide staging, create a subdomain manually. Install WordPress there. Copy your live site’s files and database to the staging subdomain. Update plugins on staging first. Spend a day testing. Then update your live site with confidence.
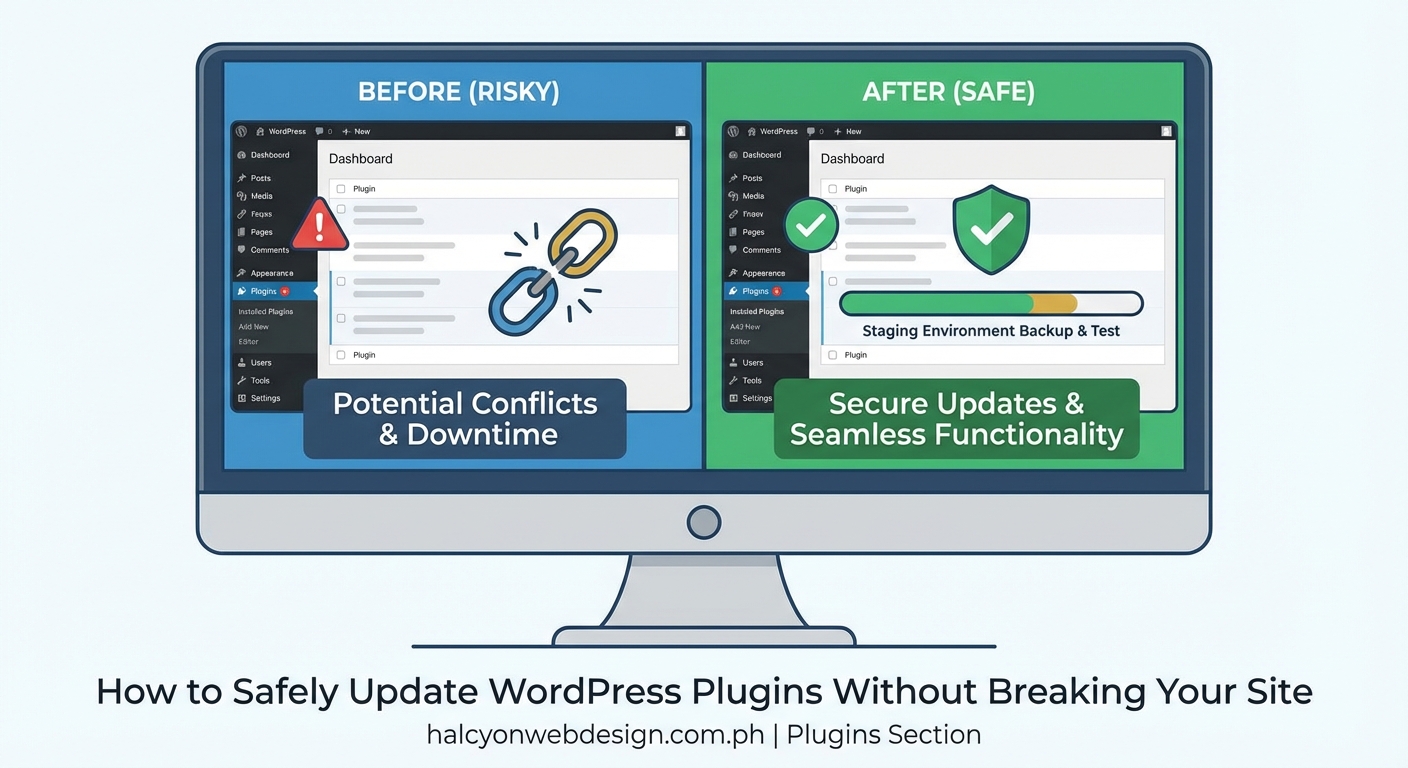
Common Update Problems and Solutions
| Problem | Cause | Solution |
|---|---|---|
| White screen of death | PHP error from plugin conflict | Access site via FTP, rename plugin folder to deactivate |
| Features missing | Plugin deactivated during update | Reactivate plugin from Plugins page |
| Formatting broken | CSS conflict with theme | Clear all caches, check for theme updates |
| Database errors | Plugin changed database structure | Restore database backup, contact plugin developer |
| Site extremely slow | New plugin version adds heavy scripts | Deactivate plugin, contact developer for optimization |
What to Do When an Update Breaks Your Site

Stay calm. Your backup exists for this exact moment.
Step 1: Identify the problem plugin
Access your site via FTP or your hosting file manager. Navigate to wp-content/plugins. Rename the folder of the plugin you just updated. Add “-disabled” to the end of the folder name. This deactivates the plugin without accessing your WordPress dashboard.
Refresh your site. If it works now, you found the culprit.
Step 2: Rollback the plugin
WordPress.org keeps old plugin versions available. Go to the plugin’s page on WordPress.org. Click the “Advanced View” link near the download button. Scroll to “Previous Versions.” Download the version that worked before.
Delete the broken plugin version via FTP. Upload the old version. Rename the folder back to its original name.
Step 3: Restore from backup if needed
If renaming plugins doesn’t fix the issue, restore your backup. Your hosting control panel should have a restore function. Upload your backup files via FTP if needed. Import your database backup through phpMyAdmin.
You’ll lose any changes made after the backup, but your site will function again.
Step 4: Report the issue
Visit the plugin’s support forum. Describe exactly what broke. Include your WordPress version, PHP version, theme name, and other active plugins. Screenshots help. Developers need this information to fix bugs.
Don’t leave a one-star review immediately. Most plugin developers fix reported issues within days.
Automating Updates Safely
WordPress offers automatic updates for plugins. This sounds convenient but creates risks.
Auto-updates happen at random times. You might be asleep when a plugin breaks your site. You won’t notice until customers start complaining. Auto-updates also prevent you from reading changelogs first.
However, security updates for plugins should install automatically. A vulnerability in an outdated plugin gives hackers easy access. Balance convenience against control.
Enable auto-updates only for these plugin types:
- Security plugins you trust completely
- Plugins from developers with excellent track records
- Plugins that rarely release major updates
- Plugins that don’t control critical site functions
Disable auto-updates for:
- Page builders and visual editors
- E-commerce and payment plugins
- Form builders
- SEO plugins
- Any plugin that modifies your database structure
You can control auto-updates per plugin. Go to Plugins > Installed Plugins. Find “Enable auto-updates” or “Disable auto-updates” in each plugin’s row.
Monitoring Your Site After Updates
The first 24 hours after updating reveal most problems.
Check your error logs. Access them through your hosting control panel under “Error Logs” or “Logs.” Look for PHP warnings or fatal errors. These logs tell you exactly which file and line number caused problems.
Monitor your site speed. A plugin update might add heavy scripts that slow everything down. Use your browser’s developer tools to check load times. Compare them to your pre-update speeds. If your site suddenly takes five seconds longer to load, investigate what’s causing the slowdown.
Test contact forms daily for three days after updating. Send yourself test submissions. Confirm they arrive in your inbox. Form plugins break more often than other plugin types because they interact with email servers, spam filters, and third-party services.
Check your Google Search Console. Some plugin updates change your site structure or meta tags accidentally. Look for sudden crawl errors or indexing issues. If you notice problems, address them before they hurt your rankings.
Choosing Reliable Plugins From the Start
Prevention beats recovery.
Before installing any plugin, check these indicators of reliability:
- Last updated within the past three months
- Compatible with your WordPress version
- Active installations above 10,000
- Average rating above 4.5 stars
- Developer responds to support threads
- Regular update history (not abandoned for years)
Avoid plugins that haven’t been updated in six months or longer. Abandoned plugins accumulate security vulnerabilities. They stop working when WordPress core updates change underlying functions.
Selecting quality plugins from the beginning reduces update headaches significantly.
Building Your Update Routine
Create a schedule and stick to it.
Set aside one hour every two weeks for updates. Tuesday mornings work well because Monday traffic has settled but the week hasn’t peaked yet. Avoid Fridays. If something breaks, you’ll spend your weekend fixing it.
Keep a simple spreadsheet tracking:
- Plugin name
- Current version
- Last update date
- Any issues encountered
- Rollback version if needed
This log helps you spot patterns. Maybe one plugin breaks every time you update it. Maybe updates during certain months cause more problems. Your data reveals these trends.
Professional Backup Strategies
Free backup plugins work fine for small sites. Larger sites need more robust solutions.
Schedule automatic backups at least weekly. Daily backups are better if you update content frequently or run an online store. Store backups in multiple locations. One on your server, one in cloud storage, one downloaded locally.
Test your backups monthly. Download a backup and restore it to your staging site. Verify everything works. A backup you can’t restore is worthless. Many site owners discover their backups were corrupted only when they desperately need them.
Your hosting provider’s backup system serves as a safety net, not your primary backup method. Hosts sometimes lose data during server migrations or hardware failures. Control your own backups.
When to Call for Professional Help
Some situations exceed DIY solutions.
Call a WordPress developer if:
- Your site has been broken for more than four hours
- You can’t access your dashboard or FTP
- Restoring backups doesn’t fix the problem
- You see database corruption errors
- Multiple plugins conflict with each other
- Your site was hacked after a failed update
Professional help costs money but saves your business. A developer can fix in one hour what might take you three days to figure out. Calculate the cost of downtime against the cost of expert help.
Keeping Your Site Update-Ready
Maintenance between updates matters as much as the update process itself.
Remove plugins you don’t use. Every inactive plugin is a potential security risk and update headache. If you haven’t used a plugin in three months, delete it.
Keep your hosting plan appropriate for your site’s needs. Cheap shared hosting often runs outdated PHP versions. Upgrading your hosting makes updates smoother and safer.
Document your customizations. If you’ve modified plugin files directly (you shouldn’t, but many people do), write down what you changed. Updates overwrite these modifications. Knowing what you customized helps you reapply changes after updates.
Review your installed plugins quarterly. Ask yourself if you still need each one. Reducing your plugin count from 40 to 25 cuts your update workload and improves site performance.
Your Update Workflow Template
Copy this checklist for every update session:
- Read all plugin changelogs
- Check WordPress and PHP version compatibility
- Create fresh backup (files and database)
- Enable maintenance mode
- Update WordPress core if needed
- Update theme if needed
- Update first plugin
- Test related functionality
- Clear all caches
- Repeat steps 7-9 for each plugin
- Monitor error logs for 10 minutes
- Disable maintenance mode
- Test critical site functions one final time
- Schedule monitoring checks for next 24 hours
Print this list. Keep it next to your computer. Following the same process every time builds muscle memory and prevents skipped steps.
Making Updates Part of Your Routine
Updates feel less scary when you do them regularly.
Letting updates pile up for months makes the process overwhelming. Twenty pending updates take hours to process safely. Four updates every two weeks takes 30 minutes.
Regular updates also mean smaller changes each time. Jumping from version 2.1 to 2.8 in one update includes months of changes and higher break risk. Updating from 2.1 to 2.2 to 2.3 spreads the risk across smaller increments.
Think of plugin updates like oil changes for your car. Skipping them works fine until suddenly it doesn’t. The damage from neglect costs far more than regular maintenance.
Your WordPress site deserves the same care you give other business assets. Updates protect your investment, your data, and your visitors’ experience. The 30 minutes you spend updating properly saves the three days you’d spend recovering from a broken site.
Start small if this process feels overwhelming. Update one plugin this week using the full safety process. Next week, update two. Build your confidence gradually. Soon you’ll update without anxiety because you know your backup exists and your process works.