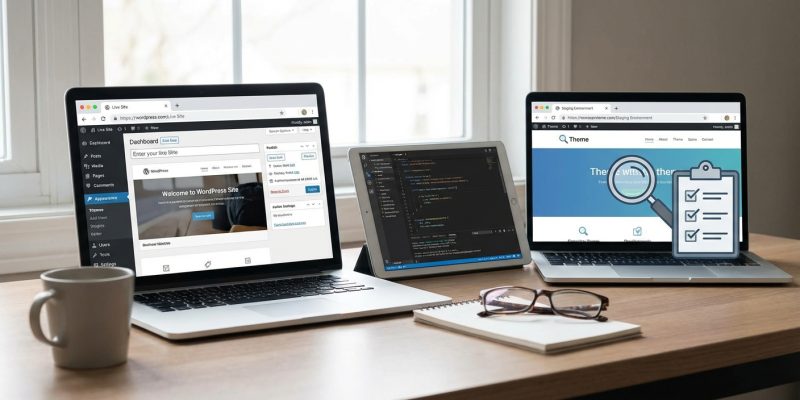
Installing a new theme on your WordPress site can feel like painting your living room without a sample swatch. You might love the color in the store, but once it’s on the wall, it could be completely wrong. The same goes for themes. What looks perfect in a demo might break your layout, clash with your plugins, or load slower than a dial-up connection from 2003.
Testing a WordPress theme before installing it on your live site prevents downtime, broken layouts, and lost visitors. Use staging environments, local development tools, or theme preview plugins to safely evaluate design, performance, and compatibility. This approach protects your site’s functionality while giving you confidence in your theme choice before making any permanent changes.
Why you should never test themes on a live site
Your live website is where real visitors land. They read your content, buy your products, or fill out contact forms. When you install an untested theme directly on that site, you’re gambling with their experience.
A theme might look beautiful in screenshots but could conflict with your existing plugins. It might slow down your page speed. It could break your checkout process or hide your contact forms. Even worse, it might not be mobile-friendly, and over half of web traffic comes from phones.
Testing first means you catch these problems before your visitors do. You protect your search rankings, your conversion rates, and your professional reputation.
Understanding your testing options
You have several ways to test a theme safely. Each method has different technical requirements and benefits.
| Method | Best For | Technical Skill Required | Cost |
|---|---|---|---|
| Staging environment | Most users | Low to medium | Often free with hosting |
| Local development | Developers and tech-savvy users | Medium to high | Free |
| Theme preview plugins | Simple visual checks | Very low | Free to moderate |
| Temporary test site | One-time theme testing | Low | Free to low |
The right choice depends on your comfort level with technology and what aspects of the theme you need to test. Some methods let you check every detail, while others only show you the visual design.
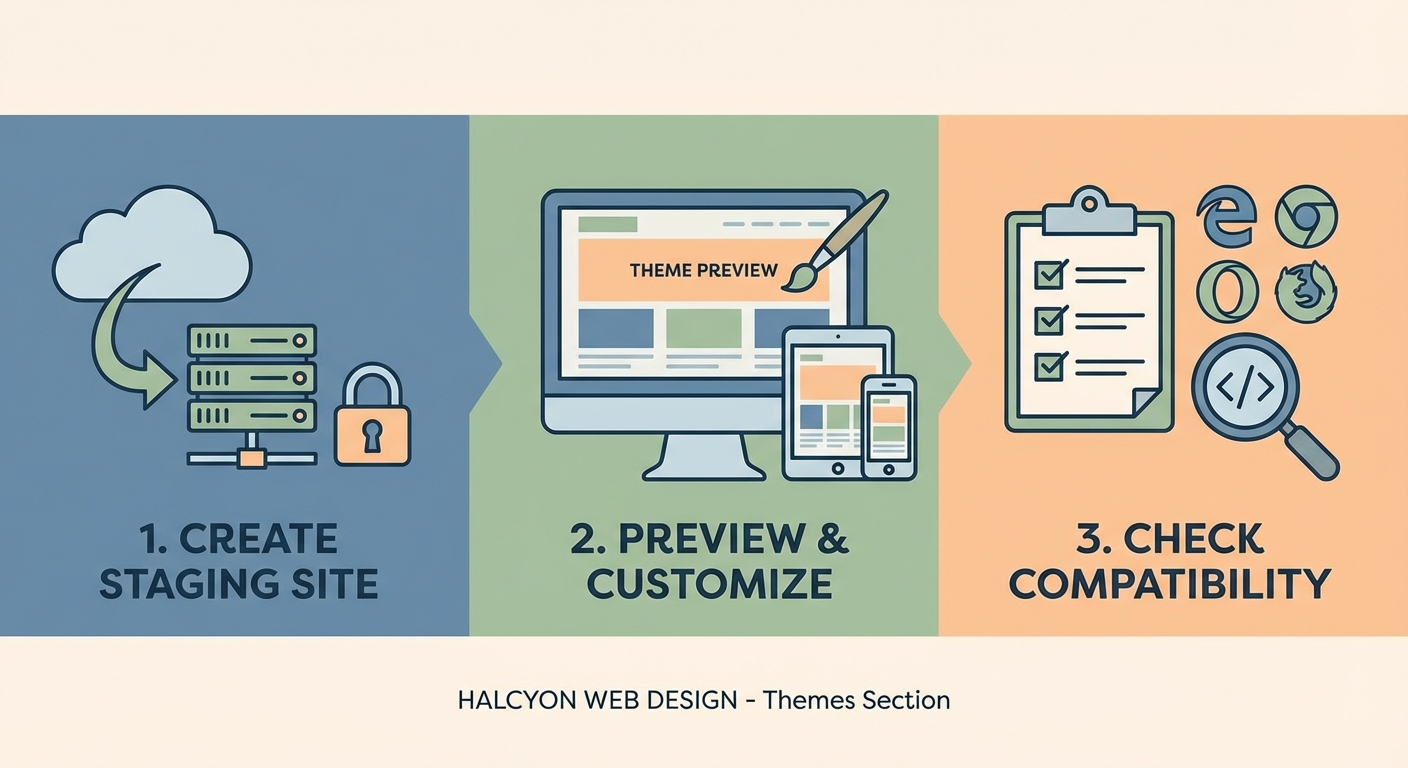
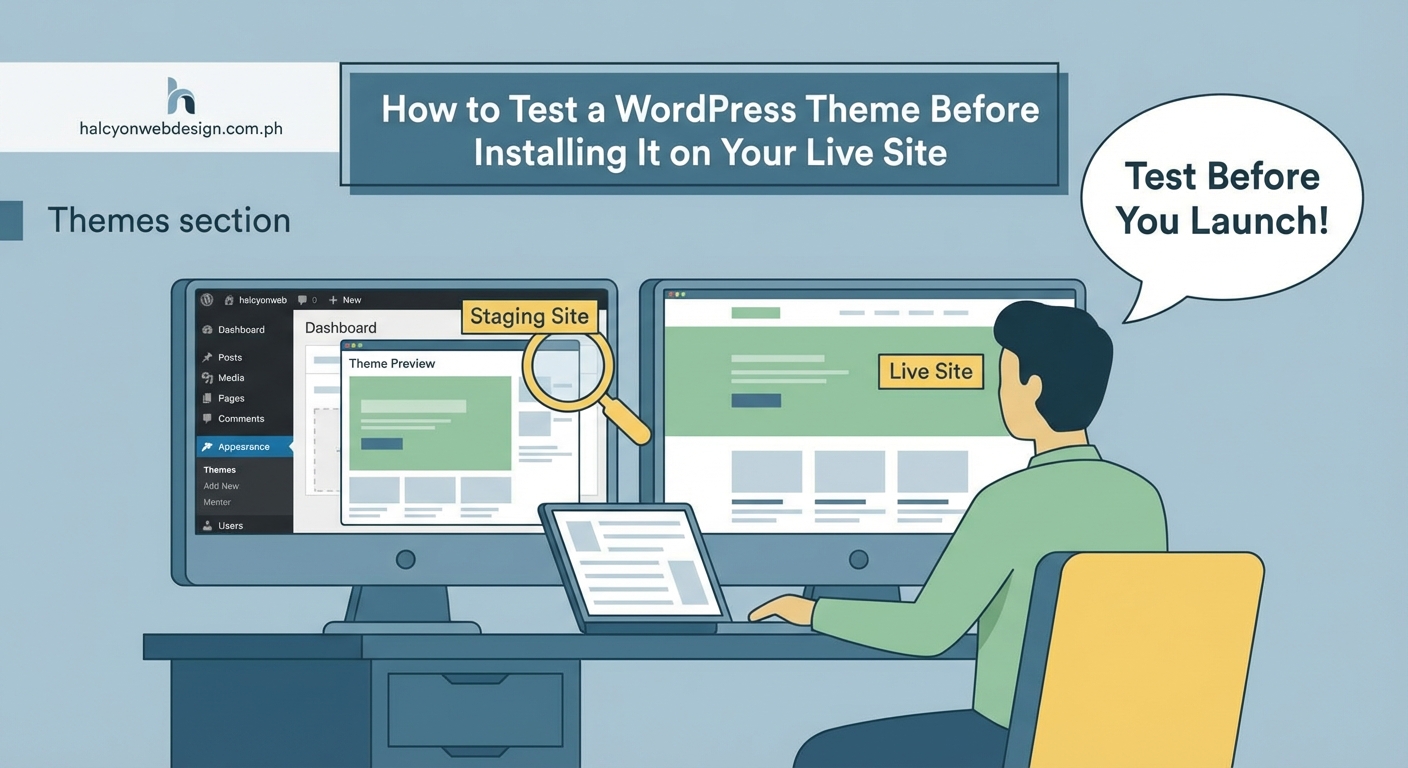
Setting up a staging site through your host
Most modern WordPress hosts include staging environments in their plans. A staging site is a complete copy of your live site that exists separately. You can make changes there without affecting real visitors.
Here’s how to create one:
- Log into your hosting control panel (cPanel, Plesk, or your host’s custom dashboard).
- Look for a staging or testing site option. It might be labeled “Staging Environment,” “Test Site,” or “Clone Site.”
- Click to create a new staging site. The system will copy your entire WordPress installation.
- Wait for the copy process to complete. This usually takes 5 to 15 minutes depending on your site size.
- Access your staging site through the URL provided by your host. It often looks like staging.yoursite.com or yoursite.staging.wpengine.com.
Once your staging site is ready, you can install and activate the new theme there. Browse every page. Test your forms. Check your shopping cart if you run an online store. Make sure everything works exactly as expected.
If you’re comparing hosting options and want staging included, choosing the right WordPress hosting plan makes a difference in what tools you get access to.
Testing themes locally on your computer
Local development means running WordPress on your own computer instead of a web server. This method gives you complete control and doesn’t require an internet connection once set up.
Popular local development tools include:
- Local by Flywheel (now just called Local)
- XAMPP
- MAMP
- DesktopServer
Local is the easiest option for beginners. Download it, install it, and create a new WordPress site with a few clicks. The entire process takes about 10 minutes.
After you have WordPress running locally:
- Download the theme you want to test as a ZIP file.
- Go to Appearance > Themes in your local WordPress dashboard.
- Click Add New, then Upload Theme.
- Choose your ZIP file and click Install Now.
- Activate the theme and start testing.
The advantage here is that you can test without any risk whatsoever. Your live site stays untouched. You can break things, experiment with settings, and try different configurations. When you’re done, if you don’t like the theme, just delete it.
The downside is that local sites don’t perfectly match your live hosting environment. A theme might perform differently on your actual server. Plugin conflicts might not appear the same way. For a complete picture, combine local testing with staging site testing.
Using theme preview plugins for visual checks
If you only want to see how a theme looks without fully installing it, preview plugins offer a simpler path. These tools let you activate a theme temporarily for your eyes only while visitors still see your current design.
The Theme Test Drive plugin is one option. Install it, activate it, then select the theme you want to preview from your dashboard. When you visit your site while logged in, you’ll see the new theme. Everyone else sees your current theme.
This method has limitations. You can check the visual design and basic layout. You can see if the color scheme matches your brand. But you won’t catch deeper issues like:
- Plugin compatibility problems
- Performance impacts
- Mobile responsiveness issues
- Contact form functionality
- E-commerce checkout processes
Preview plugins work best as a first filter. Use them to eliminate themes that obviously don’t fit your style. Then test your finalists more thoroughly on a staging site or local environment.
Creating a temporary test site from scratch
Sometimes you want to test a theme without copying your entire existing site. Maybe you’re building a new site from scratch. Maybe you want to see how a theme performs with fresh WordPress installation.
Many hosts let you create additional WordPress installations in subdirectories or subdomains. You could set up test.yoursite.com or yoursite.com/test and install WordPress there.
Steps to create a temporary test site:
- Log into your hosting control panel.
- Find the WordPress installer (often Softaculous or Installatron).
- Choose to install WordPress in a subdomain or subdirectory.
- Complete the installation with temporary admin credentials.
- Install and activate the theme you want to test.
This gives you a clean environment to evaluate the theme without the complexity of your existing content and plugins. Add a few sample posts and pages. Upload some images. Create a menu. See how the theme handles real content.
The downside is that this doesn’t show you how the theme will work with your specific plugins, content types, or customizations. It’s useful for evaluating the theme itself but less helpful for predicting how it will perform on your actual site.
What to actually test once the theme is installed
Having a test environment means nothing if you don’t know what to check. Here’s what matters:
Visual design and branding
Does the theme match your brand colors? Does your logo fit properly? Are fonts readable? Check every page template, not just the homepage.
Mobile responsiveness
Resize your browser window to phone and tablet sizes. Better yet, check on actual devices. More than half your visitors probably use phones.
Page speed
Use tools like Google PageSpeed Insights or GTmetrix to measure loading time. Compare the new theme’s performance to your current theme. A beautiful theme that loads slowly will hurt your search rankings and frustrate visitors. If speed is already a concern, you might want to understand why your WordPress site loads slowly.
Plugin compatibility
Activate all your essential plugins. Test every major function. If you use a contact form plugin, submit a test form. If you have an e-commerce plugin, try adding items to cart and checking out. If you use an SEO plugin, verify that settings still work.
Navigation and menus
Make sure all menu items appear correctly. Check that dropdown menus work. Verify that mobile menus open and close properly. If you’ve built a sticky header with CSS, confirm it still functions with the new theme.
Content formatting
Check your existing posts and pages. Make sure headings, images, lists, and blockquotes display correctly. Look for any broken layouts or weird spacing.
Forms and conversion points
Test every form on your site. Newsletter signups. Contact forms. Quote requests. Lead magnets. These are where you convert visitors into customers or subscribers. If the theme breaks them, you lose business.
Test your theme with real content, not placeholder text. Lorem ipsum doesn’t show you how your actual headlines and paragraphs will look. Import a few real posts and pages to see authentic results.
Common theme problems to watch for
Even popular, well-coded themes can cause issues depending on your specific setup. Here are red flags to catch during testing:
- Broken layouts on certain page types. The homepage might look perfect while blog posts are a mess.
- Missing widget areas. Your current theme might have a sidebar widget that the new theme doesn’t support.
- Color contrast problems. Light text on light backgrounds or dark text on dark backgrounds makes content unreadable.
- Typography issues. Fonts that are too small, too large, or poorly spaced create a unprofessional appearance. Understanding typography mistakes helps you spot these problems.
- Slow loading times. Some themes include bloated code, excessive animations, or unoptimized images that drag down performance.
- Plugin conflicts. The theme might clash with your caching plugin, page builder, or other essential tools.
- Missing features. Your current theme might include features the new one doesn’t, like breadcrumbs, related posts, or custom post type support.
Document every problem you find. Take screenshots. Note which pages or features are affected. This information helps you decide whether to fix the issues, choose a different theme, or stick with your current design.
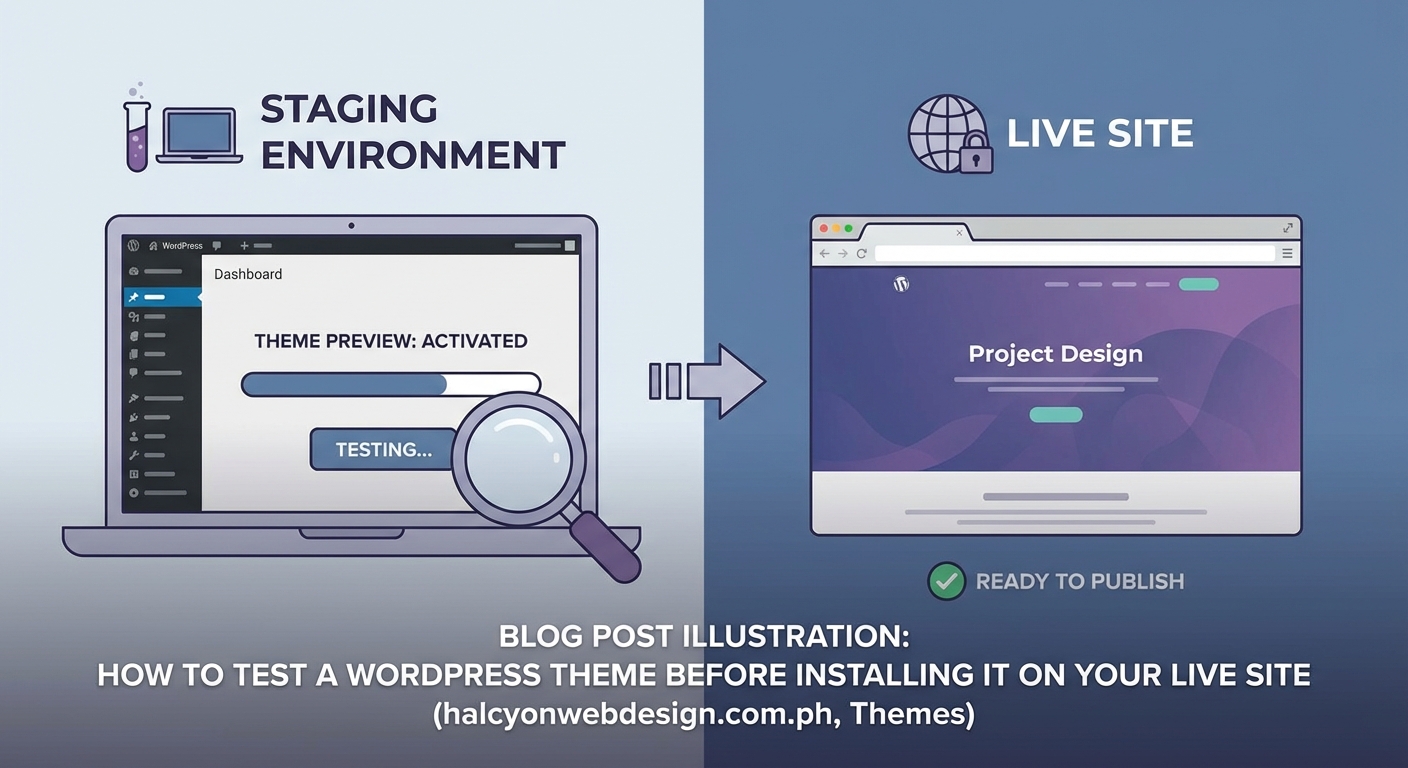
Moving from test to live site
Once you’ve thoroughly tested the theme and fixed any issues, you’re ready to make it live. The process depends on which testing method you used.
From a staging site:
Most hosts provide a “Push to Live” button that copies your staging site to your live site. This replaces everything, including the theme, any customizations you made, and any content changes. Make sure you want all those changes before pushing.
From a local site:
You’ll need to manually install the theme on your live site and recreate any customizations. This takes more work but gives you precise control over what changes. Export your theme settings if the theme supports it. Take screenshots of your customizer settings. Document any custom CSS you added.
After using a preview plugin:
Simply deactivate the preview plugin and activate the new theme normally. Your customizations during testing weren’t saved, so you’ll need to configure the theme settings again.
Before making any theme live, create a complete backup of your current site. This gives you a safety net if something goes wrong. Most hosts offer automated backups, but having your own copy provides extra security.
Choosing plugins wisely during theme testing
Themes and plugins work together to create your site’s functionality. When testing a new theme, pay attention to plugin compatibility.
Some themes require specific plugins to function fully. Page builders like Elementor or WPBakery often integrate deeply with certain themes. E-commerce themes might depend on WooCommerce. Make sure you’re comfortable installing and maintaining any required plugins.
Other themes conflict with popular plugins. A theme might not support your preferred form plugin or might break your caching setup. Test these integrations carefully. If you need guidance on choosing the right WordPress plugin, that process matters just as much as choosing the right theme.
Testing theme updates before applying them
Theme testing isn’t just for new themes. When your current theme releases an update, test it before applying to your live site. Updates can introduce bugs, change layouts, or break compatibility with your plugins.
Use the same staging or local environment approach. Update the theme on your test site first. Check all the same elements you would when testing a completely new theme. Only after confirming everything works should you update the live site.
This extra step prevents the frustration of an update breaking your site at the worst possible time, like during a product launch or holiday shopping season.
Keeping your live site safe while you experiment
Testing themes protects your live site, but only if you follow through consistently. Make it a rule: never install anything new directly on your live site without testing first.
This applies to themes, plugins, and even WordPress core updates. Your live site is your business presence. Treat it with the same care you’d treat a physical storefront. You wouldn’t repaint the walls while customers are shopping. Don’t experiment with your website while visitors are browsing.
Set up your testing environment once, then use it every time you want to try something new. The initial setup takes time, but after that, testing becomes routine. You’ll catch problems before they affect real visitors, maintain professional credibility, and sleep better knowing your site won’t break unexpectedly.
Making theme testing part of your workflow
The best approach to theme testing is making it automatic. Every time you consider a new theme, your first thought should be “I’ll test this on staging.”
Create a checklist of everything you need to verify. Keep it somewhere accessible. When you test a theme, work through the checklist systematically. This ensures you don’t forget critical steps like mobile testing or form verification.
Your checklist might include:
- Install theme on staging or local site
- Activate and configure basic settings
- Test homepage layout and design
- Check blog post layout
- Verify page templates
- Test mobile responsiveness on multiple devices
- Run page speed tests
- Test all forms and conversion points
- Check plugin compatibility
- Review navigation and menus
- Test search functionality
- Verify footer and sidebar widgets
- Check 404 and archive pages
- Review color contrast and readability
- Document any issues found
Working through this list takes time, but it’s far less time than fixing a broken live site or recovering lost sales from a checkout process that stopped working.
Testing is how you protect what you’ve built
Your WordPress site represents hours of work, valuable content, and your professional reputation. Installing an untested theme puts all of that at risk for no good reason.
Testing doesn’t require advanced technical skills. Staging sites are built into most hosting plans. Local development tools are free and increasingly user-friendly. Even simple preview plugins give you a safety buffer.
The method matters less than the habit. Make testing automatic. Make it non-negotiable. Your future self will thank you when a theme that looked perfect in the demo turns out to have a critical flaw you caught before it affected a single visitor.
Start with whichever testing method feels most comfortable. As you gain experience, you might try other approaches. The important thing is starting now, before your next theme installation. Your website, your visitors, and your business deserve that protection.