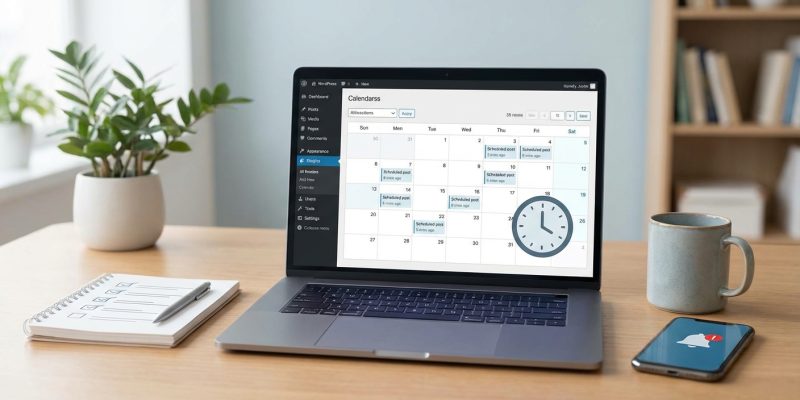
Publishing content at the right time can make the difference between a post that gets traction and one that disappears into the void. WordPress gives you built-in scheduling tools, but many bloggers still struggle with missed deadlines, confusing time zones, and posts that never go live. This guide shows you exactly how to schedule WordPress posts the right way, so your content publishes on time, every time.
WordPress lets you schedule posts through the block editor’s publish panel. Set your date and time, click Schedule, and your content goes live automatically. Common failures happen because of server timezone mismatches, plugin conflicts, or low traffic sites. Fix these issues by adjusting WordPress timezone settings, testing plugins, and using scheduling plugins as backup.
Finding the scheduling controls in WordPress
WordPress hides the scheduling option inside the publish panel. Most new users miss it completely.
Open your post in the block editor. Look for the gear icon in the top right corner. Click it if the sidebar is not already visible.
The right sidebar shows document settings. Find the Status & visibility section near the top. Click it to expand.
You will see Visibility, Publish, and other options. The Publish section is where scheduling lives.
By default, it says “Immediately” with the current date and time. Click that text to reveal the scheduling controls.
A calendar widget appears. Pick your date first, then adjust the time using the hour and minute fields.
WordPress uses your site’s timezone setting, not your browser’s local time. This trips up many bloggers who schedule posts while traveling or working remotely.
Setting your WordPress timezone correctly
Timezone confusion causes more missed deadlines than any other issue.
Go to Settings > General in your WordPress dashboard. Scroll down to the Timezone field.
You have two options:
– Choose a city in your timezone
– Select a UTC offset
Always choose a city. UTC offsets do not account for daylight saving time. Your posts will publish an hour early or late twice a year if you use UTC+8 instead of Manila.
If your city is not listed, pick another city in the same timezone. Manila, Singapore, and Kuala Lumpur all use UTC+8 without daylight saving.
Save your changes. WordPress will now use this timezone for all scheduling.
“The single biggest scheduling mistake I see is bloggers using UTC offsets instead of city-based timezones. Your posts will be off by an hour every time daylight saving kicks in, and you will not even notice until readers complain.” – WordPress support forums
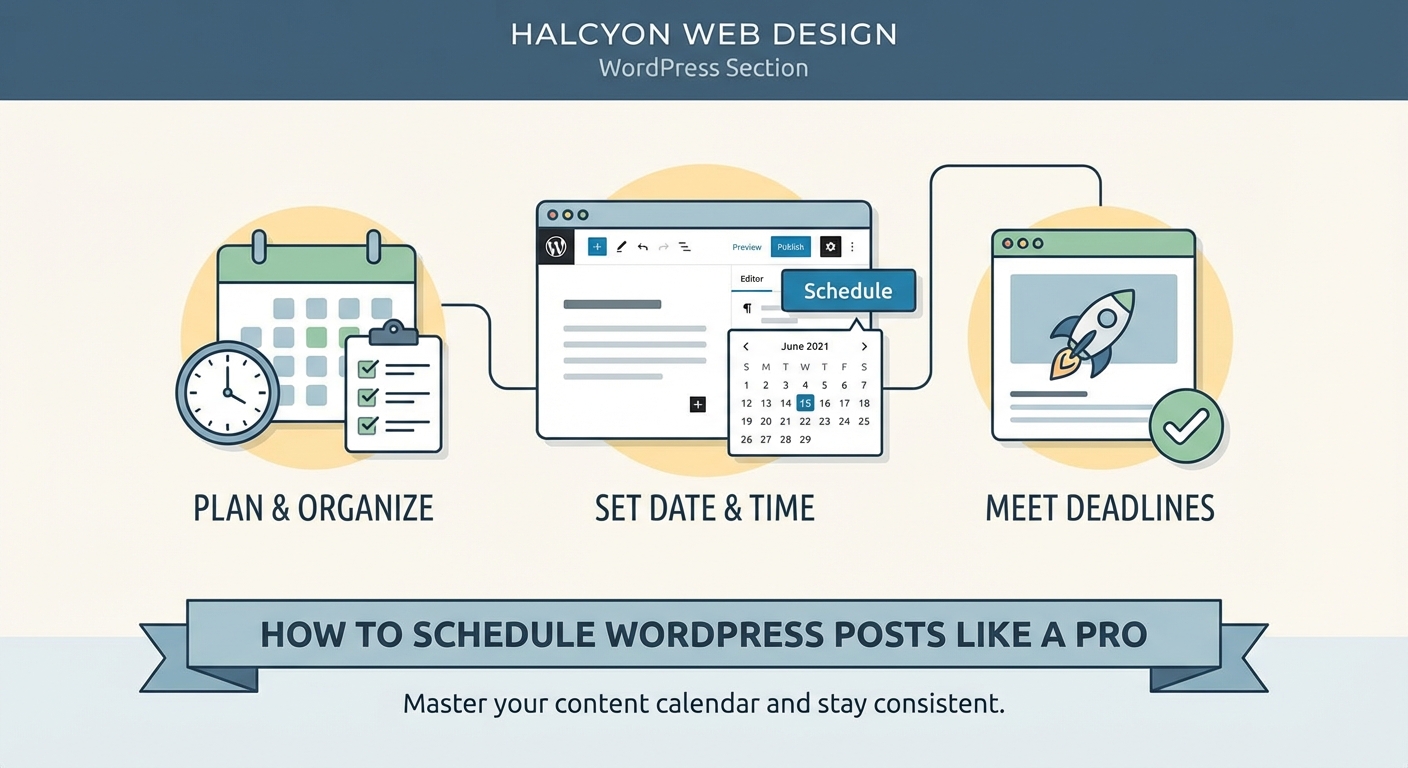
How to schedule a post step by step
Here is the complete process from draft to scheduled post.
- Write your post content and add all images, links, and formatting.
- Click the Settings icon (gear) in the top right to open the sidebar.
- Find Status & visibility and expand it if needed.
- Click the “Immediately” text next to Publish.
- Select your target date from the calendar.
- Enter the exact time you want the post to go live.
- Double-check the timezone matches your WordPress settings.
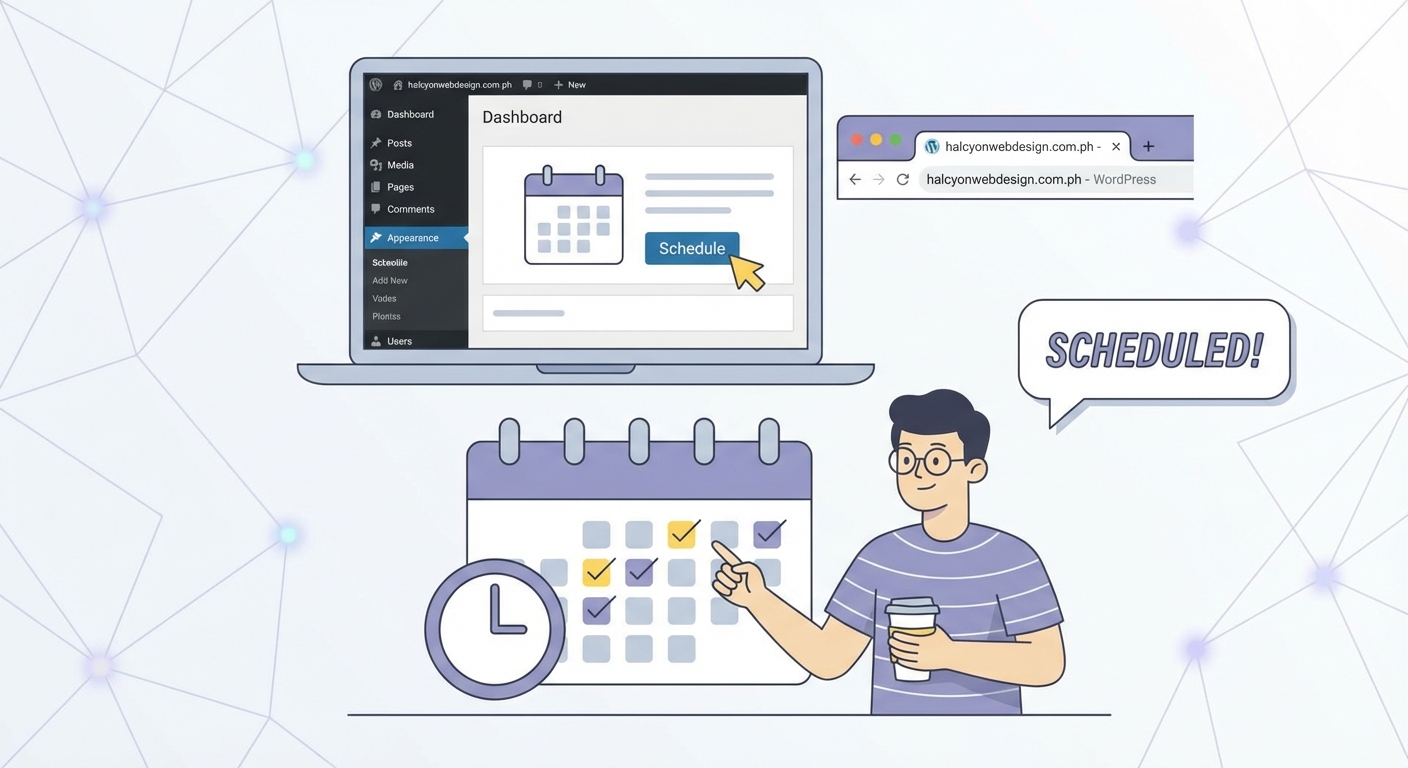
- Click the blue Schedule button that replaces Publish.
WordPress confirms the scheduled time at the top of the editor. You will see “This post is scheduled for [date and time]” in a blue banner.
The post status changes from Draft to Scheduled. You can find all scheduled posts by filtering your post list.
Managing and editing scheduled posts
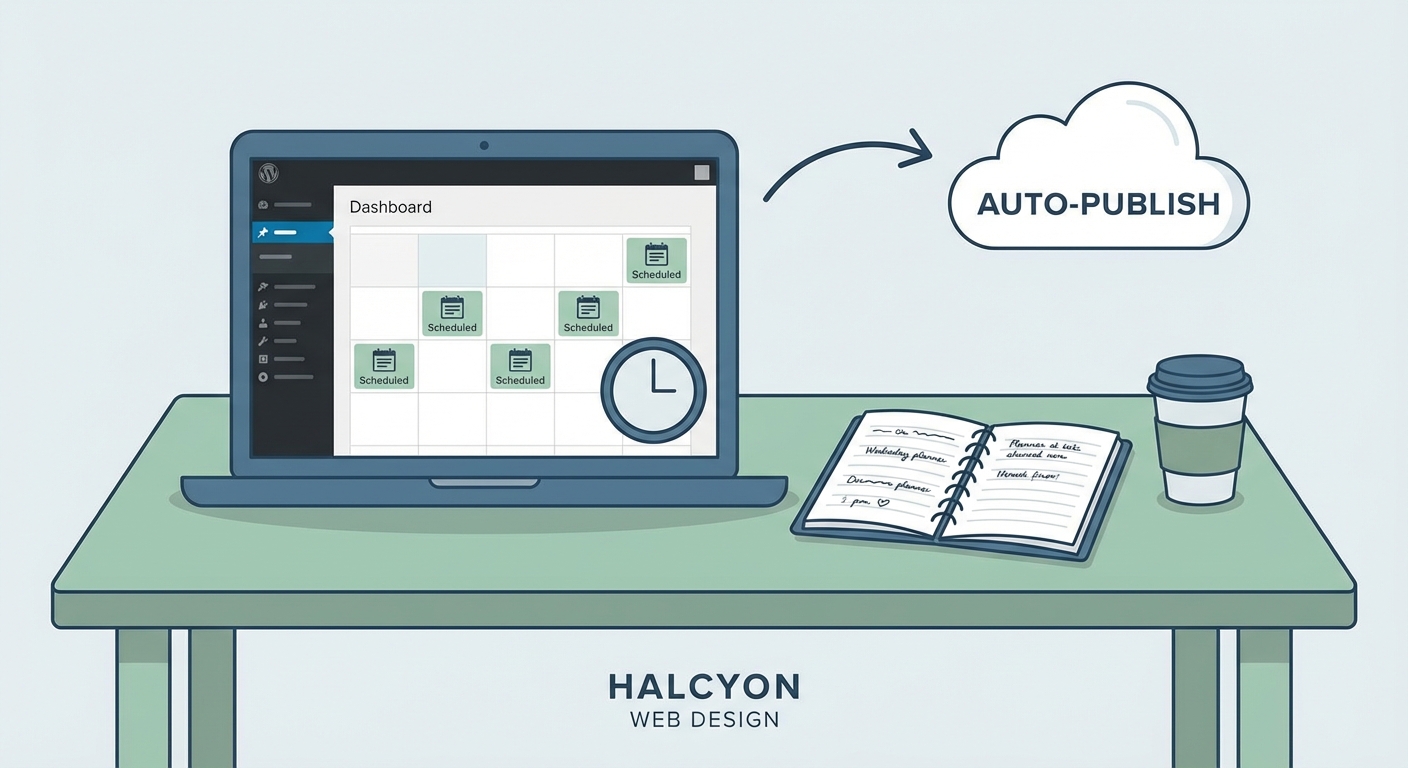
Scheduled posts do not disappear. They sit in your post list waiting for their publish time.
Go to Posts > All Posts in your dashboard. Click the Scheduled link at the top of the list. This filter shows only posts waiting to publish.
You can edit scheduled posts anytime before they go live. Click the post title, make your changes, and click Update.
To change the scheduled time, open the post and click the scheduled date in the Status & visibility panel. Pick a new date or time, then click Update.
To publish immediately instead, click the scheduled date, then click the “Publish immediately” link below the calendar. Click Update to confirm.
To convert a scheduled post back to a draft, change the status dropdown from Scheduled to Draft in the Status & visibility panel.
Common scheduling failures and fixes
WordPress scheduling fails more often than it should. Here are the main culprits and solutions.
| Problem | Cause | Fix |
|---|---|---|
| Post stays scheduled past publish time | Low traffic site, no cron trigger | Install WP Crontrol or use a monitoring service |
| Wrong publish time | Timezone mismatch | Set timezone to city, not UTC offset |
| Post shows “Missed Schedule” | Server timeout or plugin conflict | Use Missed Schedule Publisher plugin |
| Schedule button is grayed out | Required fields empty | Add title and check for validation errors |
| Time keeps reverting | Browser cache issue | Clear cache and try incognito mode |
The “Missed Schedule” error deserves special attention. WordPress relies on visitors to trigger scheduled posts. If nobody visits your site around the scheduled time, the post might not publish.
Low traffic blogs suffer from this constantly. Your 6 AM post might not go live until 10 AM when your first visitor arrives.
Solutions:
- Use a plugin like WP Scheduled Posts that forces posts to publish on time
- Set up an external cron service through your hosting provider
- Install a monitoring service that pings your site every few minutes
- Use Jetpack’s built-in cron replacement
Plugin conflicts cause scheduling failures too. If posts randomly fail to publish, deactivate your plugins one by one to find the culprit. Caching plugins and security plugins are common offenders.
Your hosting environment affects reliability. Cheap shared hosting with resource limits might kill scheduled tasks to save server resources.
Best practices for consistent publishing
Professional bloggers follow these habits to avoid scheduling disasters.
Test your scheduling setup. Schedule a test post for five minutes from now. Watch to confirm it publishes on time. Do this before you rely on scheduling for important content.
Build a buffer. Do not schedule posts for the last possible moment. If you want content live by Monday 9 AM, schedule it for Sunday 11 PM. This gives you time to catch and fix issues.
Check scheduled posts weekly. Make it a Friday habit to review all scheduled content. Confirm dates, times, and content quality.
Use a content calendar. Track scheduled posts outside WordPress too. A spreadsheet or project management tool prevents double-booking and helps you spot gaps.
Set reminders. Add calendar alerts for important scheduled posts. Check an hour after the scheduled time to confirm it went live.
Keep WordPress updated. Scheduling bugs get fixed in core updates. Running old versions increases failure risk.
Monitor your site. Use uptime monitoring to catch server issues before they affect scheduled posts. If your site goes down at 3 AM, your 6 AM post will not publish.
Document your timezone. Leave a note in your content calendar about which timezone your WordPress uses. This prevents confusion when team members work remotely.
Advanced scheduling with plugins
WordPress core scheduling works for most bloggers. Plugins add features for power users.
Editorial Calendar shows all scheduled posts in a visual calendar grid. Drag and drop posts to reschedule them. Perfect for managing multiple posts across weeks or months.
PublishPress adds workflow features like notifications, custom statuses, and editorial comments. Teams use it to coordinate scheduled content.
CoSchedule integrates social media scheduling with WordPress. Schedule your post and social shares simultaneously.
Revive Old Posts automatically reschedules and republishes old content. Set rules for which posts to revive and how often.
WP Scheduled Posts adds a dashboard widget showing upcoming scheduled content. It also forces posts to publish even on low traffic sites.
Choose plugins carefully. Every plugin adds potential conflict points. Start with core scheduling and add plugins only when you need specific features. If you are evaluating options, check our guide on choosing WordPress plugins to avoid breaking your site.
Scheduling for different content types
Posts are not the only content you can schedule. WordPress lets you schedule pages, custom post types, and even menu changes through plugins.
Pages schedule the same way as posts. Useful for time-sensitive landing pages, event announcements, or seasonal content. Schedule a holiday sale page to go live at midnight before the sale starts.
Custom post types depend on how they are built. Most use the same scheduling interface as posts. Test scheduling on a custom post type before relying on it for important content.
Menu changes require plugins. Some themes and menu plugins let you schedule menu item visibility. Handy for rotating featured content or seasonal navigation.
Widget visibility can be time-based through plugins like Widget Options. Schedule sidebar content to appear during specific date ranges.
Troubleshooting timezone headaches
Timezone issues frustrate even experienced WordPress users.
Your server timezone, WordPress timezone, and personal timezone might all differ. WordPress uses the timezone you set in Settings > General, ignoring server settings.
If posts publish at the wrong time:
- Check Settings > General and confirm the timezone city
- Create a test post scheduled for 10 minutes from now
- Watch the clock and confirm it publishes at the right moment
- If it is off, your WordPress timezone setting is wrong
International teams face extra complexity. If you are in New York scheduling posts for a Manila audience, set WordPress to Manila time. Then schedule posts based on Manila clock, not your local time.
Browser timezone does not matter. WordPress stores scheduled times in the database using UTC, then converts for display using your WordPress timezone setting.
Daylight saving time causes twice-yearly headaches. Posts scheduled during the transition might publish an hour early or late. City-based timezones handle this automatically. UTC offsets do not.
Batch scheduling multiple posts
Content creators often write several posts at once, then schedule them to publish over weeks.
The fastest method:
- Write all posts as drafts first
- Go to Posts > All Posts
- Hover over each post and click Edit
- Set the schedule for each post
- Stagger publish times by days or weeks
For large batches, consider a spreadsheet. List post titles, target dates, and times. Work through the list systematically, scheduling each post.
Some plugins let you bulk schedule posts. Editorial Calendar makes this visual. Select multiple posts and drag them to calendar dates.
Space posts strategically. Do not schedule three posts for the same day unless you have a specific reason. Spread content to maintain consistent publishing rhythm.
Account for holidays and events. Do not schedule a post about productivity tips for Christmas morning. Nobody will read it.
Monitoring scheduled content performance
Scheduling is not just about publishing on time. It is about publishing at the right time for your audience.
Track which publish times get the best engagement. WordPress does not show this natively. Use Google Analytics or a plugin like MonsterInsights.
Compare posts published at different times:
- Morning vs afternoon vs evening
- Weekdays vs weekends
- Beginning vs middle vs end of month
Look for patterns. If Tuesday morning posts consistently outperform Friday afternoon posts, schedule more content for Tuesday mornings.
Consider your audience’s schedule. B2B content often performs better on weekday mornings. Hobby content might do better on weekend afternoons.
Test different times deliberately. Schedule similar posts at different times and compare results. Build a data-driven publishing schedule.
Some bloggers obsess over optimal publish times. The difference is usually smaller than content quality. A great post published at a “bad” time will outperform a mediocre post at the “perfect” time.
Keeping your publishing schedule sustainable
Consistent publishing beats perfect timing. Readers value reliability more than precision.
If you commit to posting every Tuesday at 9 AM, do it. Readers will check for new content at that time. Breaking the pattern damages trust.
Build a content buffer. Stay at least two weeks ahead of your publishing schedule. This protects you when life gets busy or inspiration runs dry.
Batch your work. Write multiple posts in one session, then schedule them. This is more efficient than writing and publishing one post at a time.
Use scheduling to maintain consistency during vacations, busy periods, or personal emergencies. Write ahead, schedule posts, and step away knowing your blog keeps publishing.
Do not over-schedule. If you promise daily posts but can only sustain weekly posts, your schedule will collapse. Start conservative and increase frequency only when you have proven you can maintain it.
Making scheduling part of your workflow
Scheduling should feel automatic, not stressful.
Create a checklist for every post:
- Content written and edited
- Images added and optimized
- SEO elements completed
- Categories and tags assigned
- Scheduled date and time set
- Social media posts drafted
Run through this checklist before scheduling. It catches mistakes before posts go live.
Set a weekly review session. Every Friday, check all scheduled posts for the next two weeks. Confirm content quality, timing, and relevance.
Use your phone’s calendar app. Add scheduled post times as events. This creates a backup reminder system outside WordPress.
If something goes wrong with a scheduled post, do not panic. Most issues can be fixed quickly. The post might be a few hours late, but late is better than never.
Your posts will publish when you want them to
WordPress scheduling works reliably when you set it up correctly. Choose city-based timezones, test your setup, and monitor scheduled posts regularly. Build a content buffer so you are never scrambling to meet deadlines. Use plugins sparingly and only when core scheduling is not enough. Your readers will appreciate the consistency, and you will appreciate the freedom to write ahead and step away from your blog without missing publish dates.