Looking to speed up your WordPress site without hassle? Installing and configuring a caching plugin can make a big difference in how fast your visitors see your content. A well-set cache reduces server load and speeds up page delivery, creating a smoother experience for everyone. Whether you’re just starting out or want to optimize an existing website, this guide will walk you through the straightforward process of setting up a WordPress caching plugin that works for your hosting environment.
Setting up a WordPress caching plugin involves choosing the right plugin, installing it, configuring cache settings suitable for your hosting, and testing its effectiveness. This process can be completed in less than ten minutes with clear steps, ensuring your website becomes faster and more efficient for visitors.
Choosing the right caching plugin for your needs
The first step is to find a caching plugin that matches your website’s hosting setup and your performance goals. Some popular options include W3 Total Cache, WP Super Cache, and LiteSpeed Cache. Each has its advantages and best-use scenarios.
- W3 Total Cache is rich in features and works well for advanced users.
- WP Super Cache is simple and effective for beginners.
- LiteSpeed Cache is optimized for sites hosted on LiteSpeed servers.
Before proceeding, consider your hosting environment. If you are using shared hosting, a simpler plugin like WP Super Cache might be better. For managed hosting with LiteSpeed servers, LiteSpeed Cache can unlock extra speed benefits.
Setting Up Your WordPress caching plugin
Follow these steps, which are designed to be easy to follow and execute in less than ten minutes:
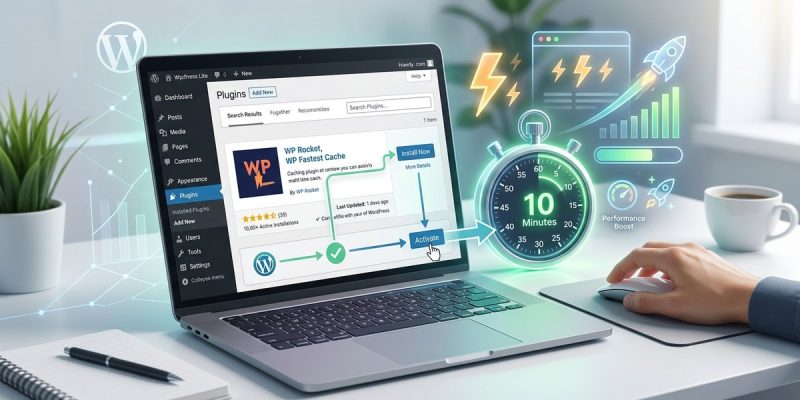
1. Install the plugin
- Log into your WordPress admin dashboard.
- Navigate to the plugins section by clicking on Plugins and then Add New.
- Search for your preferred caching plugin, such as W3 Total Cache.
- Click Install Now and then Activate once the installation completes.
2. Configure cache settings
Once activated, access the plugin’s settings page. This may be under Performance or directly in the Plugins menu.
- Enable caching options such as Page Cache, Browser Cache, and Object Cache.
- Set cache expiration times. For most sites, 24 hours (86400 seconds) is a good starting point.
- For W3 Total Cache, make sure to enable Minify if you want to reduce CSS and JavaScript file sizes.
3. Exclude dynamic pages from cache
Some pages like login, cart, or admin pages should not be cached to avoid issues.
- Find the section labeled Exclude pages or Never cache URLs.
- Add URLs such as
/wp-login.php,/cart, and/wp-adminto this list. - This ensures your admin panel and user-specific pages work flawlessly.
4. Enable cache preloading (if available)
Preloading helps generate cache for pages proactively, so visitors always see a fast version.
- Turn on preloading options.
- Set a schedule if the plugin allows, such as every hour or once daily.
- This step ensures your cache stays fresh without manual intervention.
5. Save and clear the cache
- Save your settings.
- Clear existing cache to start fresh.
- Most plugins will have a Clear Cache button in the settings area.
6. Test your cache setup
After configuring, it’s wise to test if caching is working as intended.
- Visit your website from a private browser window.
- Use tools like GTmetrix or Pingdom to check load times.
- Additionally, inspect the site’s headers to see if content is served from cache.
Expert tip: Always test your site after enabling cache to ensure everything functions correctly. Dynamic pages should not be cached, and images or scripts should be optimized for best results.
Troubleshooting common issues
Even with straightforward setup, issues can occur. Here are some common problems and how to address them:
| Technique / Mistake | How to Fix / Avoid |
|---|---|
| Caching pages that shouldn’t be | Exclude URLs for pages like login, checkout, or admin. |
| Cache not updating after changes | Clear cache manually or set preloading schedules. |
| Conflicts with other plugins | Deactivate other caching or performance plugins to troubleshoot. |
| Excessive cache size | Adjust expiration times or enable cache pruning options. |
| Slow site despite cache | Combine caching with image optimization and CDN use. |
Remember, a caching plugin is a tool to enhance performance. Proper configuration and regular testing keep your site running smoothly.
Final tips for a smooth setup
- Always update your plugin to the latest version.
- Use a staging environment if you want to test changes without affecting your live site.
- Combine caching with other speed improvements like image compression and a content delivery network for the best results.
- Regularly review your cache settings, especially after plugin updates or site changes.
Keeping your site fast with effective caching
Setting up a WordPress caching plugin is a straightforward process that offers long-term benefits. Focus on choosing the right plugin for your hosting setup, follow the simple steps to install and configure it, and test to ensure everything works well. Managing cache properly prevents issues and keeps your website loading quickly for visitors. With patience and regular checks, your site will perform better and provide a more enjoyable experience for everyone.
Remember, speed is key to retaining visitors and improving your search rankings. Once your cache is set up, keep monitoring your site’s performance and tweak settings as needed. Building a fast, reliable WordPress site is an ongoing process, but starting with an easy cache setup gets you well on your way.
Happy caching! Take these steps, implement them confidently, and enjoy the faster, more efficient website you’ve created.