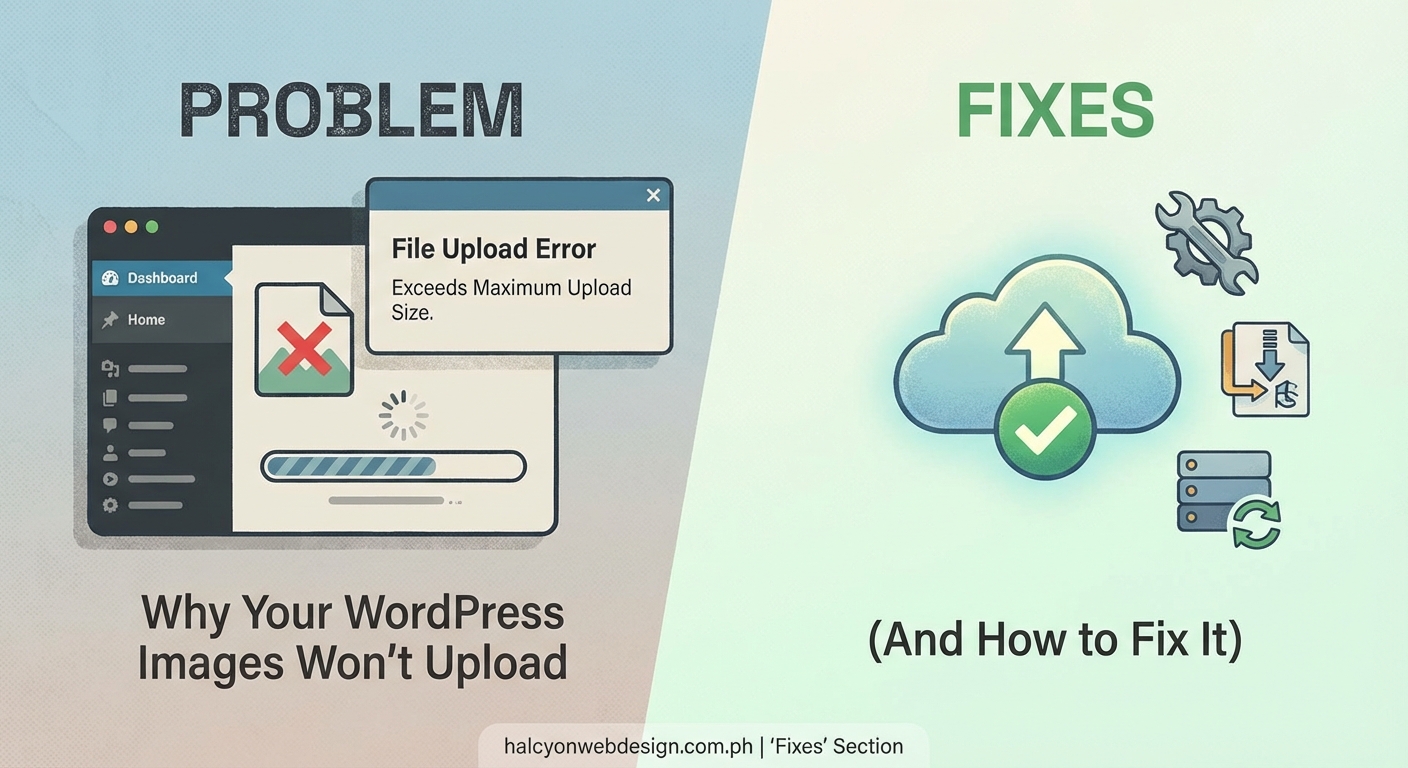
You’re ready to publish your blog post. You’ve written the perfect introduction, formatted your headings, and now you just need to add that hero image. You click “Upload” and… nothing. Or worse, you get a cryptic error message that makes zero sense.
Sound familiar? You’re not alone. Image upload failures are one of the most common WordPress frustrations, and they usually happen at the worst possible time.
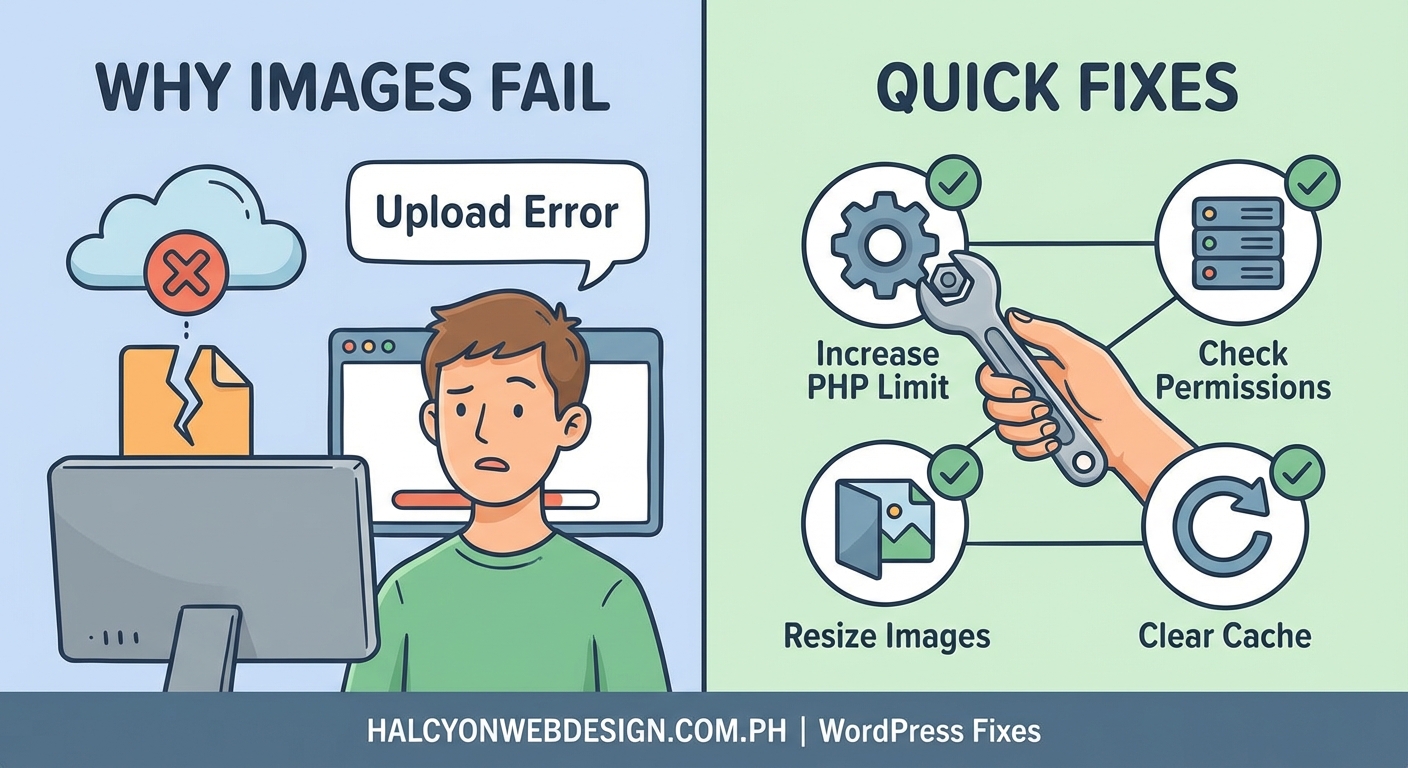
When WordPress can’t upload images, the problem usually stems from file permissions, memory limits, incorrect file names, or server configuration issues. Most fixes take less than five minutes and don’t require coding knowledge. Start with the simplest solutions like checking file size and name, then move to server settings if needed.
Why WordPress Rejects Your Images
WordPress image uploads can fail for several reasons. Understanding what’s happening behind the scenes helps you fix the problem faster.
File permission errors are the most common culprit. Your WordPress installation needs permission to write files to specific folders on your server. If those permissions are set incorrectly, WordPress can’t save your images.
Memory limits set by your hosting provider can also block uploads. When WordPress tries to process a large image, it needs enough memory to resize it and create thumbnails. If your server runs out of memory mid-process, the upload fails.
File name issues might seem trivial, but they matter. Special characters, spaces, or non-English letters in file names can confuse some servers. A file named “mom’s birthday #1.jpg” might work on your computer but fail on your server.
Server configuration problems include disabled PHP functions, restrictive upload size limits, or security plugins that block legitimate uploads thinking they’re threats.
Check These Simple Things First
Before you panic or contact your hosting provider, try these basic checks. They solve the problem more often than you’d think.
Look at your file size. Most WordPress installations have an upload limit between 2MB and 64MB. If your image is larger than this limit, it won’t upload. You can check your current limit by going to Media > Add New in your WordPress dashboard. The maximum upload size appears right below the upload area.
Rename your file. Remove any special characters, spaces, or unusual symbols. Instead of “Sarah’s graduation photo (2024).jpg”, use “sarah-graduation-photo-2024.jpg”. Use only lowercase letters, numbers, and hyphens.
Try a different browser. Sometimes browser extensions or cache issues cause upload failures. Open an incognito or private window and try uploading again. If it works, you know the problem is browser-related.
Check your internet connection. A slow or unstable connection can time out during upload. Try uploading a smaller test image first. If that works but larger files don’t, your connection might be dropping mid-upload.
Fix File Permission Problems
File permissions control who can read, write, or execute files on your server. WordPress needs specific permissions to save uploaded images.
Here’s how to check and fix permissions using your hosting control panel or FTP client:
- Connect to your website using an FTP client like FileZilla or through your hosting file manager.
- Navigate to the wp-content folder.
- Find the uploads folder inside wp-content.
- Right-click the uploads folder and select “File Permissions” or “CHMOD.”
- Set the permissions to 755 for folders and 644 for files.
- Make sure to apply permissions recursively to all subfolders.
If you see 777 permissions, that’s actually too permissive and creates security risks. Stick with 755 for folders.
After changing permissions, try uploading an image again. This fix resolves the majority of upload failures.
Increase Your Memory Limit
WordPress uses PHP memory to process images. When that memory runs out, uploads fail with errors like “Fatal error: Allowed memory size exhausted.”
You can increase the memory limit in several ways:
Edit your wp-config.php file. Add this line just before the “That’s all, stop editing” comment:
define('WP_MEMORY_LIMIT', '256M');
This tells WordPress to use up to 256MB of memory. Save the file and upload it back to your server.
Modify your .htaccess file. Add this line:
php_value memory_limit 256M
Contact your hosting provider. If editing files feels too technical, ask your host to increase your PHP memory limit. Most hosts will do this within minutes through a support ticket.
After increasing the limit, test your upload again. Large images should now process without running out of memory.
Solve Common Error Messages
Different error messages point to different problems. Here’s what the most common ones mean and how to fix them.
| Error Message | What It Means | Solution |
|---|---|---|
| “The uploaded file exceeds the upload_max_filesize directive” | File is larger than server allows | Increase upload_max_filesize in php.ini or contact host |
| “Missing a temporary folder” | WordPress can’t find temp directory | Define WP_TEMP_DIR in wp-config.php |
| “Failed to write file to disk” | Permission or disk space issue | Check folder permissions and available storage |
| “HTTP error” | Generic server problem | Disable plugins, try different image editor |
| “The link you followed has expired” | Upload took too long | Increase max_execution_time and max_input_time |
The “HTTP error” is particularly frustrating because it doesn’t tell you much. This generic message usually means your server configuration is blocking the upload somehow.
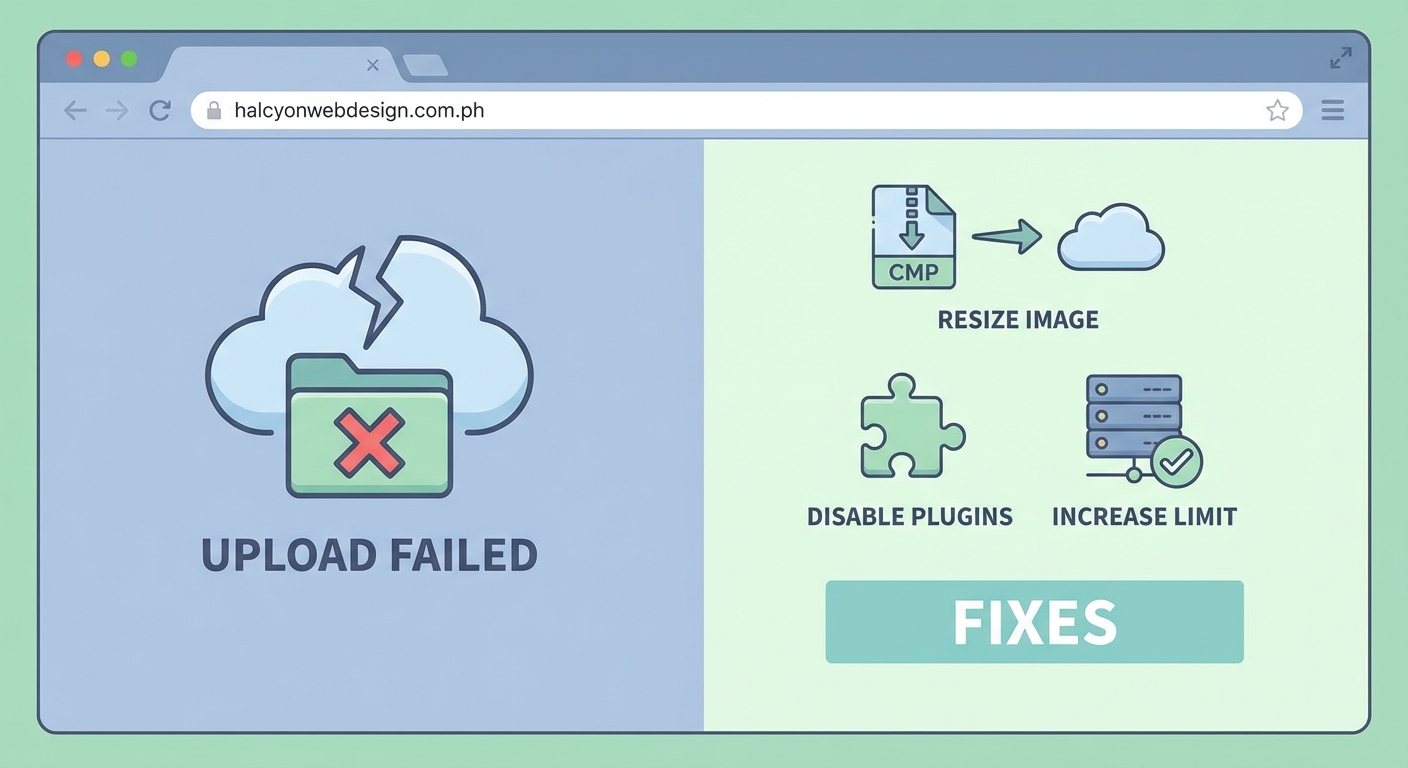
To fix HTTP errors, try these steps:
- Deactivate all plugins temporarily and try uploading.
- Switch to a default WordPress theme like Twenty Twenty-Four.
- If uploads now work, reactivate plugins one by one to find the culprit.
Security plugins often cause HTTP errors by being overly aggressive. If you use a security plugin, check its settings for file upload restrictions.
Deal with Image Editor Issues
WordPress uses either GD Library or Imagick to process images. If these aren’t working correctly, uploads fail.
You can force WordPress to use a specific image editor by adding code to your theme’s functions.php file:
function force_gd_editor($editors) {
    $editors = array('WP_Image_Editor_GD');
    return $editors;
}
add_filter('wp_image_editors', 'force_gd_editor');
This forces WordPress to use GD Library instead of Imagick. Sometimes one works when the other doesn’t.
If you’re not comfortable editing theme files, ask your developer or use a plugin that lets you switch image editors without coding.
Handle Disk Space Problems
Your hosting account has limited storage space. If it’s full, WordPress can’t save new files.
Check your available disk space through your hosting control panel. Look for a section labeled “Disk Usage” or “Storage.”
If you’re running low on space:
- Delete old media files you no longer use
- Remove plugin backups stored on your server
- Clear cache files if you use a caching plugin
- Upgrade to a hosting plan with more storage
Your media library can grow surprisingly fast, especially if you upload high-resolution photos regularly. Check your disk usage every few months and clean out unused files before you hit your limit.
Fix Temporary Folder Errors
WordPress needs a temporary folder to process uploads before moving them to the final location. If this folder is missing or inaccessible, uploads fail with a “missing temporary folder” error.
Fix this by defining the temporary directory in your wp-config.php file. Add these lines near the top of the file, after the opening PHP tag:
define('WP_TEMP_DIR', dirname(__FILE__) . '/wp-content/temp/');
Then create a folder named “temp” inside your wp-content directory using your FTP client or file manager. Set its permissions to 755.
WordPress will now use this folder for temporary file storage during uploads.
Adjust Server Upload Limits
Your server has maximum limits for file uploads, execution time, and POST data. If your images exceed these limits, they won’t upload.
Common limits to check and increase:
- upload_max_filesize: Maximum size for uploaded files
- post_max_size: Maximum size of POST data (should be larger than upload_max_filesize)
- max_execution_time: How long a script can run before timing out
- max_input_time: How long PHP will parse input data
You can change these in your php.ini file, .htaccess file, or through your hosting control panel. The exact method depends on your hosting setup.
If you have cPanel, look for “Select PHP Version” or “MultiPHP INI Editor” where you can adjust these values with sliders.
Set sensible values like:
- upload_max_filesize: 64M
- post_max_size: 128M
- max_execution_time: 300
- max_input_time: 300
These settings give WordPress enough room to handle most image uploads without creating security risks.
Troubleshoot Plugin Conflicts
Plugins can interfere with image uploads in unexpected ways. Security plugins, optimization plugins, and even gallery plugins sometimes cause conflicts.
Here’s a systematic way to find the problematic plugin:
- Go to your WordPress dashboard and navigate to Plugins.
- Deactivate all plugins at once using the bulk actions dropdown.
- Try uploading an image.
- If it works, you know a plugin was causing the problem.
- Reactivate plugins one at a time, testing uploads after each one.
- When uploads fail again, you’ve found your culprit.
Common plugin types that cause upload issues:
- Security plugins with aggressive file scanning
- Image optimization plugins that process files during upload
- Backup plugins that monitor file changes
- Cache plugins with overly strict settings
You don’t necessarily need to delete the problematic plugin. Check its settings for options related to file uploads or media handling. Often you can whitelist the uploads directory or adjust scanning behavior.
Test with Different Image Formats
Sometimes the problem isn’t WordPress or your server, but the image file itself. Corrupted files or unusual formats can cause upload failures.
Try uploading different image types:
- Convert your image to JPEG and try again
- Save as PNG instead
- Use a simple image editor to re-save the file
- Take a screenshot of the image and upload the screenshot
If a re-saved version uploads successfully, the original file had corruption or metadata that confused WordPress.
Also verify your image dimensions. Extremely large images (like 10,000 x 10,000 pixels) might exceed processing capabilities even if the file size seems acceptable.
When to Contact Your Host
If you’ve tried everything and WordPress still can’t upload images, it’s time to contact your hosting provider.
Before reaching out, gather this information:
- The exact error message you’re seeing
- What you’ve already tried
- Whether the problem affects all images or just large ones
- When the problem started
Your host can check server logs, verify PHP configuration, and identify issues you can’t see from your WordPress dashboard.
Good hosts will check your error logs and often spot the problem immediately. They might find disabled PHP functions, restrictive security rules, or server resource issues causing the failures.
Get Your Media Library Working Again
Image upload problems feel overwhelming when you’re trying to publish content, but they’re almost always fixable without technical expertise.
Start with the simple solutions: check file names, verify file sizes, and test permissions. These three fixes solve most upload failures in under five minutes.
If basic troubleshooting doesn’t work, methodically work through server settings, plugin conflicts, and memory limits. One of these will be your answer.
Remember that every WordPress site is slightly different because of unique combinations of themes, plugins, and hosting environments. What works for one site might not work for another, so be patient and systematic in your approach.
Save this guide for the next time WordPress refuses your images. You’ll know exactly where to start and how to get back to publishing your content.