Your WordPress site takes three seconds to load. That’s two seconds too long. Most visitors have already clicked away.
Caching solves this problem by storing pre-built versions of your pages so WordPress doesn’t have to rebuild everything from scratch on every visit. When implemented correctly, caching can cut your load time in half or better.
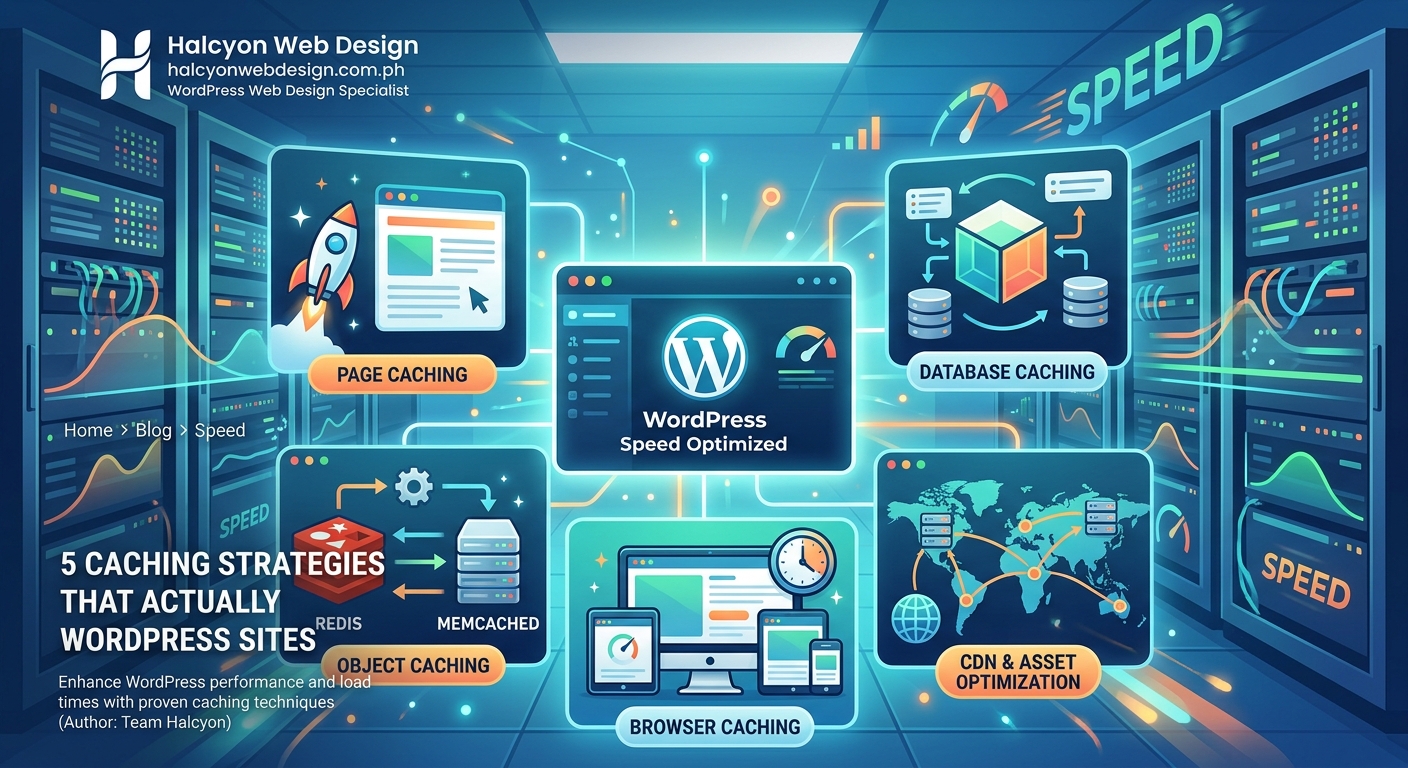
WordPress caching strategies include page caching, browser caching, object caching, and CDN integration. Each layer stores different types of content to reduce server load and speed delivery. Combining multiple caching methods creates the fastest experience, but requires careful configuration to avoid serving stale content or breaking dynamic features like shopping carts and user dashboards.
Understanding how WordPress caching actually works
WordPress builds pages dynamically. Every time someone visits your homepage, WordPress queries the database, processes PHP files, assembles the layout, and outputs HTML.
This process takes time. Multiply it by hundreds of visitors per hour and your server struggles.
Caching interrupts this cycle. Instead of rebuilding pages repeatedly, WordPress saves the finished HTML and serves that stored version to subsequent visitors.
The first visitor still experiences the full build process. Everyone after that gets the cached version until it expires or gets cleared.
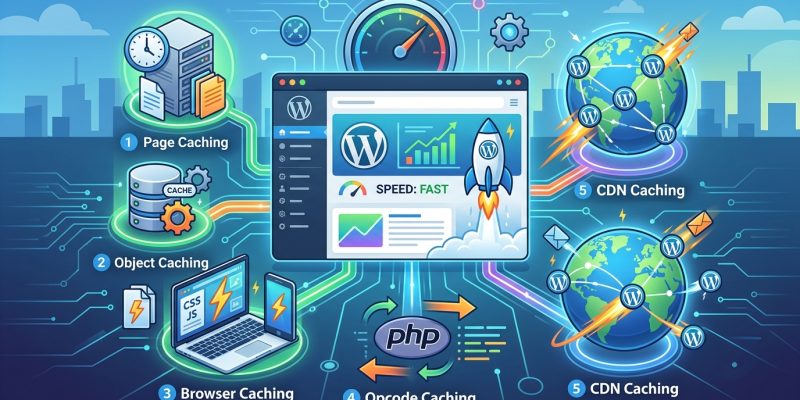
Different caching layers handle different parts of your site:
- Page caching stores complete HTML pages
- Browser caching saves static files like images and CSS on visitor devices
- Object caching stores database query results in memory
- Opcode caching keeps compiled PHP code ready to execute
Most WordPress sites benefit from combining several of these methods.
Page caching for immediate speed improvements
Page caching delivers the biggest performance gain with the least effort.
When enabled, your caching plugin generates static HTML files from your dynamic WordPress pages. These files get served to visitors instead of running PHP and database queries.
Here’s how to set up page caching correctly:
- Install a caching plugin like WP Rocket, W3 Total Cache, or WP Super Cache
- Enable page caching in the plugin settings
- Configure cache lifespan (start with 12 hours for content sites, 1 hour for frequently updated sites)
- Exclude pages that must remain dynamic (cart, checkout, user account pages)
- Test your site thoroughly to confirm forms, comments, and user-specific content still work
The exclusion list matters. E-commerce sites need to exclude cart and checkout pages. Membership sites must exclude user dashboards. Comment sections may need special handling to show new comments promptly.
Cache everything except what absolutely must stay dynamic. Most visitors see identical content, so most pages can be cached safely.
If you’re using managed WordPress hosting, page caching might already be enabled at the server level. Check with your host before adding a caching plugin to avoid conflicts.
Browser caching to reduce repeat visitor load times
Browser caching stores static files on visitor devices instead of downloading them repeatedly.
When someone visits your site for the first time, their browser downloads your CSS files, JavaScript, images, and fonts. These files can total several megabytes.
With browser caching enabled, the browser saves these files locally. On subsequent visits, it loads them from the local cache instead of requesting them from your server again.
This dramatically improves load times for returning visitors.
Configure browser caching by adding cache-control headers to your server. Most caching plugins handle this automatically, but you can also add rules directly to your .htaccess file:
<IfModule mod_expires.c>
  ExpiresActive On
  ExpiresByType image/jpg "access plus 1 year"
  ExpiresByType image/jpeg "access plus 1 year"
  ExpiresByType image/png "access plus 1 year"
  ExpiresByType text/css "access plus 1 month"
  ExpiresByType application/javascript "access plus 1 month"
</IfModule>
Set longer expiration times for files that rarely change (logos, fonts) and shorter times for files you update regularly (CSS, JavaScript).
When you update a CSS file, visitors with cached versions won’t see changes until their cache expires. Version your files to force immediate updates:
style.css?ver=1.2 becomes style.css?ver=1.3 after you make changes.
WordPress handles versioning automatically for enqueued scripts and styles, but custom implementations may need manual version bumps.
Object caching for database-heavy sites
Object caching stores database query results in memory so WordPress doesn’t repeat identical queries.
Every WordPress page requires multiple database queries. Your homepage might query for posts, categories, menus, widgets, and settings. Without object caching, WordPress runs these queries fresh on every page load.
Object caching saves query results in RAM using systems like Redis or Memcached. When WordPress needs the same data again, it pulls from memory instead of querying the database.
This matters most for high-traffic sites and sites with complex queries.
Setting up object caching requires server access:
- Install Redis or Memcached on your server
- Install the corresponding WordPress plugin (Redis Object Cache or Memcached Object Cache)
- Enable the object cache through the plugin interface
- Monitor memory usage to ensure you’ve allocated enough RAM
Many managed WordPress hosts include object caching as a premium feature. Check your hosting plan before attempting manual installation.
Object caching works best alongside page caching. Page caching handles anonymous visitors efficiently. Object caching speeds up admin areas, logged-in user experiences, and any pages excluded from page caching.
Sites running WooCommerce, BuddyPress, or membership plugins see substantial improvements from object caching because these plugins generate many database queries per page.
CDN integration for global performance
Content Delivery Networks distribute your static files across servers worldwide.
When someone in Australia visits your US-hosted site, their request travels thousands of miles. Each mile adds latency. A CDN solves this by serving files from a server geographically close to the visitor.
Your images, CSS, JavaScript, and other static assets load from the nearest CDN edge server instead of your origin server.
Setting up a CDN involves five steps:
- Choose a CDN provider (Cloudflare, BunnyCDN, StackPath, or KeyCDN)
- Create an account and add your domain
- Update your DNS settings to route traffic through the CDN
- Configure your WordPress site to use CDN URLs for static assets
- Test thoroughly to confirm all resources load correctly
Most caching plugins include CDN integration settings. Enter your CDN URL and the plugin rewrites asset URLs automatically.
Free CDN options exist. Cloudflare offers a generous free tier that includes basic CDN functionality plus DDoS protection and SSL.
CDNs also reduce server load. Static file requests hit CDN servers instead of your hosting server, freeing resources for dynamic content generation.
For image-heavy sites, combining a CDN with proper image optimization creates the fastest possible delivery.
Common caching mistakes and how to avoid them
Caching introduces complexity. Misconfiguration causes problems ranging from minor annoyances to complete site breakage.
| Mistake | Consequence | Fix |
|---|---|---|
| Caching logged-in users | Everyone sees the same personalized content | Exclude user-specific pages from cache |
| Not clearing cache after updates | Visitors see old content after you publish changes | Set up automatic cache clearing on post publish |
| Caching dynamic elements | Forms break, comments disappear, cart contents vanish | Exclude dynamic page sections using fragment caching |
| Aggressive minification | JavaScript errors break site functionality | Test minification carefully, exclude problematic scripts |
| Ignoring mobile cache | Mobile visitors get desktop cached pages | Enable separate mobile cache if layouts differ significantly |
Cache lifespan requires balancing freshness against performance. News sites need shorter cache times. Brochure sites can cache for days.
Start conservative. Set a 6-hour cache lifespan and adjust based on how frequently you update content.
Monitor your cache hit rate. A low hit rate means your cache expires too frequently or excludes too many pages. A 70% hit rate or higher indicates effective caching.
Some plugins cache too aggressively by default. WP Rocket caches everything unless you explicitly exclude pages. W3 Total Cache requires more manual configuration but offers finer control.
Test every caching change thoroughly. Visit your site logged out, logged in, on mobile, and on desktop. Submit test forms. Add items to your cart if running e-commerce.
Clear your browser cache between tests to see actual results rather than locally cached versions.
Combining caching strategies for maximum impact
Layering multiple caching methods creates compound performance improvements.
Start with page caching as your foundation. This delivers immediate results and requires minimal configuration.
Add browser caching next. The setup takes minutes and benefits every visitor after their first page view.
Implement a CDN third. Geographic distribution matters most for international audiences, but even domestic visitors benefit from reduced server load.
Consider object caching last. The setup complexity and server requirements make this worthwhile primarily for high-traffic sites or database-intensive applications.
Test performance after each addition. Use tools like GTmetrix or Google PageSpeed Insights to measure improvements objectively.
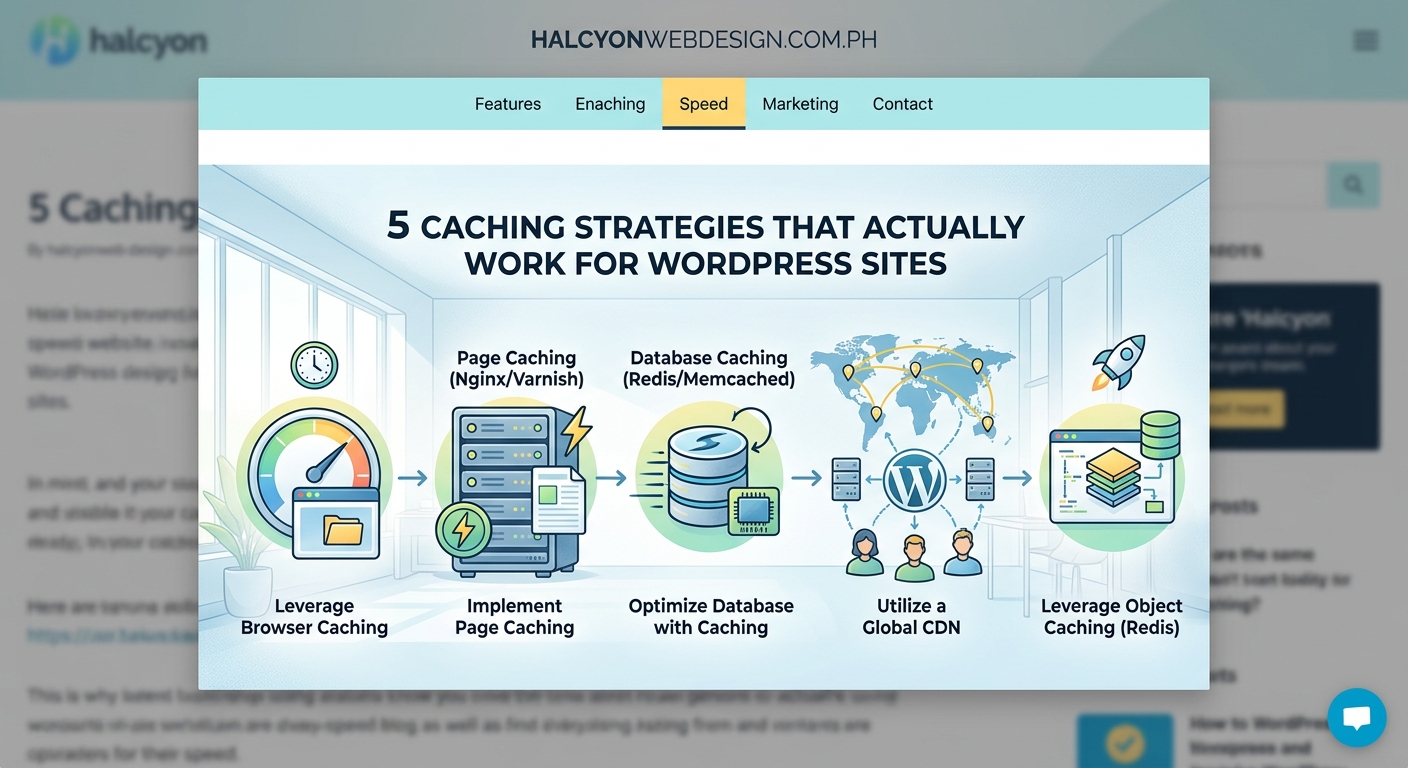
Your caching stack might look like this:
- Layer 1: WP Rocket for page caching and browser cache headers
- Layer 2: Cloudflare CDN for global static asset delivery
- Layer 3: Redis object cache for database query optimization
- Layer 4: Server-level opcode caching (OPcache) for PHP performance
Each layer handles different aspects of performance. Together, they can reduce load times from 3 seconds to under 1 second.
Not every site needs every layer. A small business site with mostly local traffic probably doesn’t need a CDN. A personal blog with light traffic can skip object caching.
Match your caching strategy to your actual needs. Overcomplicating your setup creates maintenance burden without proportional benefits.
Troubleshooting when caching breaks your site
Caching problems manifest in predictable ways. Recognizing symptoms helps you diagnose issues faster.
Symptom: Changes you make don’t appear on the live site.
Cause: Cached pages haven’t expired yet.
Solution: Manually clear your cache through your plugin settings.
Symptom: Forms stop working or submissions disappear.
Cause: Form pages are being cached, preventing proper submission handling.
Solution: Exclude form pages from page caching.
Symptom: Users see each other’s account information.
Cause: User-specific pages are being cached and served to all visitors.
Solution: Disable caching for logged-in users immediately. Exclude all user account pages.
Symptom: Shopping cart contents vanish or show wrong items.
Cause: Cart pages are cached.
Solution: Exclude cart, checkout, and account pages. Consider disabling page caching entirely for WooCommerce if problems persist.
Symptom: Site looks broken with missing styles or images.
Cause: Minification or combination broke CSS/JavaScript.
Solution: Disable minification and file combination, then re-enable selectively to identify the problematic file.
Keep a staging environment for testing caching changes. Many hosts offer staging sites where you can experiment safely before pushing changes to production.
When troubleshooting, disable caching plugins one at a time to isolate the problem. If disabling caching fixes the issue, you know the problem lies in your cache configuration rather than another plugin or theme conflict.
Document your exclusion rules. Keep a list of pages and patterns you’ve excluded from caching so you remember why when reviewing settings months later.
Maintaining your cache for long-term performance
Caching isn’t set-and-forget. Regular maintenance keeps your site fast as content and traffic patterns change.
Review your cache settings quarterly. Check exclusion lists for pages that no longer exist. Remove outdated rules.
Monitor cache hit rates monthly. Declining hit rates indicate configuration drift or changing traffic patterns.
Clear your cache completely after major updates:
- WordPress core updates
- Theme changes
- Plugin updates that affect frontend output
- CSS or JavaScript modifications
Schedule automatic cache clearing for routine content updates. Most caching plugins can clear cache automatically when you publish new posts.
Watch for cache-related errors in your server logs. Excessive cache misses, timeout errors, or memory warnings indicate configuration problems.
Test your site speed regularly. Monthly speed tests help you catch performance degradation early. A sudden slowdown might indicate caching problems, plugin conflicts, or hosting issues.
Some caching plugins include automatic cache preloading. This feature rebuilds cache proactively instead of waiting for visitors to trigger cache generation. Preloading keeps your cache fresh but increases server load. Enable it only if your server can handle the additional processing.
Document your caching setup. Note which plugin you use, which pages you exclude, your cache lifespan settings, and any custom configuration. Future you (or your developer) will appreciate this documentation when troubleshooting issues.
Making caching work with your workflow
Caching affects how you work with WordPress daily. Adjust your workflow to avoid frustration.
Always preview changes in an incognito window or after clearing your browser cache. Your regular browser shows cached versions that don’t reflect recent changes.
Install a cache clearing plugin toolbar button. One-click cache clearing saves time when you need to see changes immediately.
Set up automatic cache clearing for specific actions:
- Clear homepage cache when publishing new posts
- Clear category cache when updating posts in that category
- Clear entire cache when changing theme options
Some caching plugins offer scheduled cache clearing. Set your cache to clear automatically during low-traffic hours (typically 2-4 AM in your timezone).
Communicate with team members about caching. If multiple people update your site, everyone needs to understand when and why to clear cache.
For client sites, add cache clearing instructions to your documentation. Non-technical clients often forget this step and panic when changes don’t appear immediately.
Consider user role permissions. Some caching plugins let you grant cache-clearing privileges to editors without giving them full admin access.
Getting the most from your caching setup
Caching works best as part of a broader performance strategy.
Combine caching with image optimization, database cleanup, and render-blocking resource elimination for maximum speed improvements.
Your hosting quality matters. Even perfect caching can’t compensate for slow server hardware or overcrowded shared hosting. If your hosting is the bottleneck, caching provides limited benefits.
Keep your WordPress installation lean. Every plugin adds code that must be processed even with caching enabled. Regularly audit your plugins and remove ones you don’t actively use.
Monitor Core Web Vitals. Google’s performance metrics help you understand how real users experience your site speed. Caching should improve your Largest Contentful Paint (LCP) and Time to First Byte (TTFB) scores significantly.
Test from multiple locations. Use tools that let you test from different geographic regions to verify your CDN works correctly and your cache serves properly everywhere.
Don’t cache for the sake of caching. Some pages genuinely need to stay dynamic. Trying to cache everything creates more problems than it solves.
Building a faster site that keeps visitors engaged
WordPress caching strategies transform slow sites into fast ones. The difference between a three-second load and a one-second load determines whether visitors stay or leave.
Start with page caching today. Install a caching plugin, enable basic settings, and test thoroughly. You’ll see immediate improvements.
Add browser caching and CDN integration next. These layers compound your performance gains without adding complexity to your daily workflow.
Save object caching for when you actually need it. Most sites run perfectly well without it.
Remember that caching serves your visitors, not your vanity metrics. A fast site keeps people engaged, reduces bounce rates, and improves conversions. Those outcomes matter more than perfect speed test scores.
Test your changes carefully, document your configuration, and adjust based on real performance data. Your visitors will notice the difference even if they never think about caching.